

Guide On How To Automatically Deleting Files From A User Box Set By User
Important Note: Before proceeding to configure the automatic file deletion settings for a user-created User Box, ensure that the Document Delete Time Setting under Administrator Settings is turned off.
For the Older Machine series / Non I-Series Machine
How To Automatically Deleting Files From A User Box Set By User on Photostat Machine
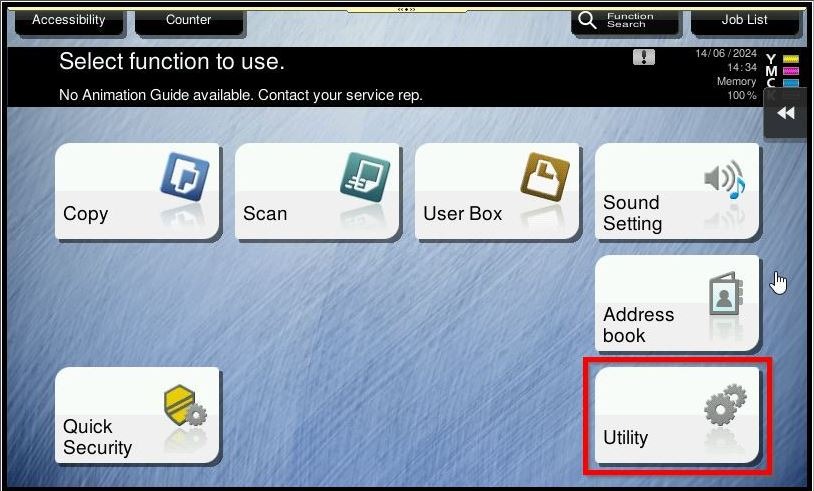
STEP 1 – Select [Utility].
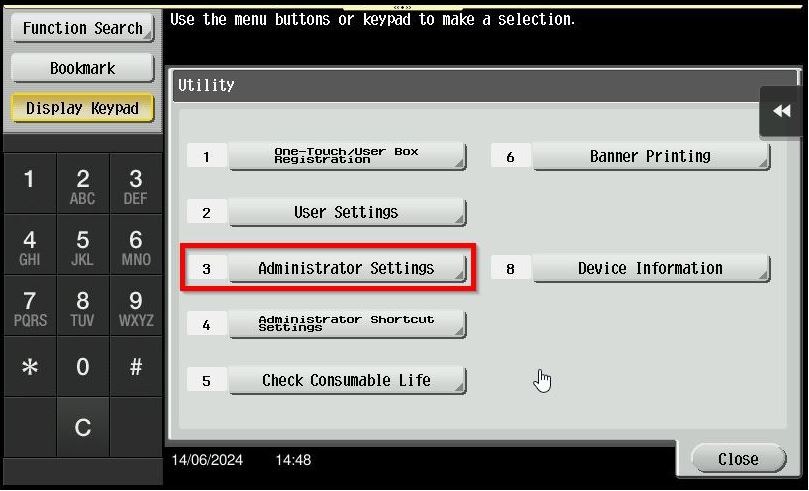
STEP 2 – Select [Administrator Settings].
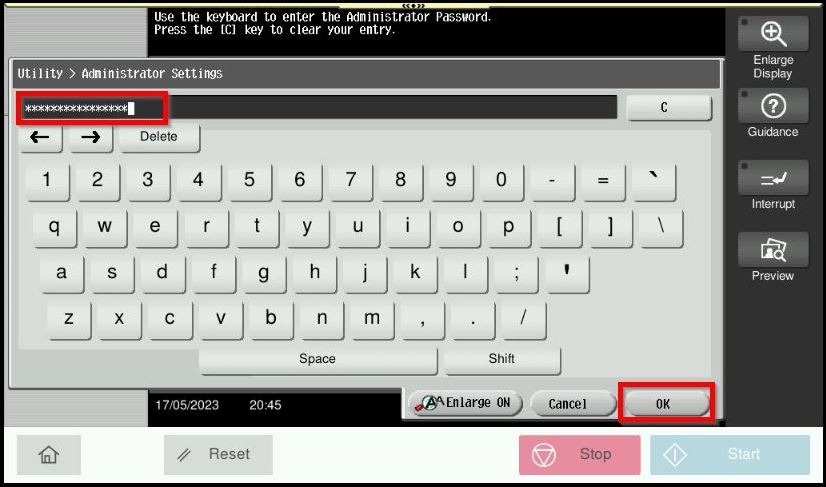
STEP 3 – Key in the default administrator password and click [OK] button.
Default administrator password: [7801261178012611] or [1234567812345678] or [12345678] or [12341234].

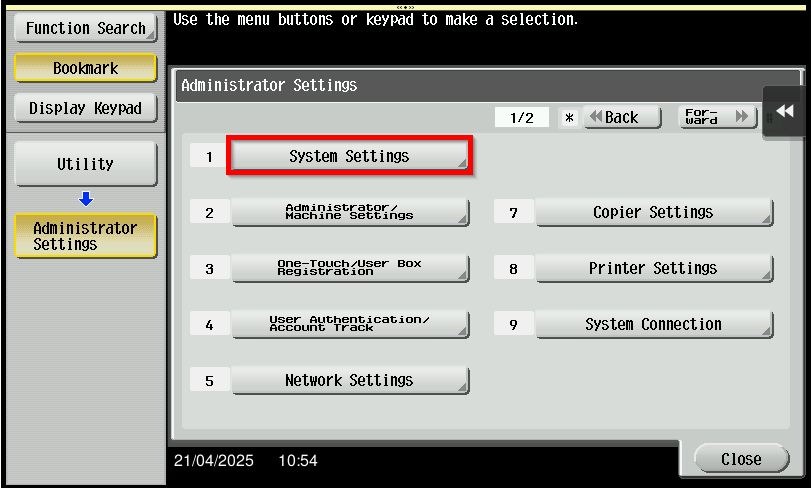
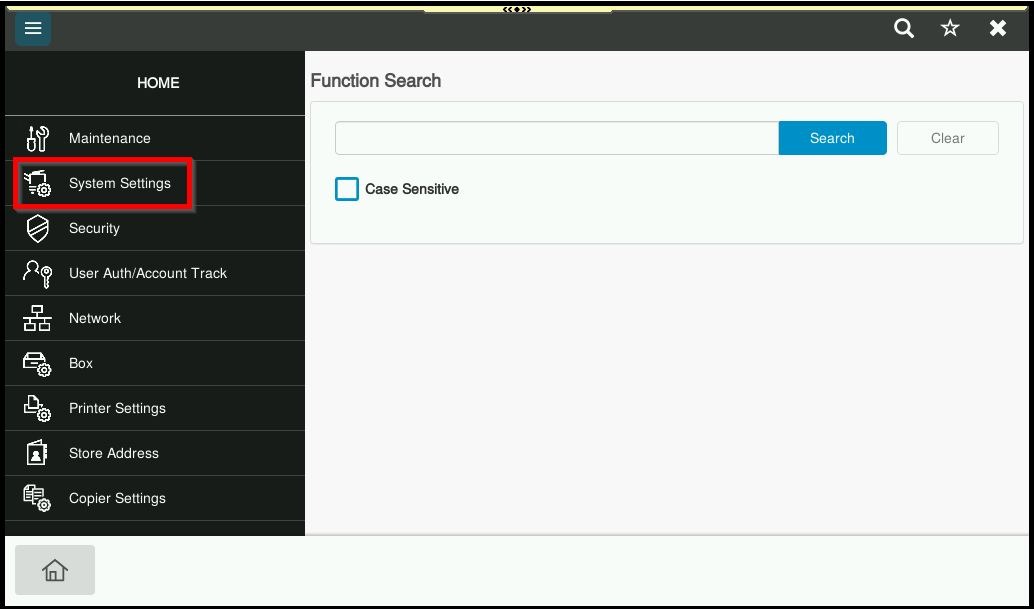
STEP 4 – Select [System Settings].
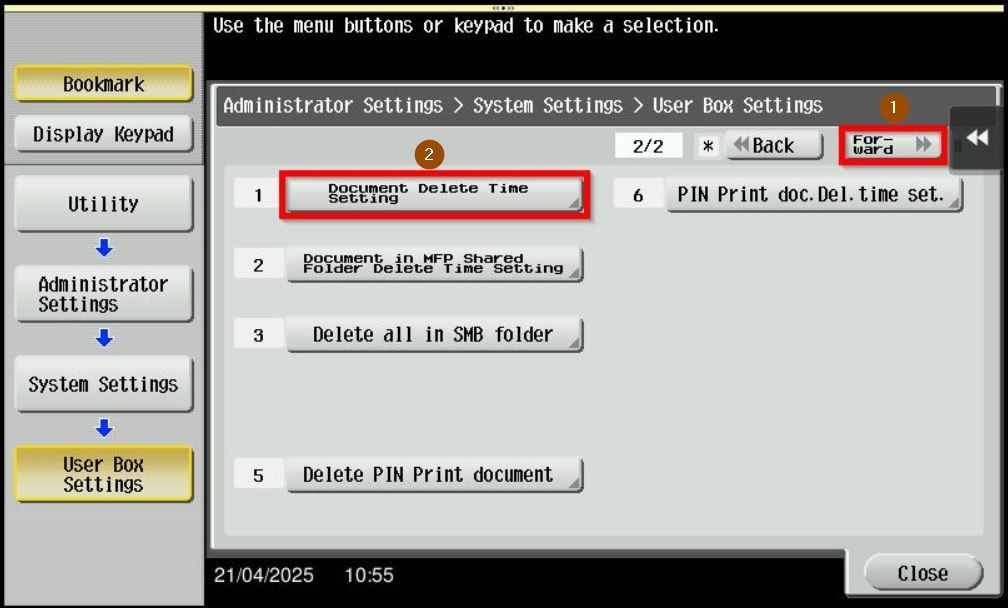
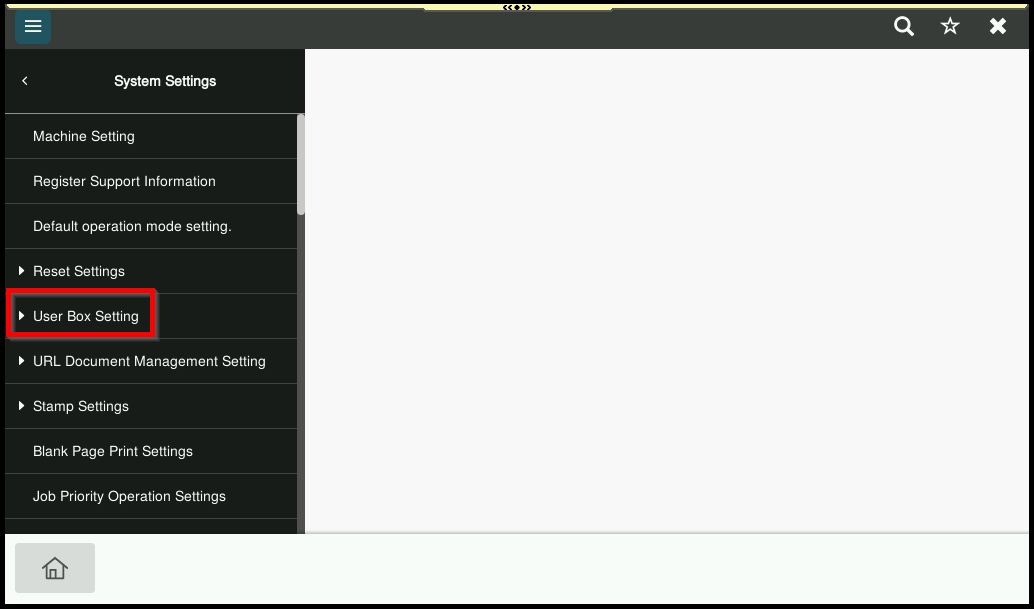
STEP 5 – Select [User Box Settings].

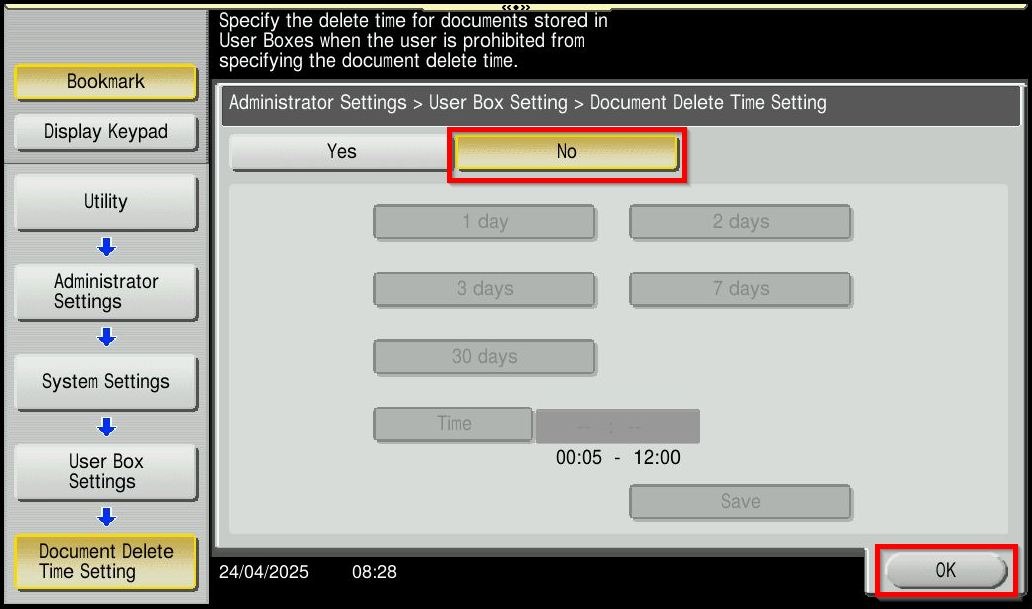
STEP 6 – Click on the [Forward] – [Document Delete Time Setting] and select [No] to disable. After that, click on [OK] to save.
**If this option disable, normal user will able to select the delete time setting in the user box setting.
STEP 7 – Once return to the home screen, navigate to [Menu] > [Utility] > [One-touch/User Box Registration] > [Create User Box] > [Public/Personal User Box].
Select the user box for which you want to modify the automatic deletion time, then click [Edit].
Next, select [Forward] > [Auto Document Delete Time].
Choose one of the following options:
- Save (Do Not Delete)
- Specify Days (up to 30 days)
- Specify Time (up to 720 minutes)
After making selection, click [OK] to save the settings.

How To Automatically Deleting Files From A User Box Set By User on Web Connection
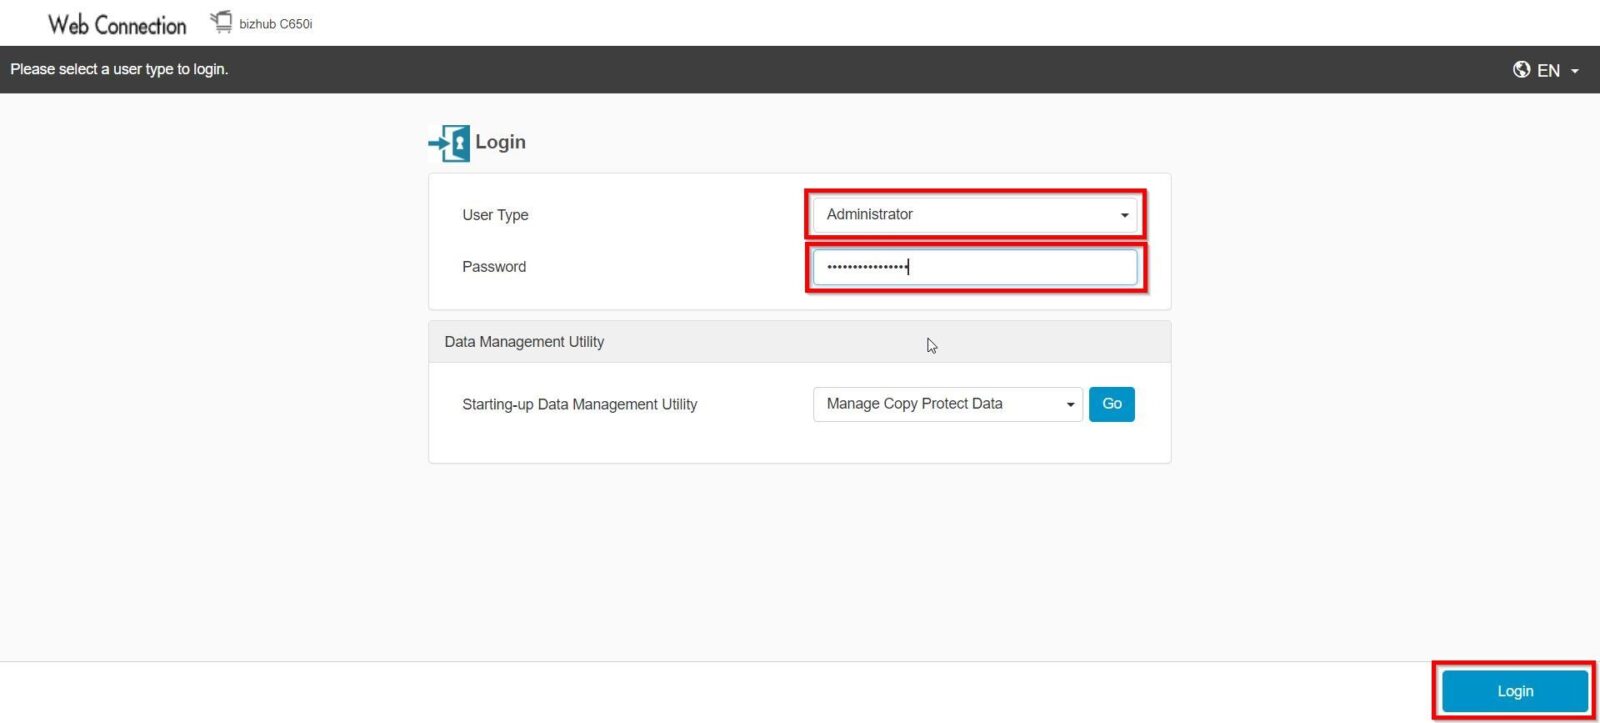
STEP 1 – Select [Administrator] and click on [Login].
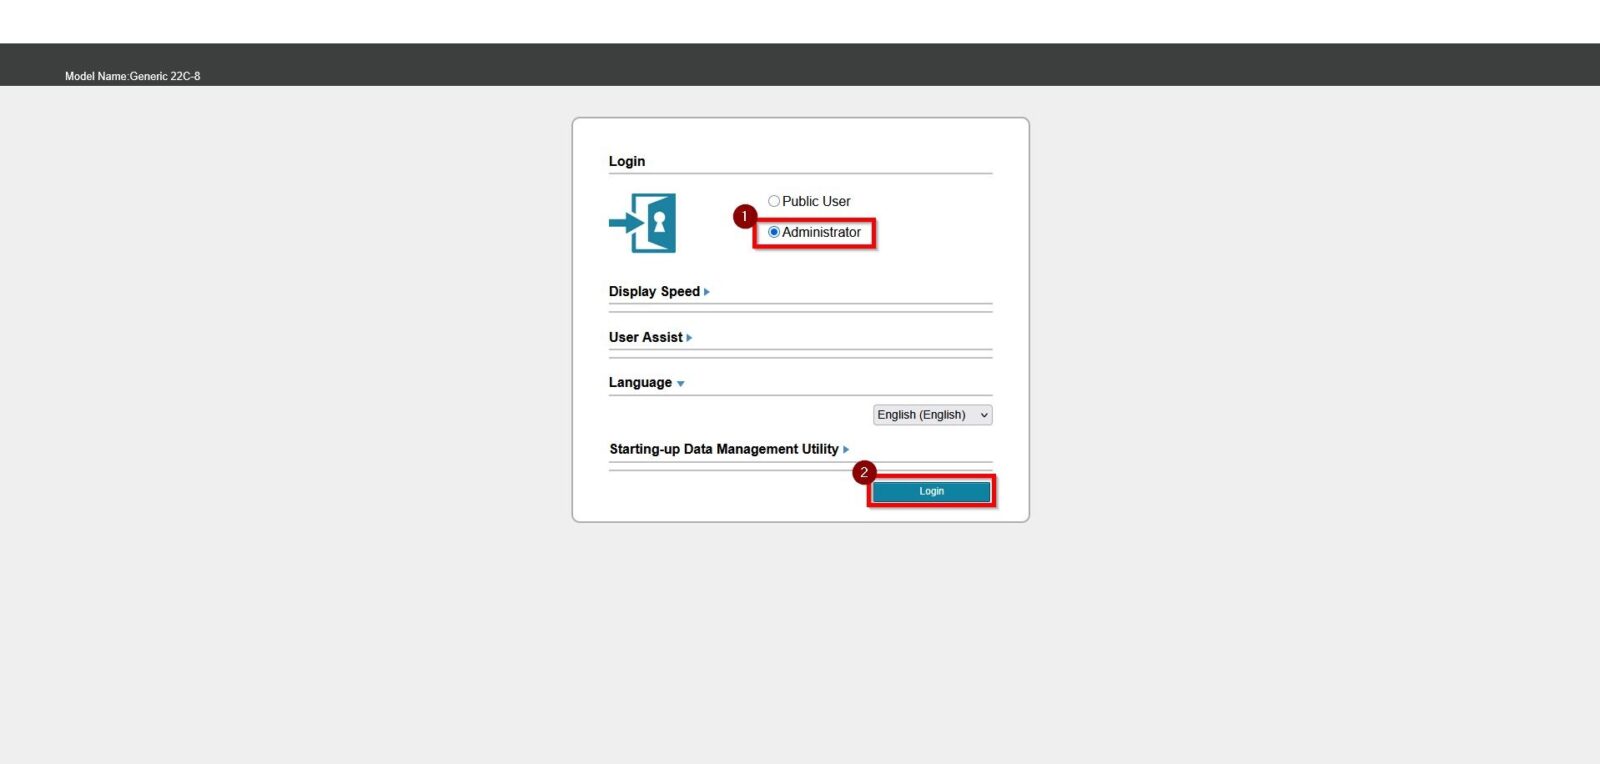
**You may access to web connection via machine IP Address. Click on this to check how to get the IP Address from machine, then key in Konica Minolta Machine IP Address at web browser and log in as admin the Web Connection.
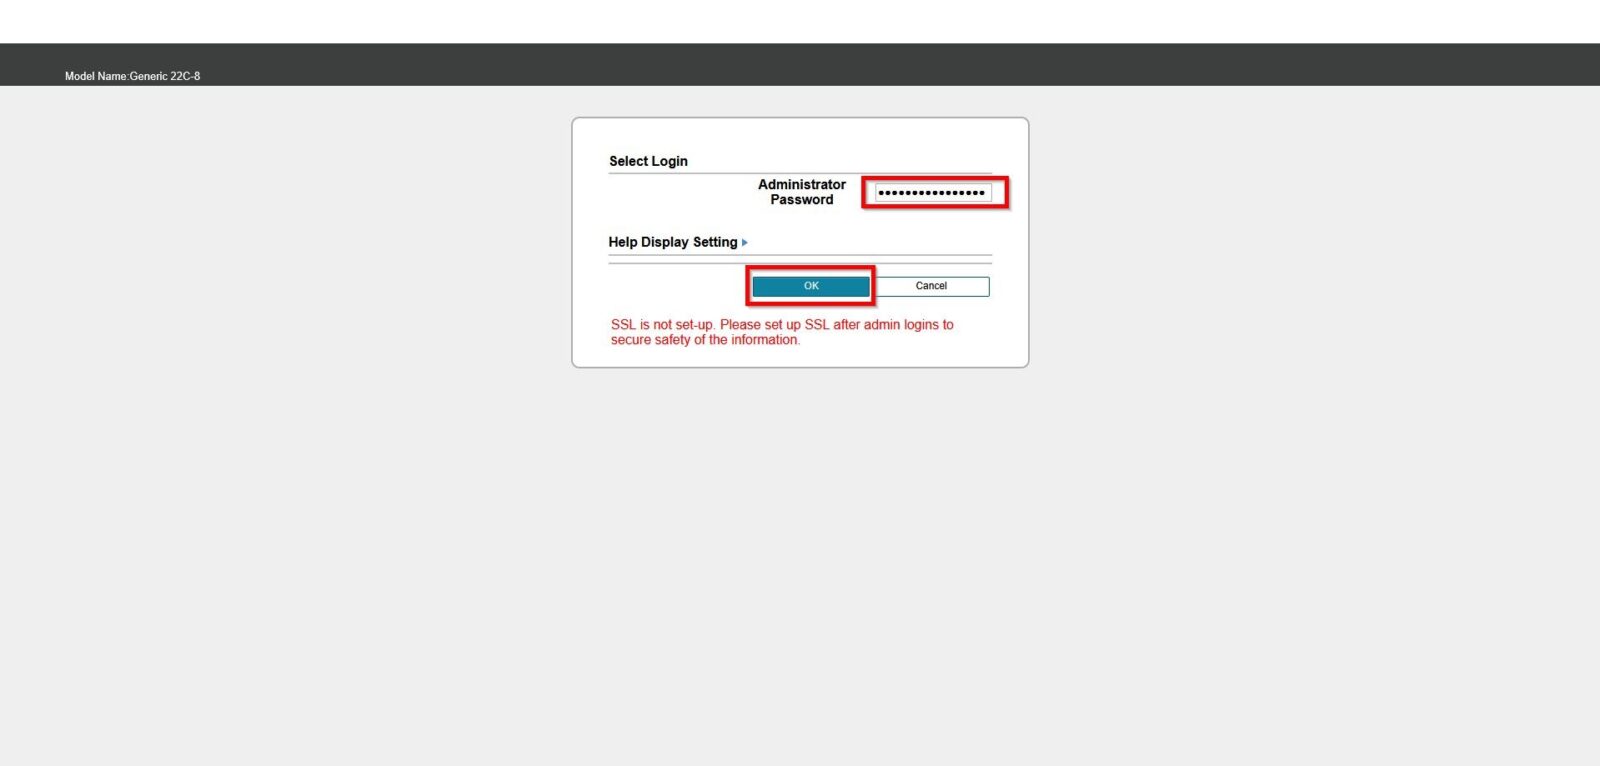
STEP 2 – Key in the default administrator password and click [OK] button.
Default administrator password: [7801261178012611] or [1234567812345678] or [12345678] or [12341234].
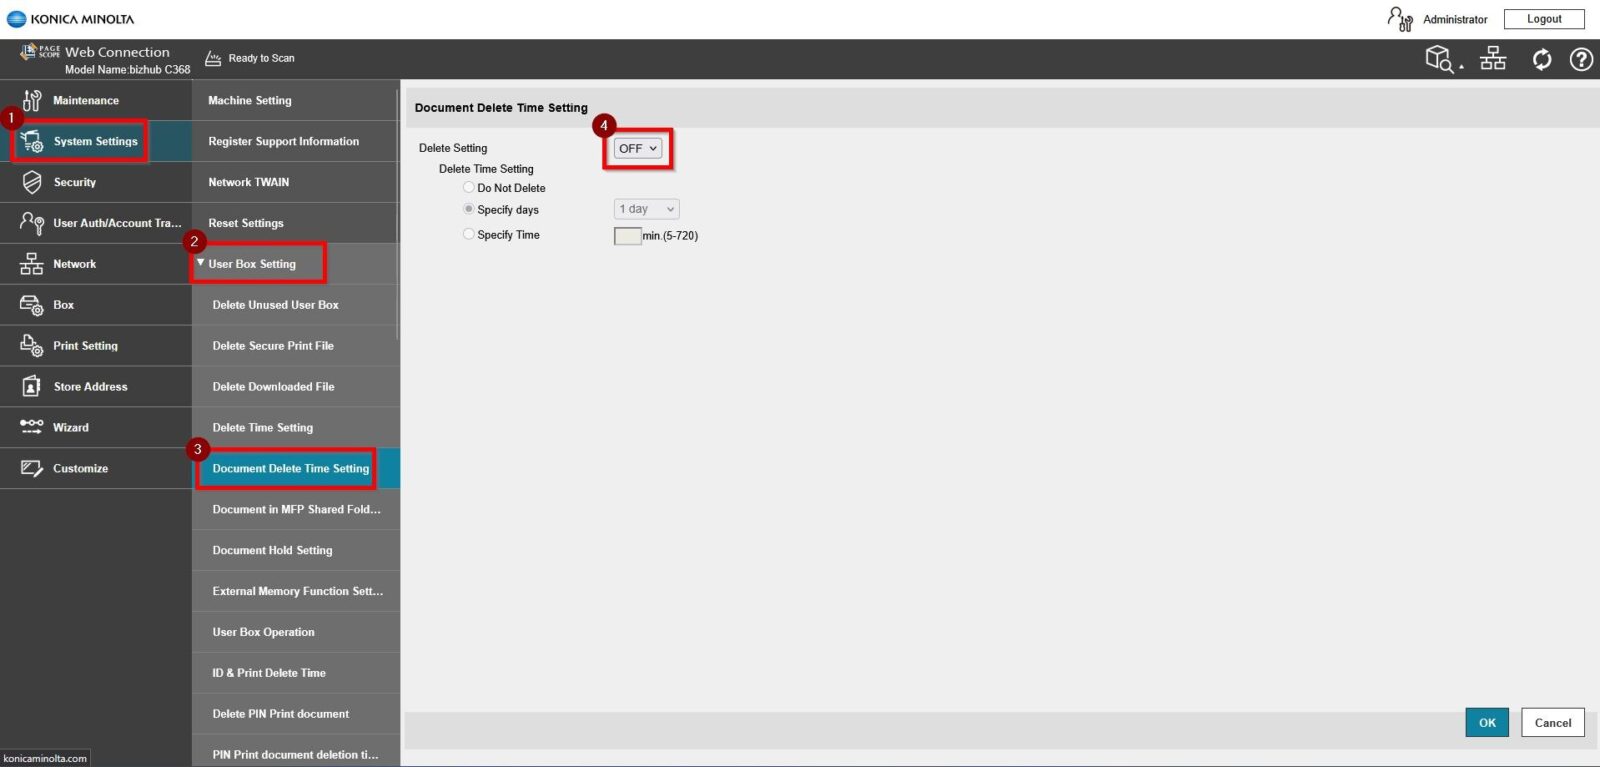
STEP 3 – Select [System Settings] – [User Box Setting] – [Document Delete Time Setting] and select [OFF] to disable. After that, click on [OK] to save.
**If this option disable, normal user will able to select the delete time setting in the user box setting.
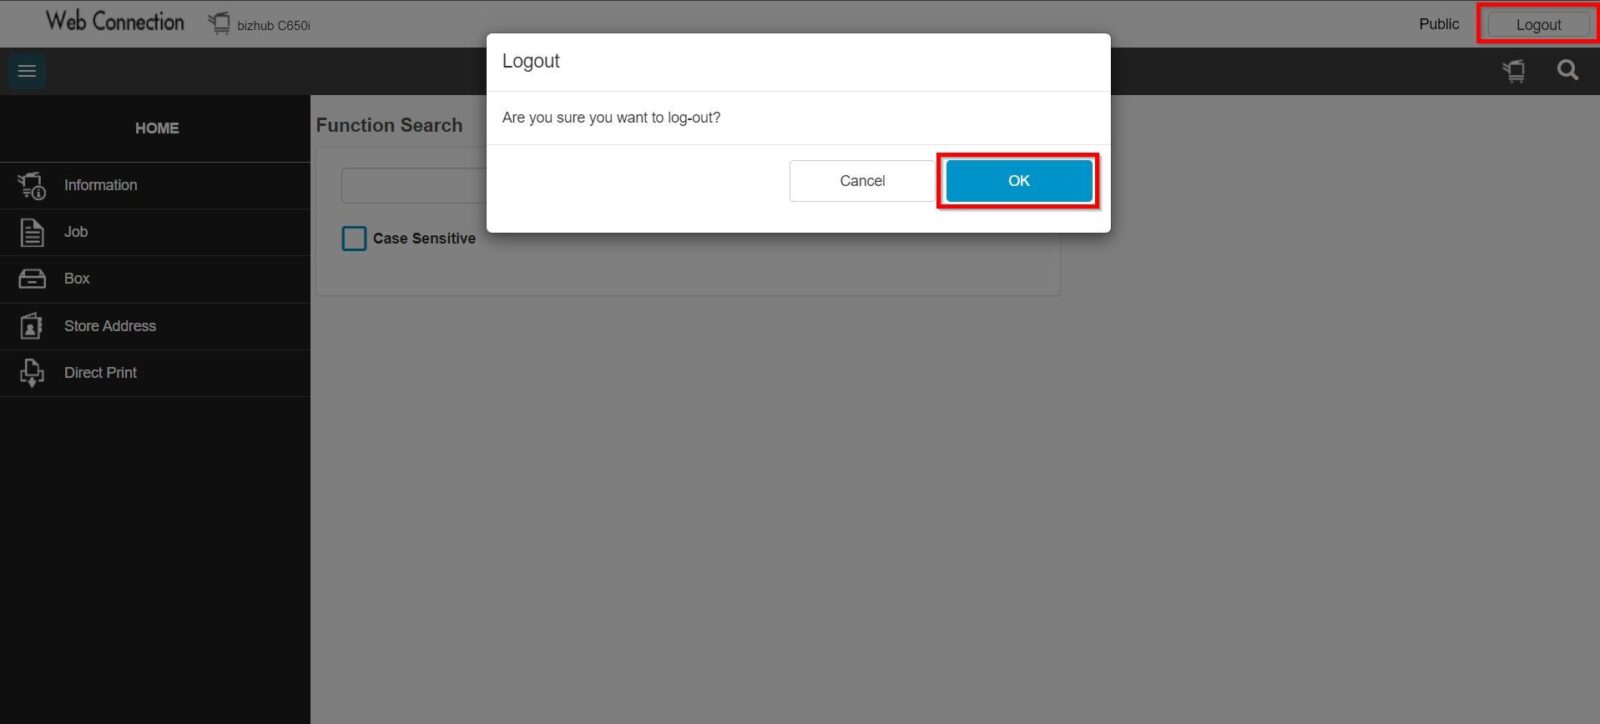
STEP 4 – Once return to home screen of web connection, login as [Public User] – [Box] – [User Box List].
Select the user box for which you want to modify the automatic deletion time, then click [Edit].
Next, select one of the following options under Auto Delete Document:
- Do Not Delete
- Specify Days (up to 30 days)
- Specify Time (up to 720 minutes)
After making selection, click [OK] to save the settings.
For the Newer Machine series / I-Series Machine
How To Automatically Deleting Files From A User Box Set By User on Photostat Machine or Web Connection
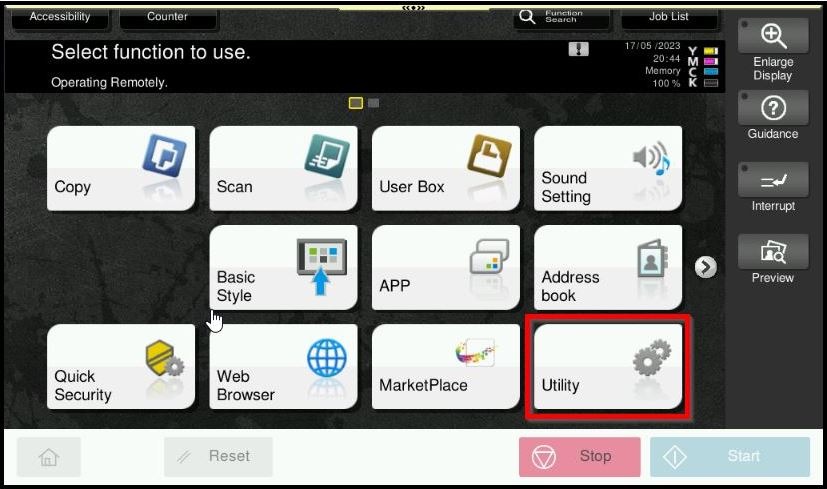
STEP 1 – Select [Utility].
**You may access to web connection via machine IP Address. Click on this to check how to get the IP Address from machine, then key in Konica Minolta Machine IP Address at web browser and log in as admin the Web Connection.
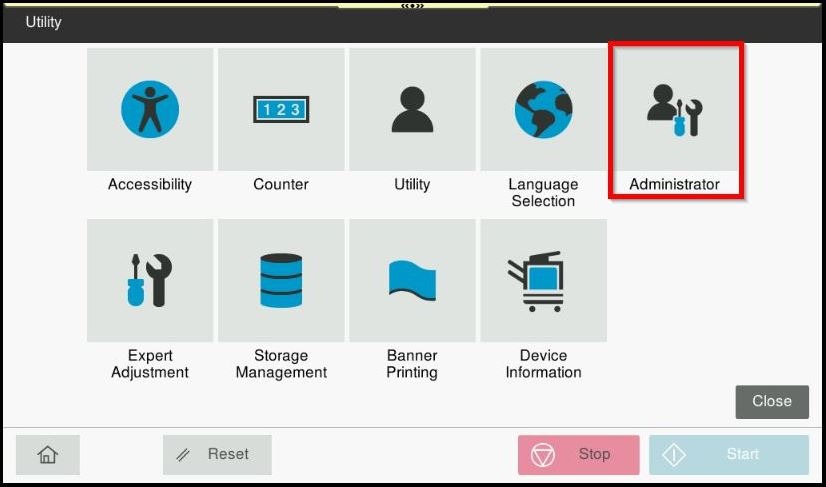
STEP 2 – Select [Administrator].
STEP 3 – Key in the default administrator password and click [OK] button.
Default administrator password: [7801261178012611] or [1234567812345678] or [12345678] or [12341234].
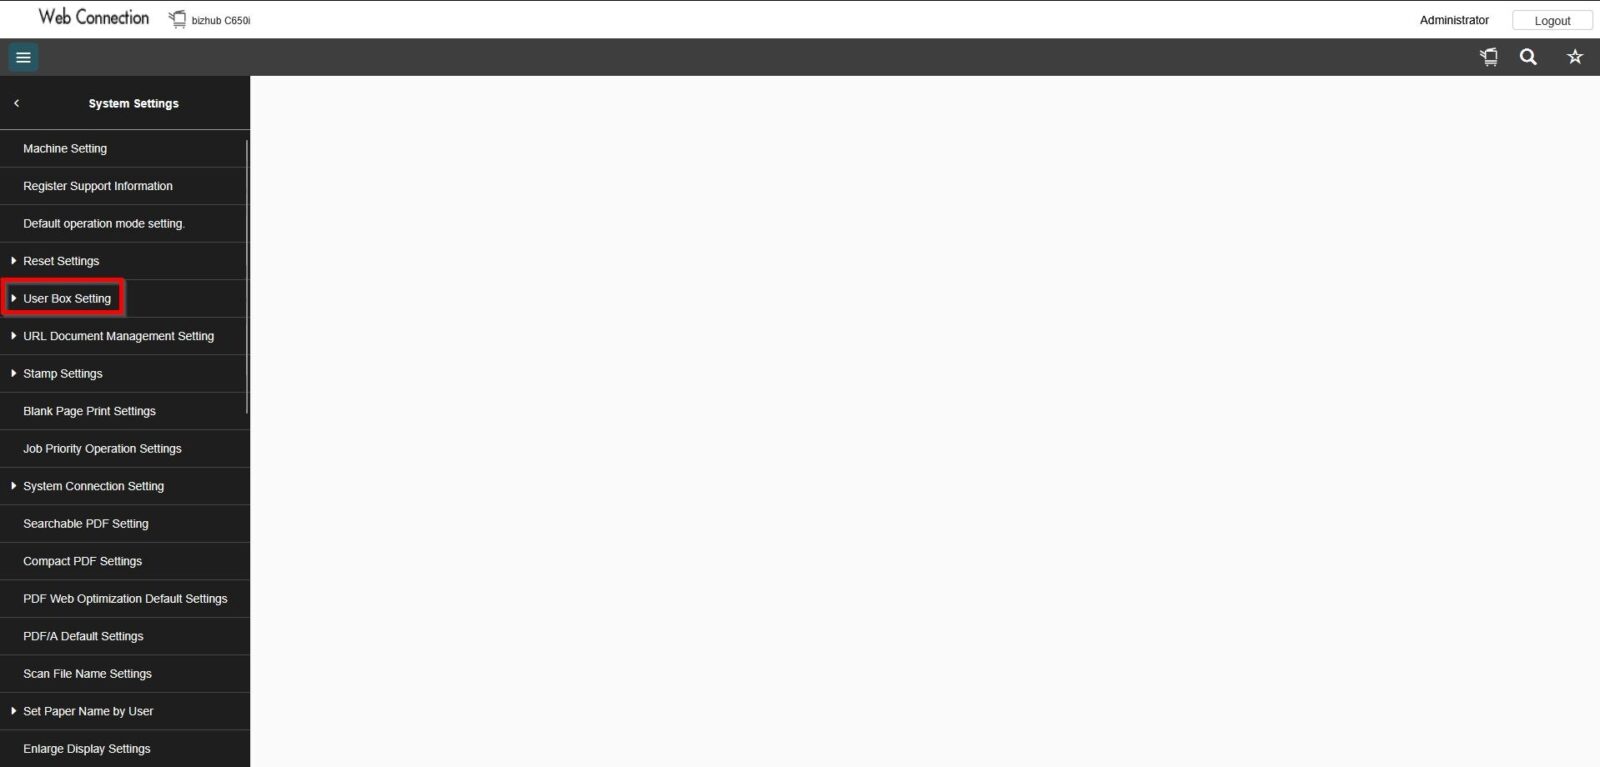
STEP 4 – Select [System Settings].

STEP 5 – Select [User Box Setting].
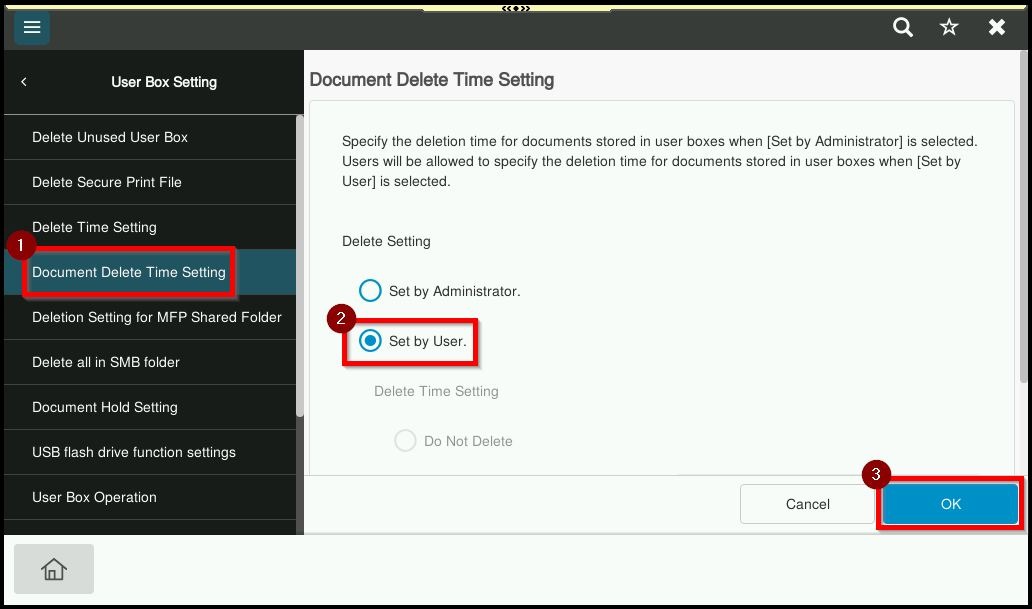
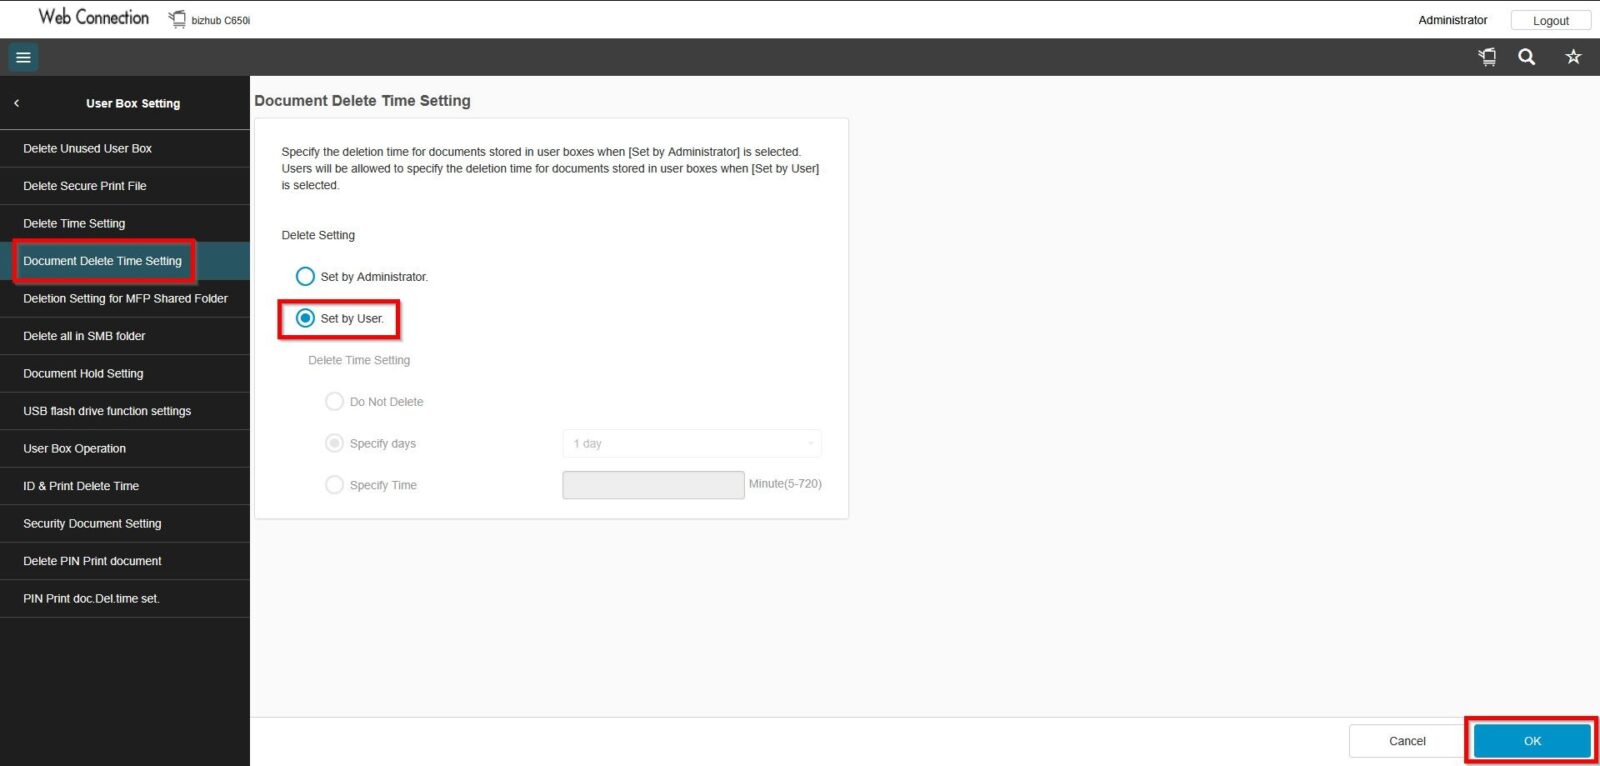
STEP 6 – Select [Document Delete Time Setting] – [Set By User]. After that, click on [OK] to save.
**If this option disable, normal user will able to select the delete time setting in the user box setting.
STEP 7 – Once you return to the home screen, navigate to the User Box settings in User Mode, depending on whether you are using the machine panel or accessing it via a web connection.
Via Machine
Proceed to [Home] > [Utility] > [Utility] > [Box] > [User Box List], select the user box that want to set auto deletion time, proceed to [Edit].
Select one of the following options under Auto Delete Document:
- Save (Do Not Delete)
- Specify Days (up to 30 days)
- Specify Time (up to 720 minutes)
After making selection, click [OK] to save the settings.
Via Web Connection
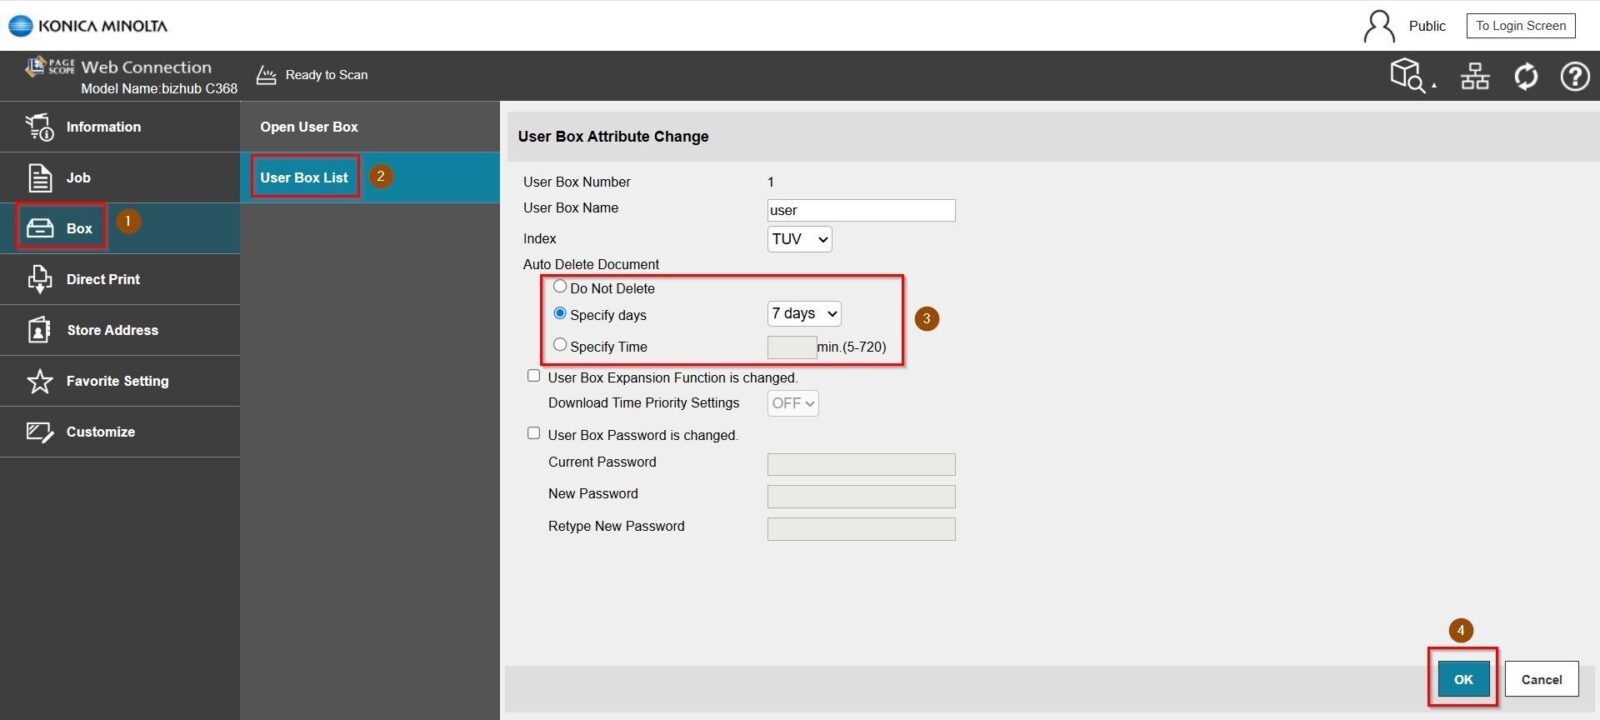
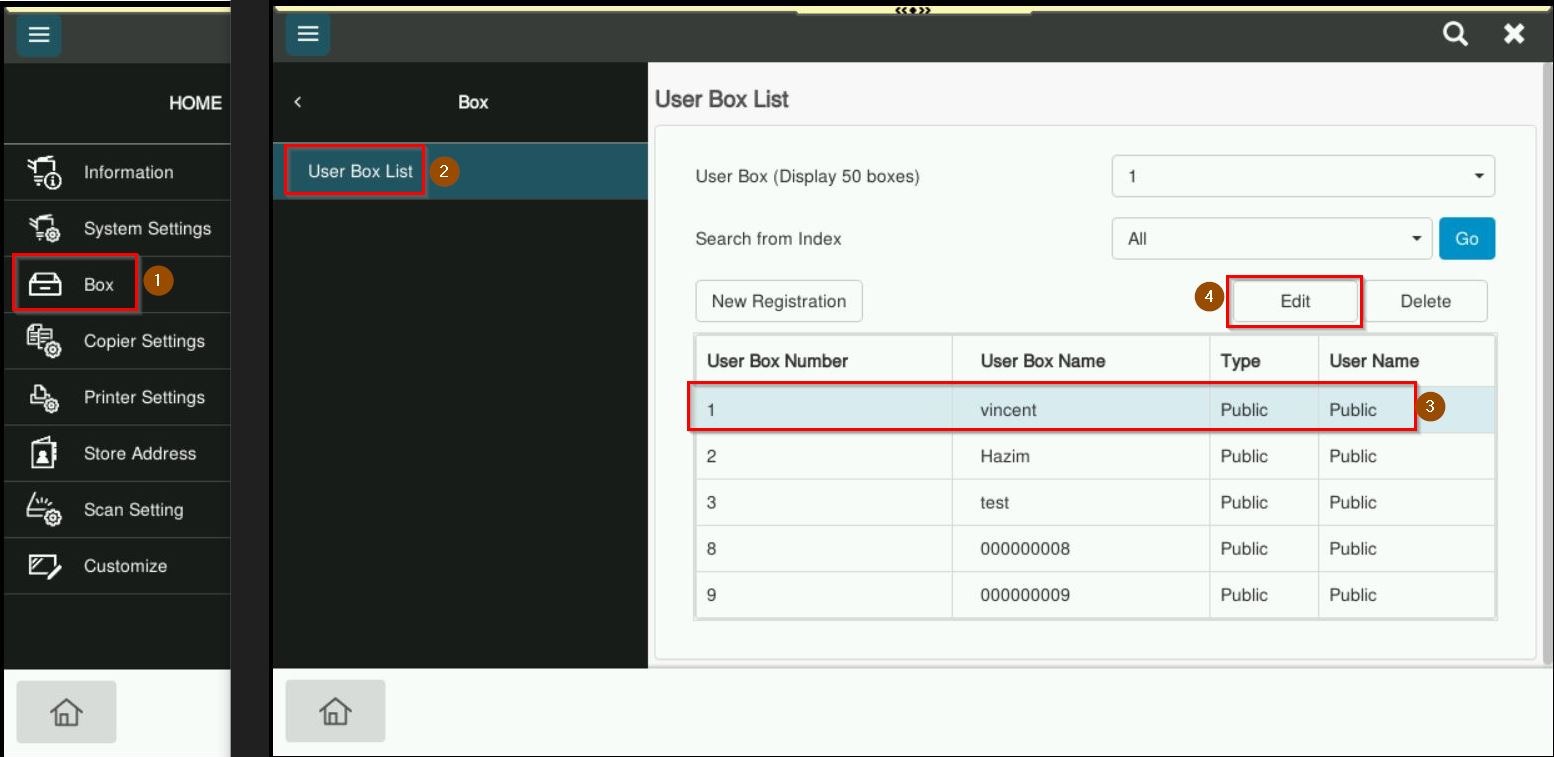
Once return to home screen of web connection, login as [Public User] – [Box] – [User Box List].
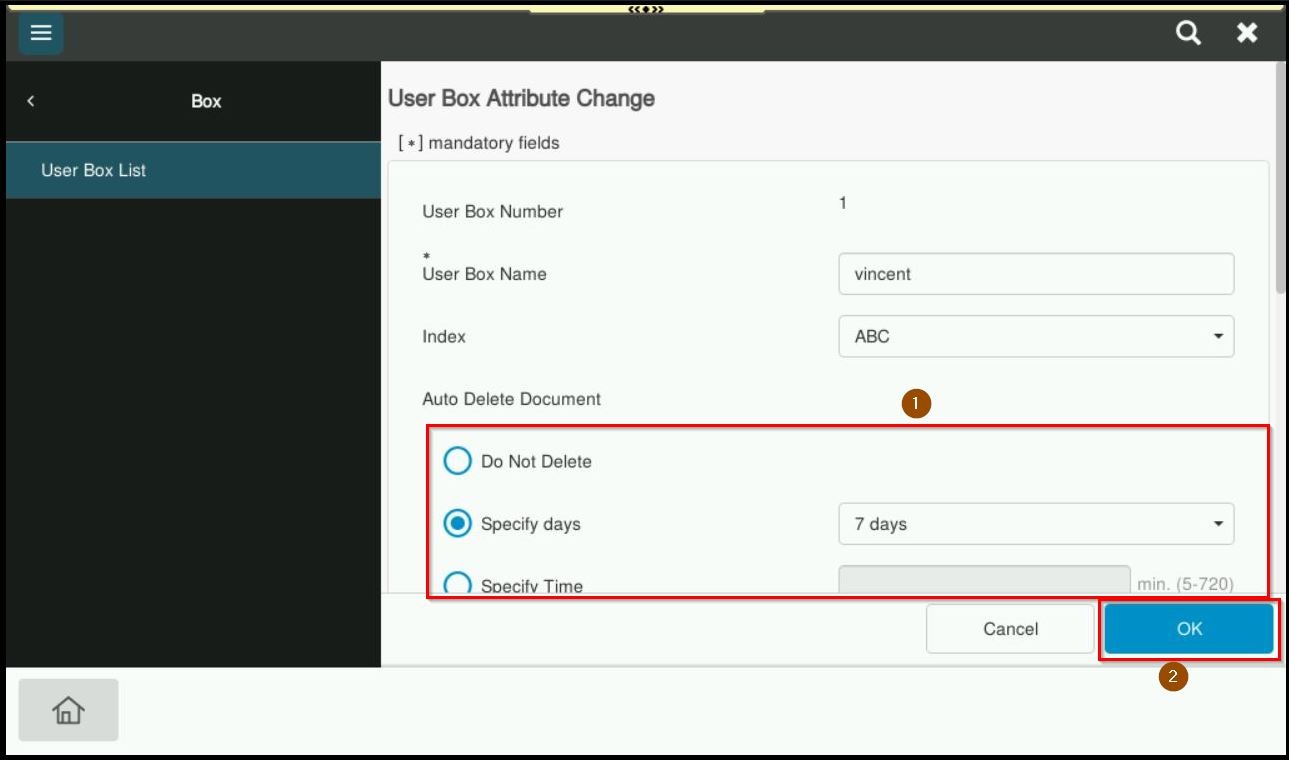
Select the user box for which you want to modify the automatic deletion time, then click [Edit].
Next, select one of the following options under Auto Delete Document:
- Do Not Delete
- Specify Days (up to 30 days)
- Specify Time (up to 720 minutes)
After making selection, click [OK] to save the settings.

