Guide on how to configure the total counter notification settings on machine
This setting is to register destination E-mail addresses on machine to receive a counter information on certain date. Before setup the total counter notification settings, the machine need to be setup scan to email in order to able to receive counter information via email, click here on how to setup scan to email on machine.
For the Older Machine series / Non I-Series Machine
STEP 1 – At the web browser, enter the IP address of the Konica Minolta device. Click Here for the guide on how to get the machine IP Address.
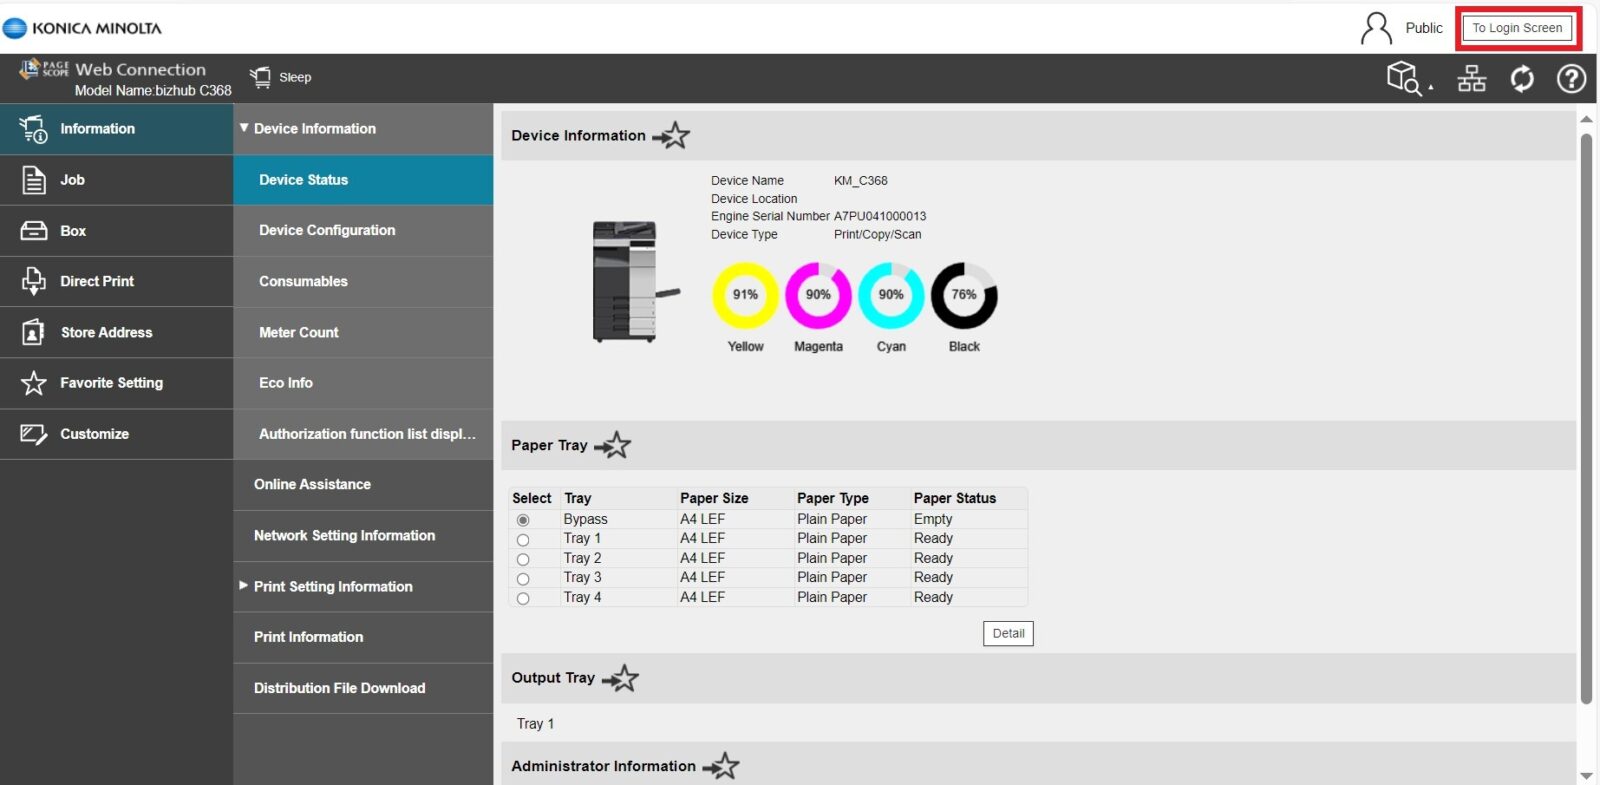
STEP 2 – Select [To login screen] to logout from public user, skip this step if the webpage are already in login page.
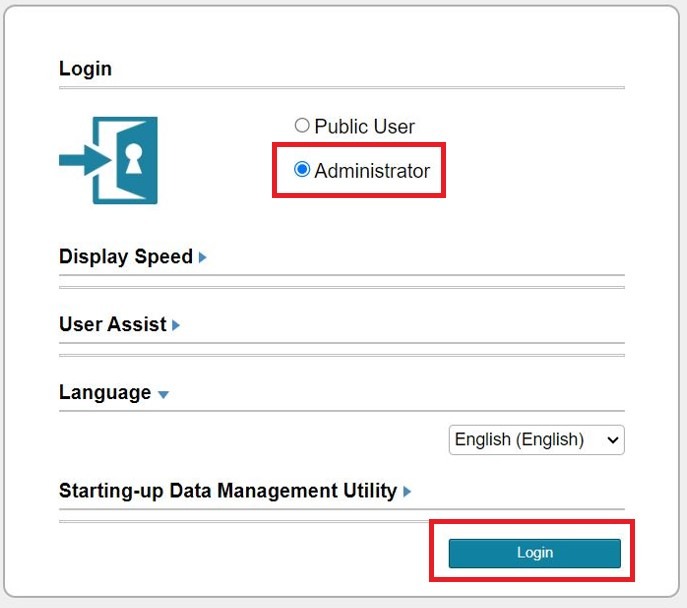
STEP 3 – Select [Administrator] option, click on Login.
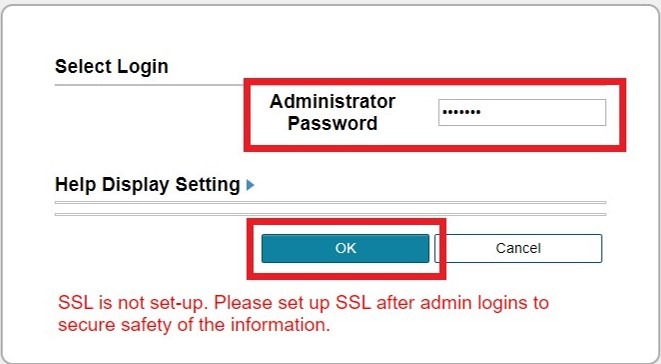
STEP 4 – Enter the administrator password and click [OK].
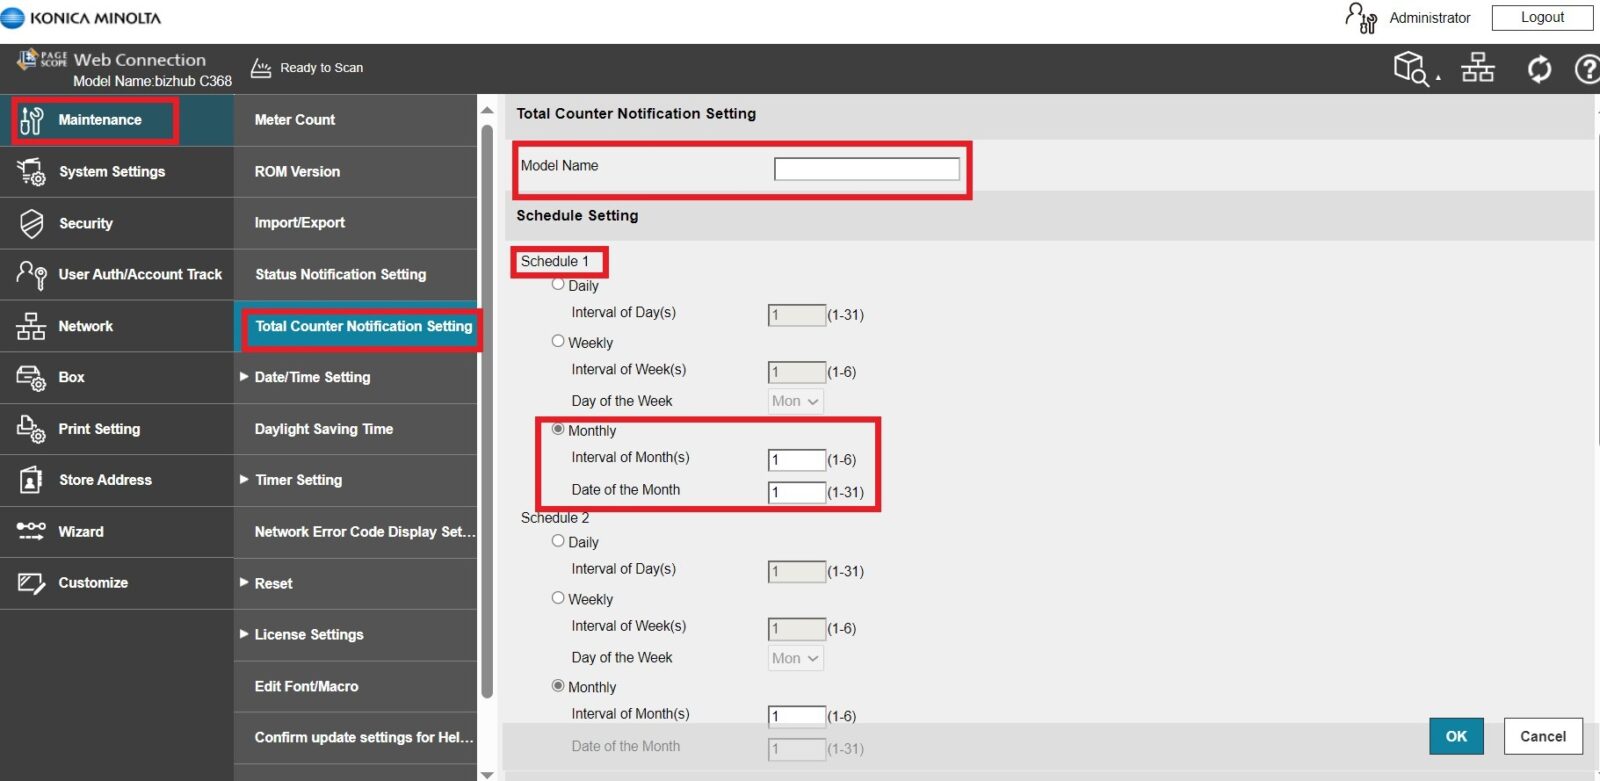
STEP 5 – Select [Maintenance] – [Total Counter Notification Setting], Key in the information below. Then click [OK] to save the setting.
- [Model Name]: Enter a model name to be included in the notification mail message.
- [Schedule Setting]: Select a schedule to be applied to a destination from the schedules registered in either Daily, Weekly or Monthly. Can set up to 2 schedule at same time.
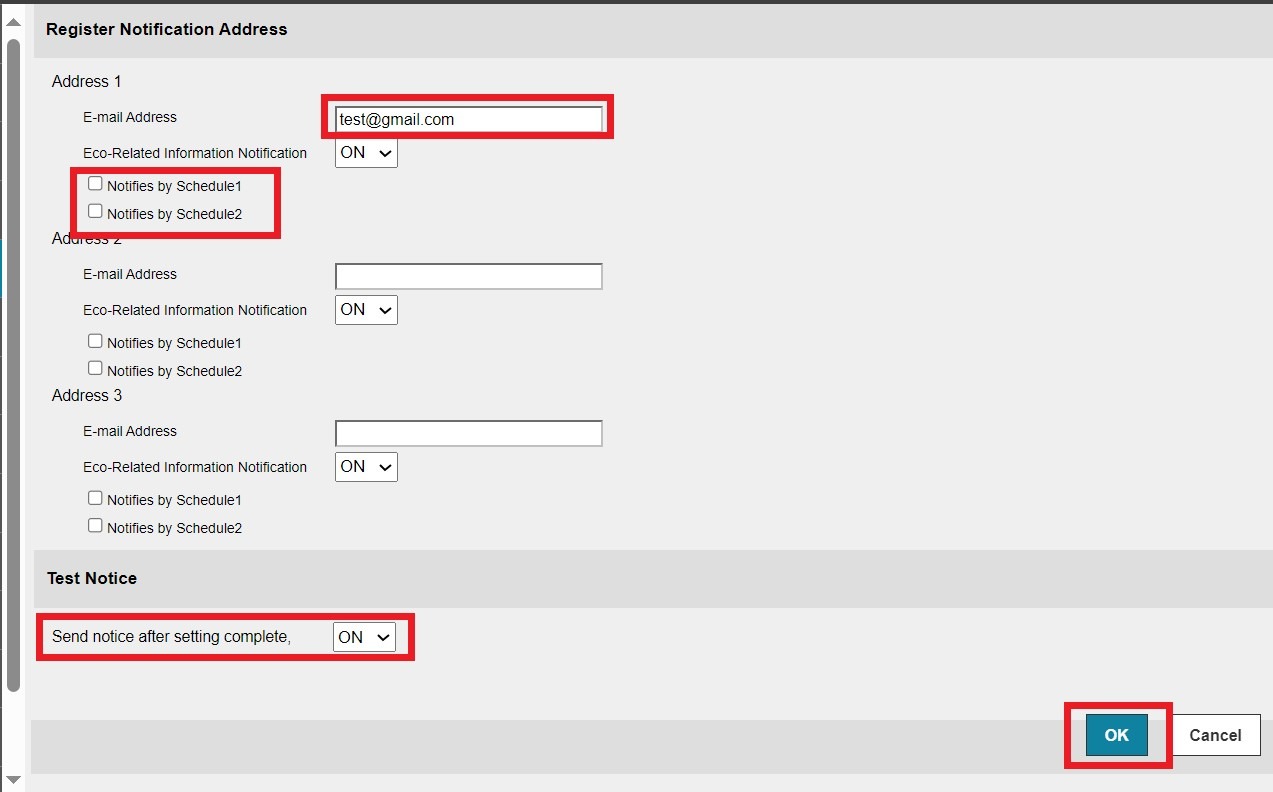
- [Register Notification Address]: Key in the email address that want to receive a counter information with certain date that been set under schedule setting. It is allowed to be tick notified by up to 2 schedule and 3 email at most can be received at the same time.
- [Send notice after setting complete]: set to ON so it able to send test notice whether the test scan to email able to receive successfully.
For the Newer Machine series / I-Series Machine
STEP 1 – At the web browser, enter the IP address of the Konica Minolta device. Click Here for the guide on how to get the machine IP Address.
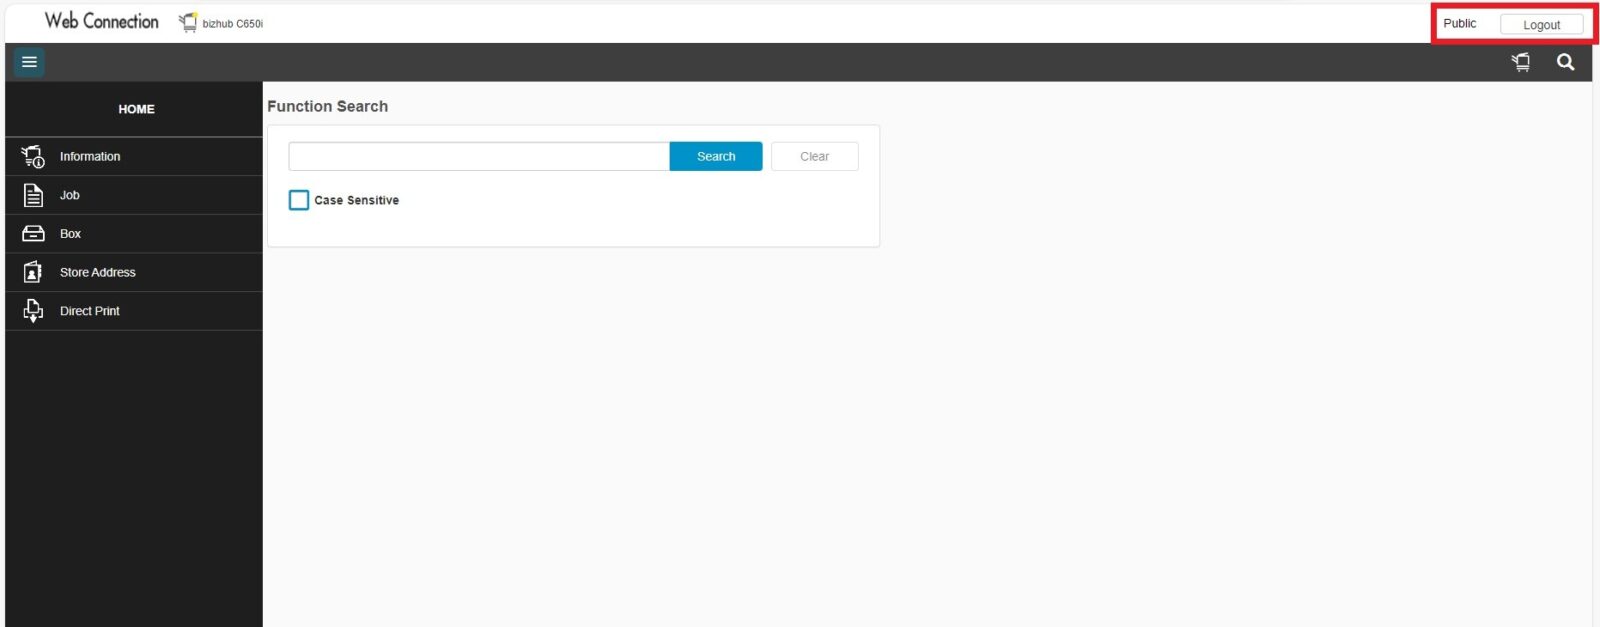
STEP 2 – Select [Logout] to logout from public user, skip this step if the webpage are already in login page.
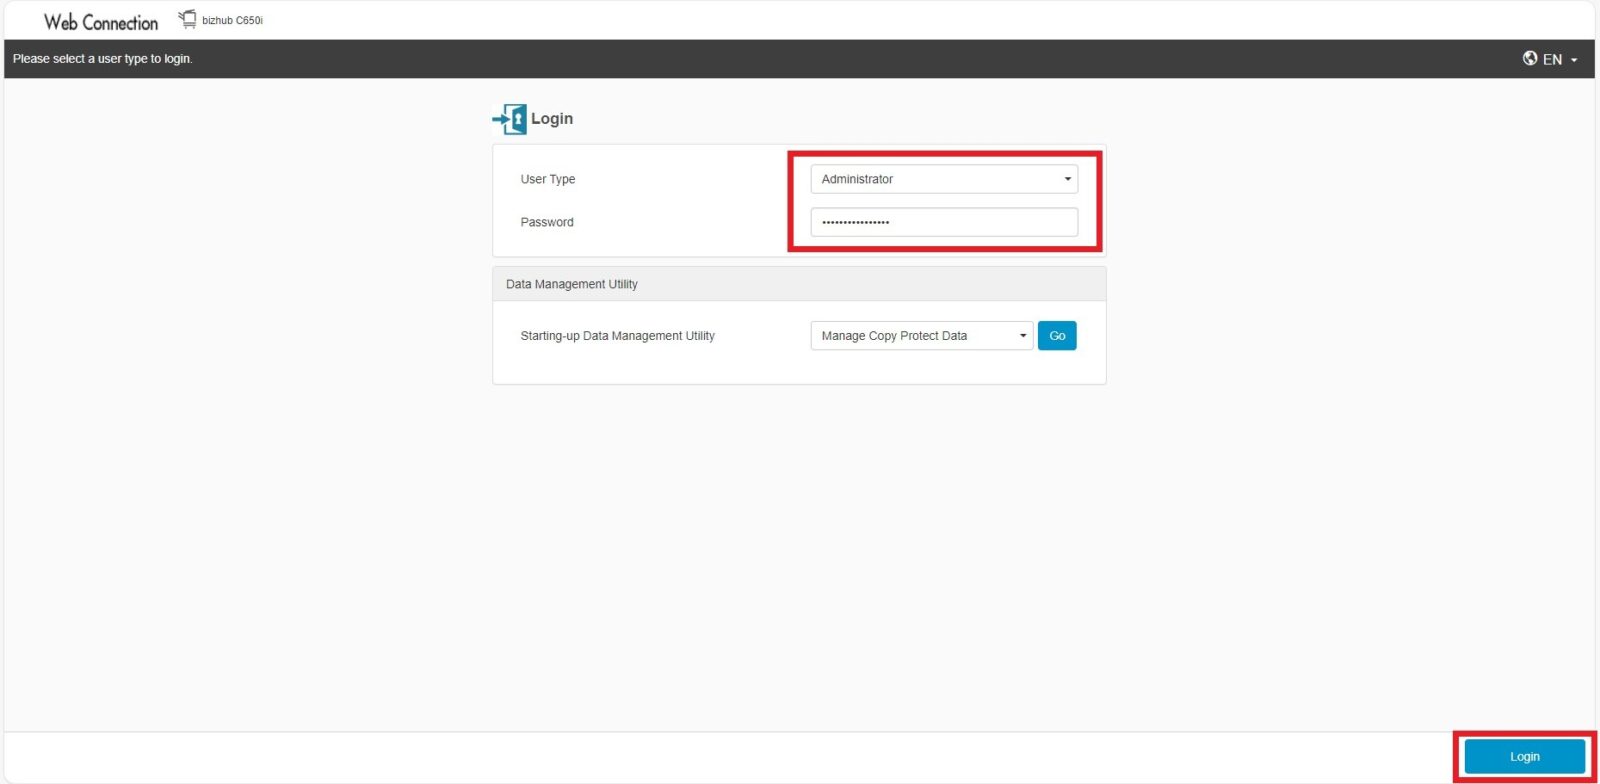
STEP 3 – Select [Administrator] option and enter administrator password, click on Login.
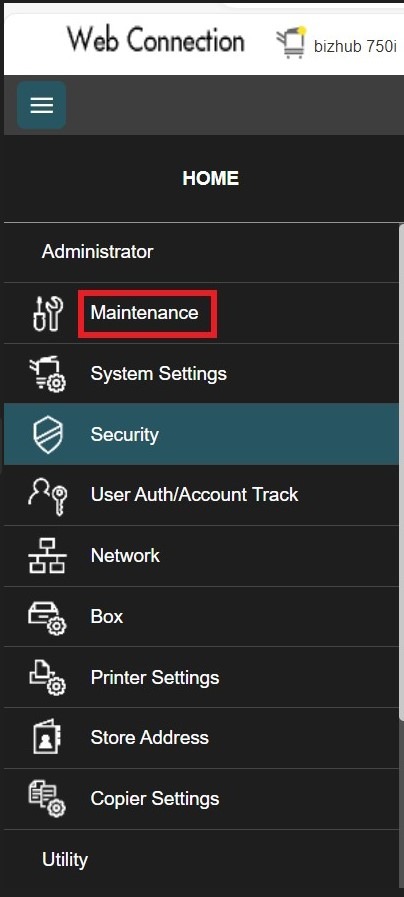
STEP 4 – Select [Maintenance]
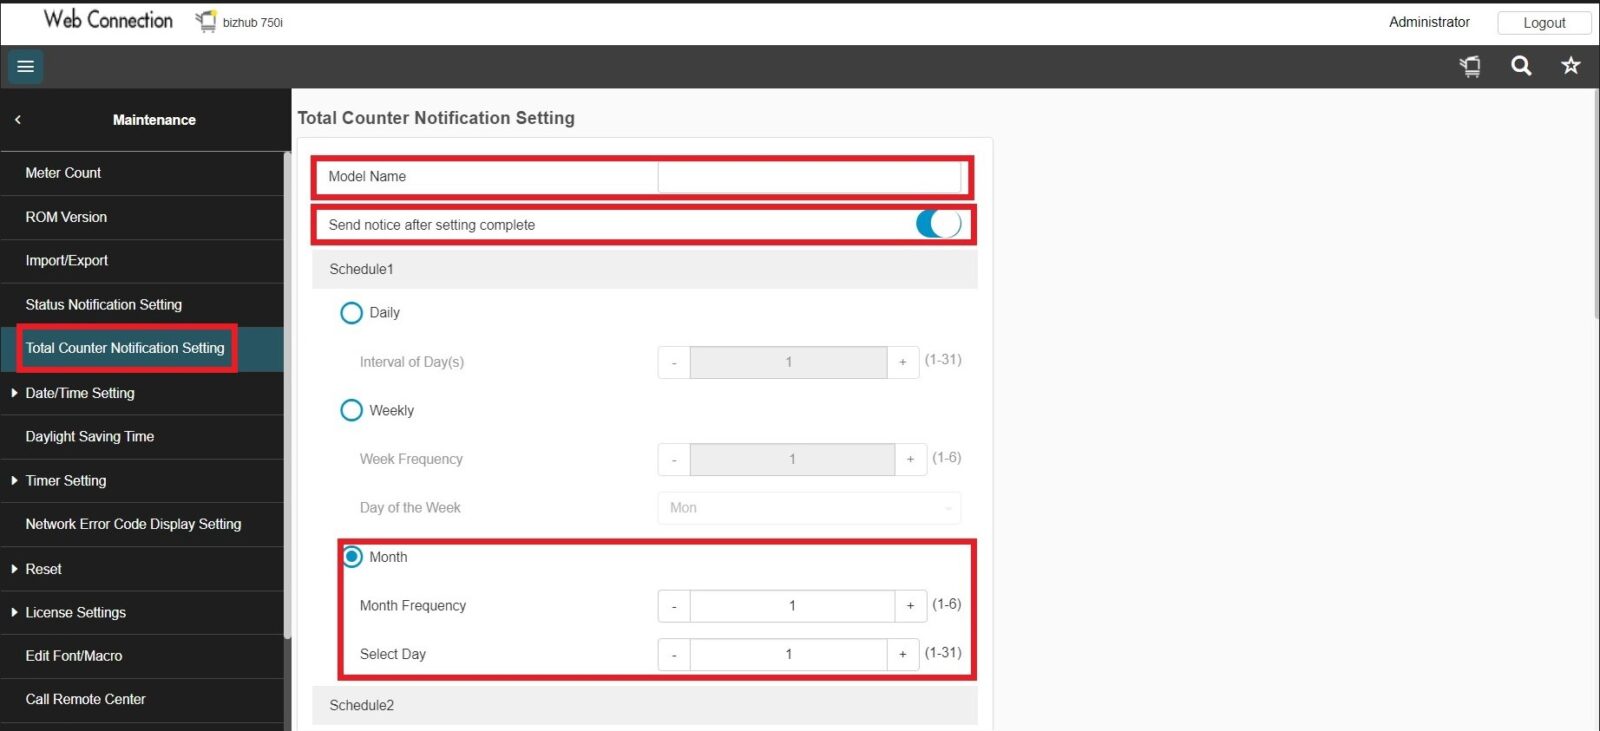
STEP 5 – Click on [Total Counter Notification Setting], Key in the information below. Then click [OK] to save the setting.
- [Model Name]: Enter a model name to be included in the notification mail message.
- [Send notice after setting complete]: set to ON so it able to send test notice whether the test scan to email able to receive successfully.
- [Schedule Setting]: Select a schedule to be applied to a destination from the schedules registered in either Daily, Weekly or Monthly. Can set up to 2 schedule at same time.
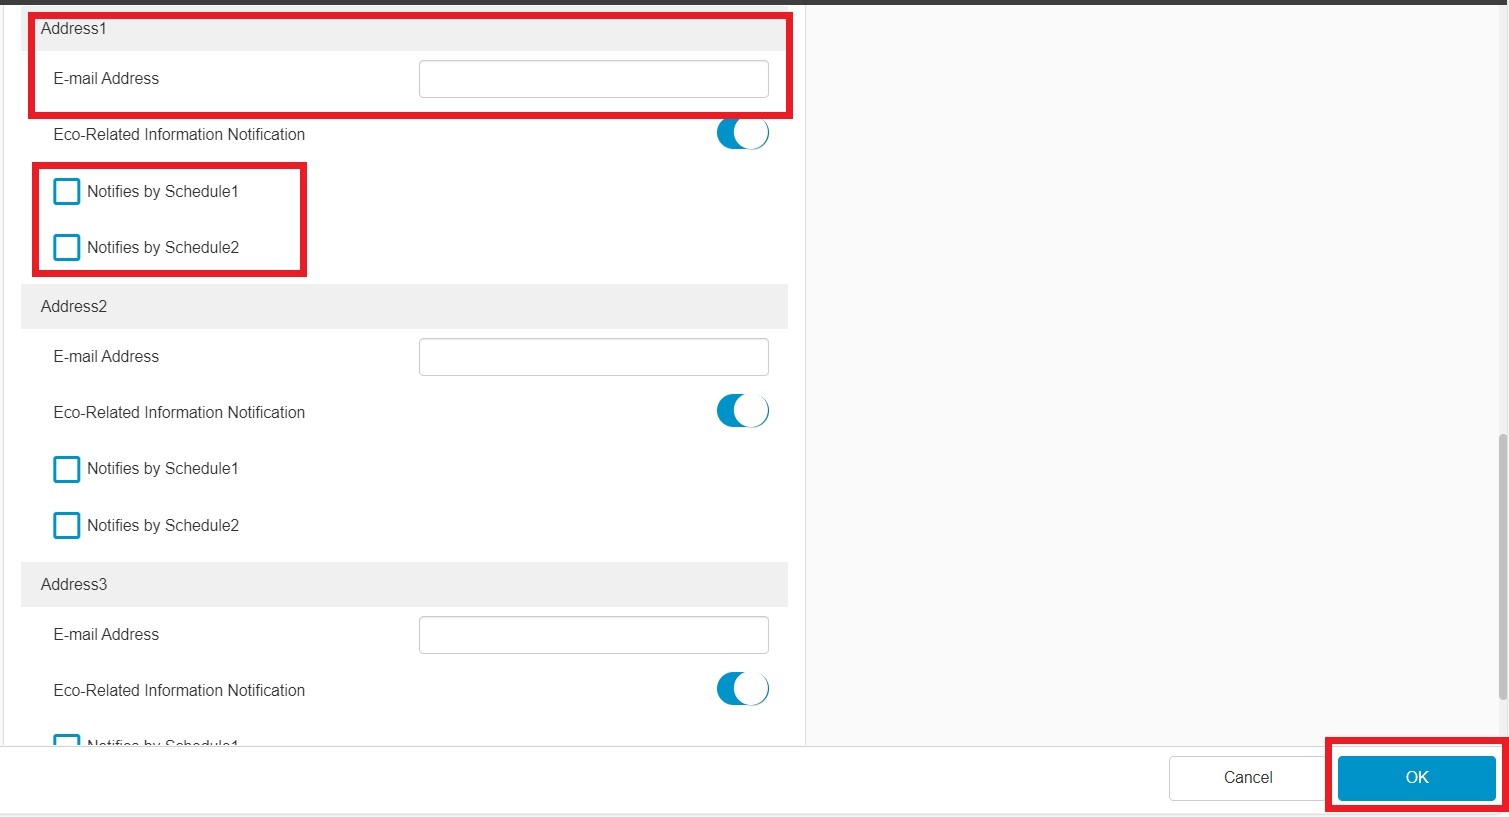
- [Register Notification Email Address]: Key in the email address that want to receive a counter information with certain date that been set under schedule setting. It is allowed to be tick notified by up to 2 schedule and 3 email at most can be received at same time.