

Guide On How To Set Address Book Index As Default For Scanning.
For The Older Machine Series / Non I-Series Machine
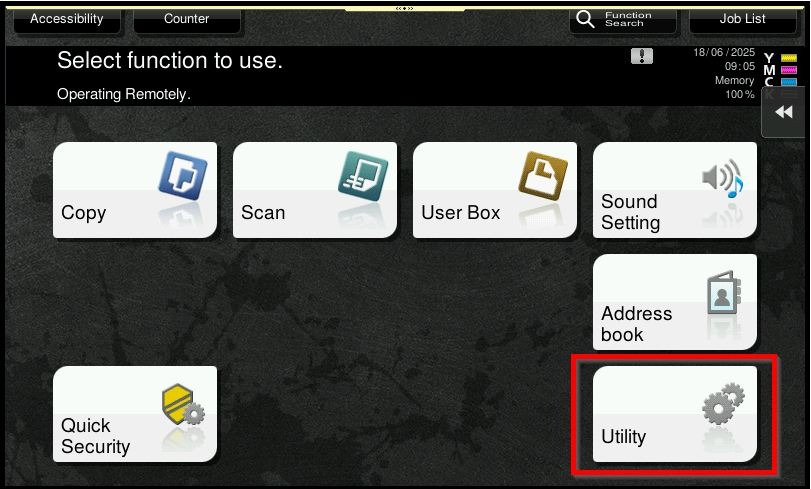
STEP 1 – Press on [Menu] button, then select [Utility].
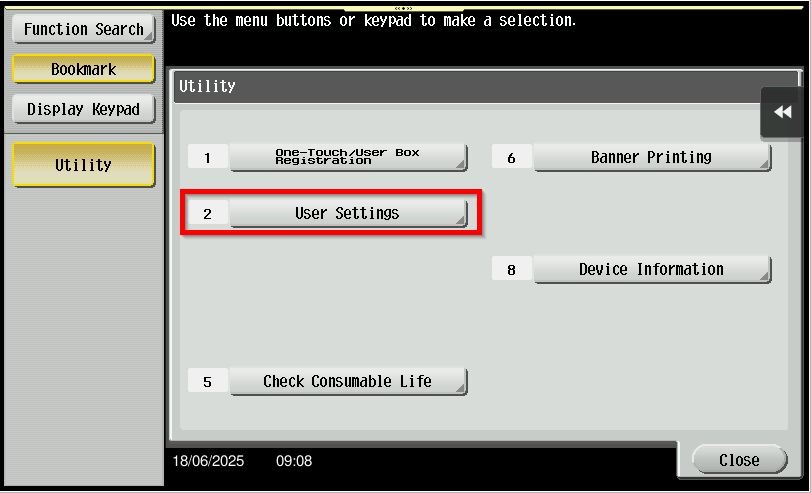
STEP 2 – Select [User Settings].
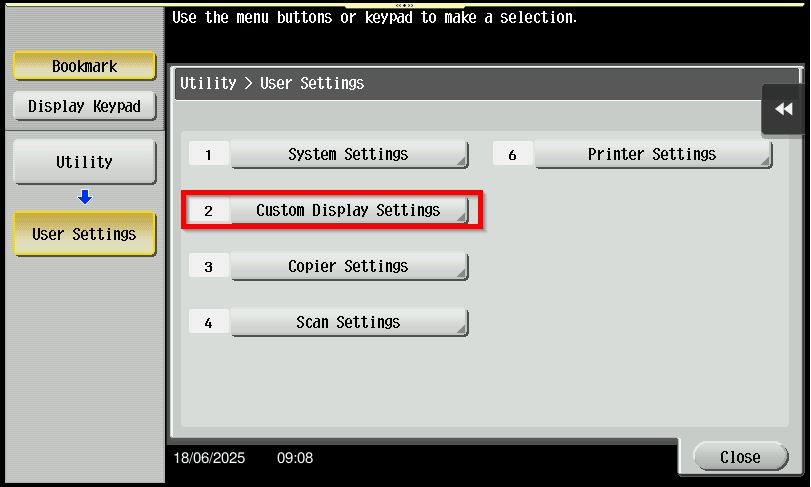
STEP 3 – Click on [Custom Display Settings].
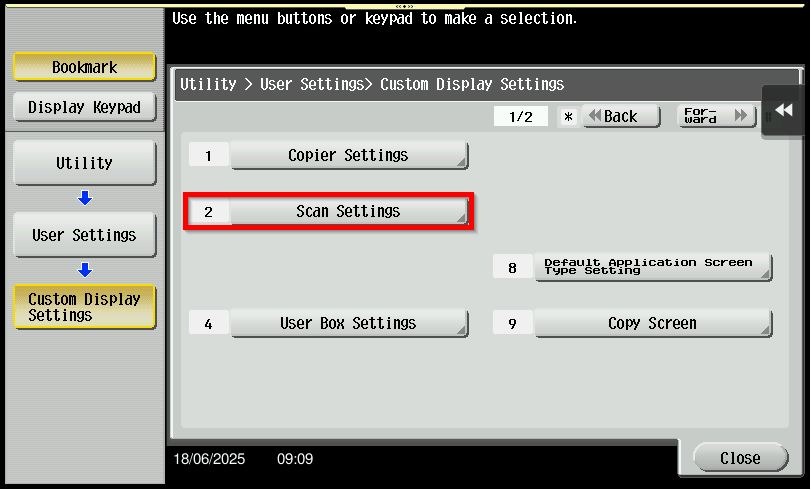
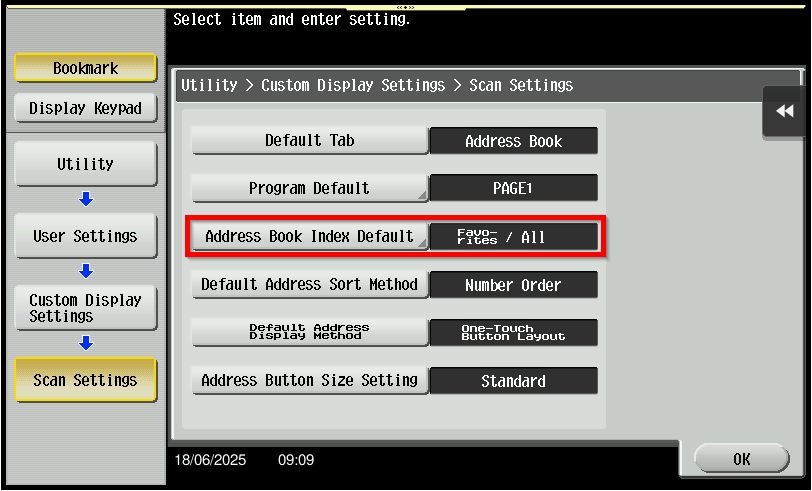
STEP 4 – Select on [Scan Settings].
STEP 5 – Select [Address Book Index Default].
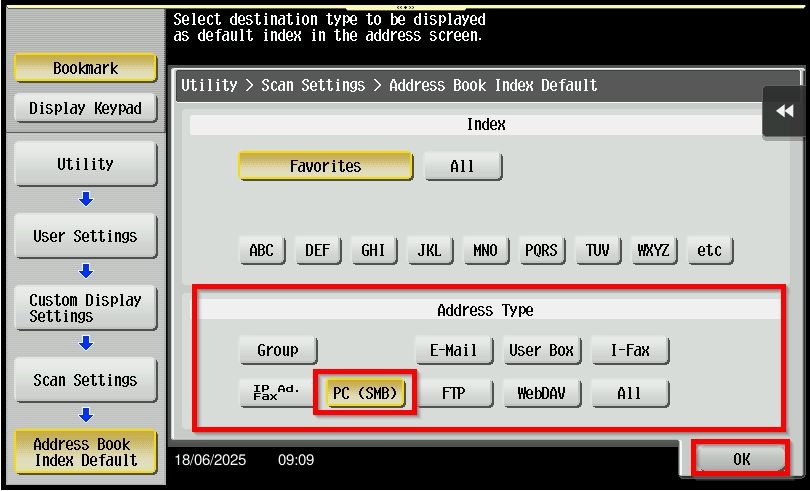
STEP 6 – Under [Address Type], you may choose either 1 option to be show as default and click [OK] to save.
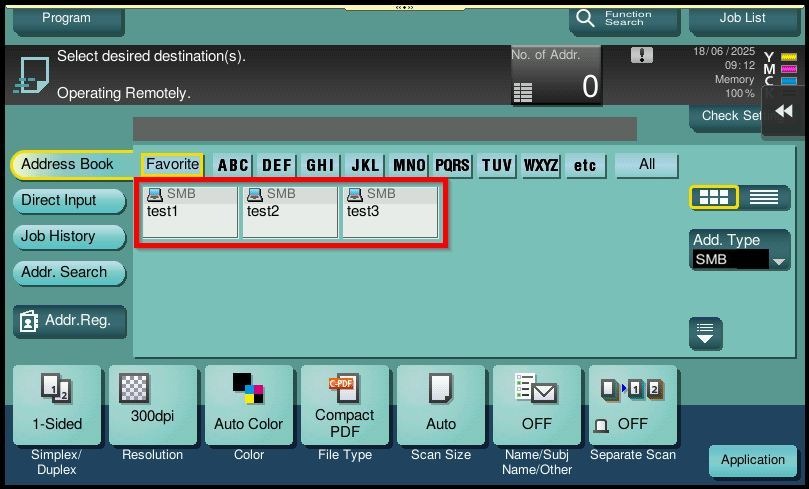
STEP 7 – After completing step above, it will only show the address type [SMB] by default.
For The Newer Machine Series / I-Series Machine
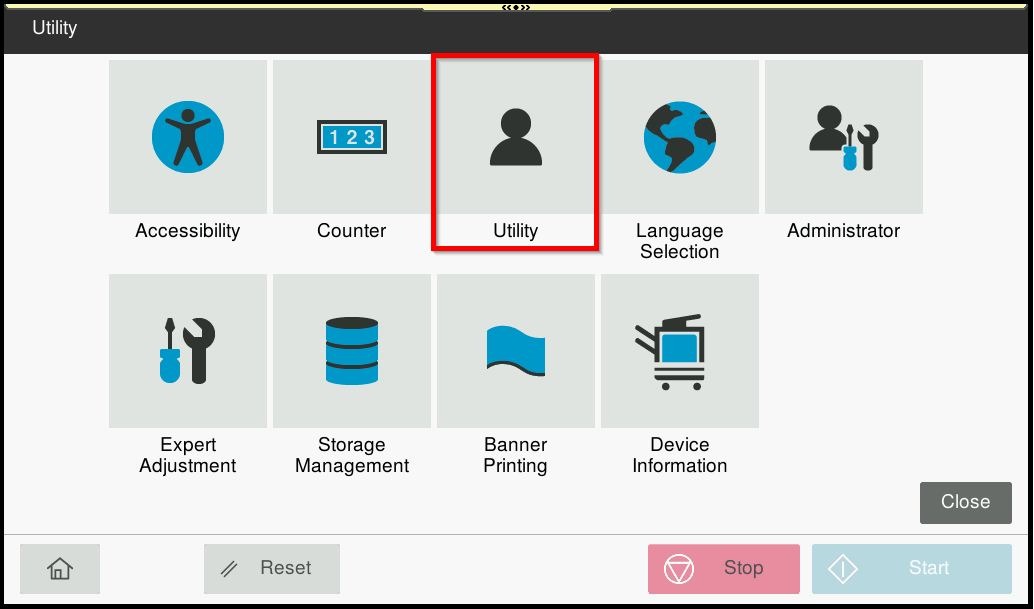
STEP 1 – Press on [Home] icon, then select [Utility].
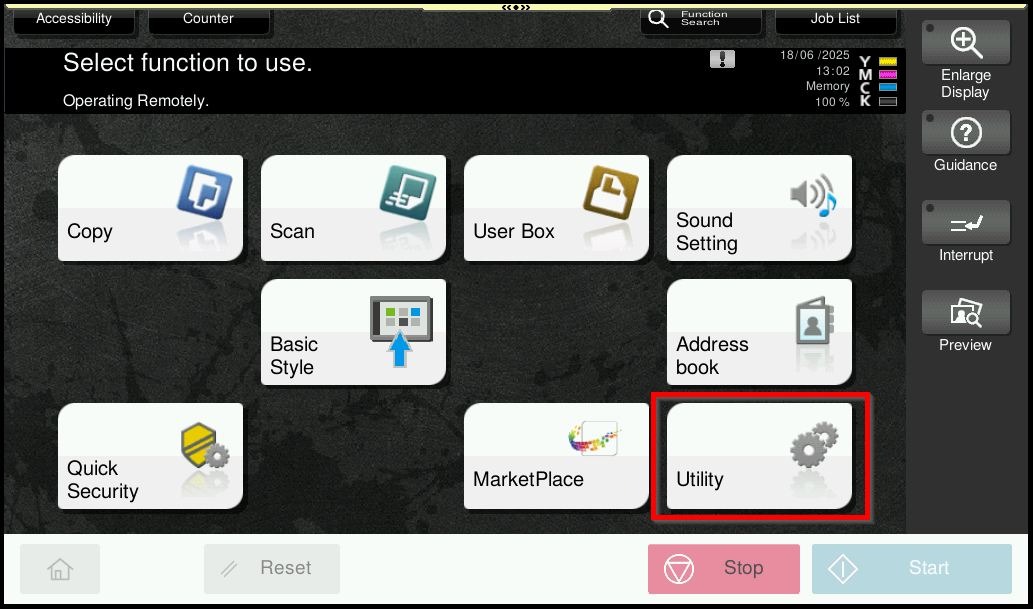
STEP 2 – Select [Utility].
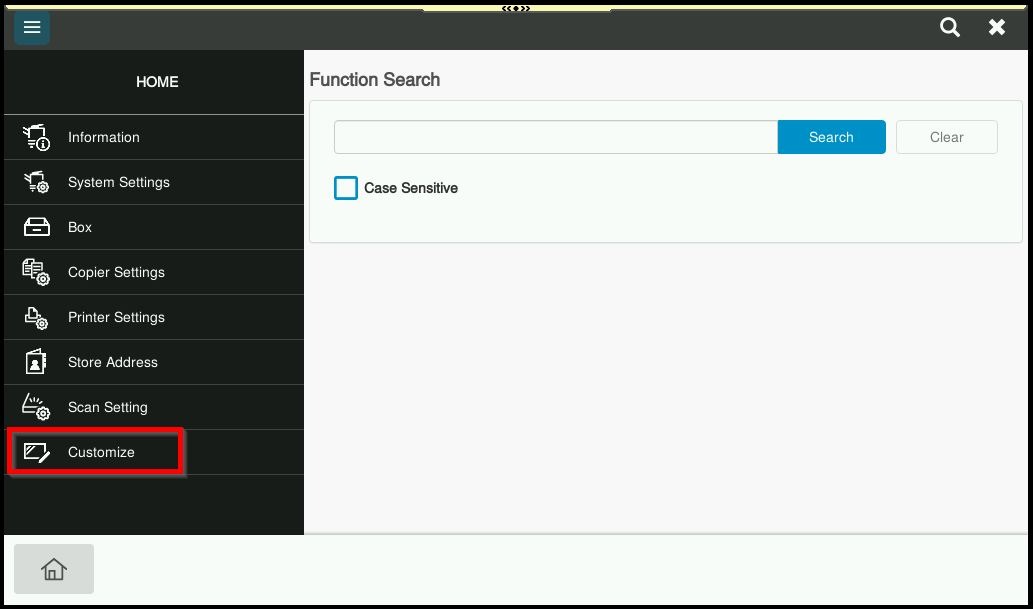
STEP 3 – Click on [Customize].
STEP 4 – Select on [Scan Settings], under [Address Type] you may choose either 1 option to be show as default and click [OK] to save.
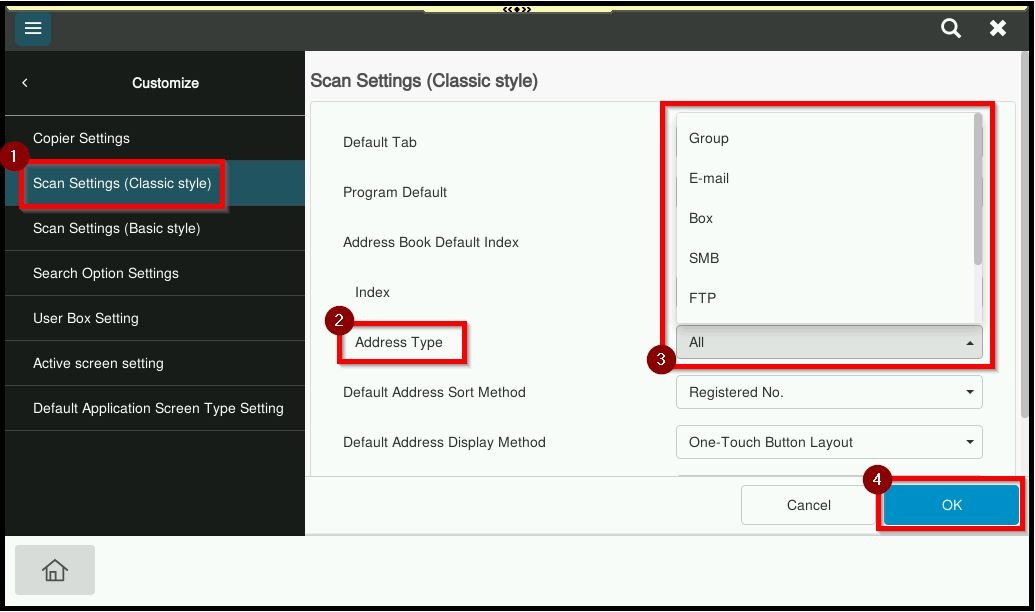
STEP 5 – After completing step above, it will only show the address type [SMB] by default.
