Guide On How To Add Userbox Shortcut In Desktop For Mac
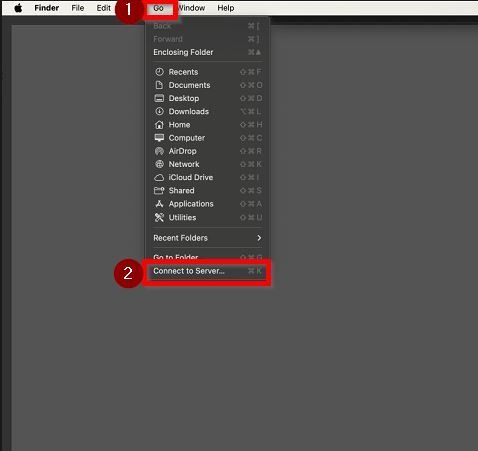
Step 1 – Click on [Go] tab and select [Connect to server].
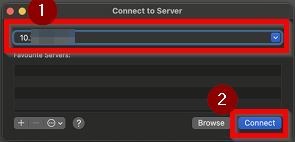
STEP 2 – Key in the printer [IP Address] and click on [Connect] twice.
**Kindly click on this link on how to get the printer ip address.
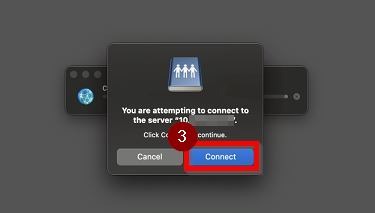
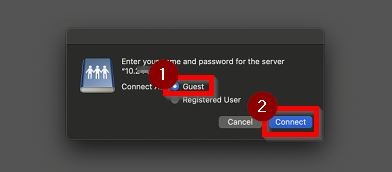
STEP 3 – Select under [Guest] and click on [Connect].
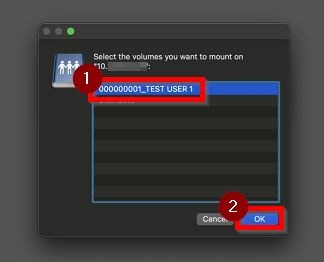
STEP 4 – Select [Registered User] and click [OK].
**Kindly click on this link on how to register user for user box.
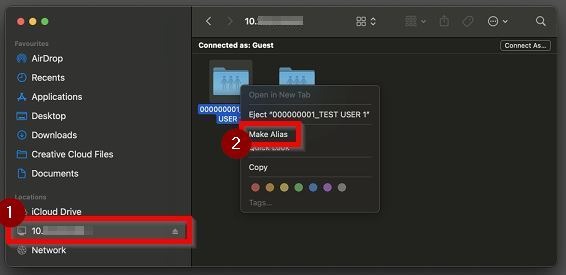
STEP 5 – Select the printer [IP Address] under location, right click on the [Registered User] and select [Make Alias].
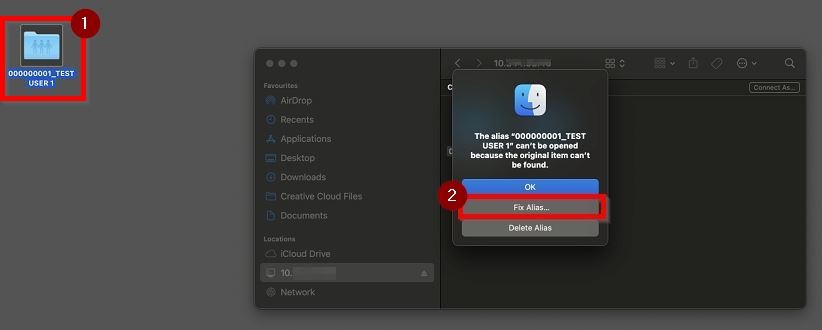
STEP 6 – Check the folder in the desktop, double click on the folder and select [Fix Alias].
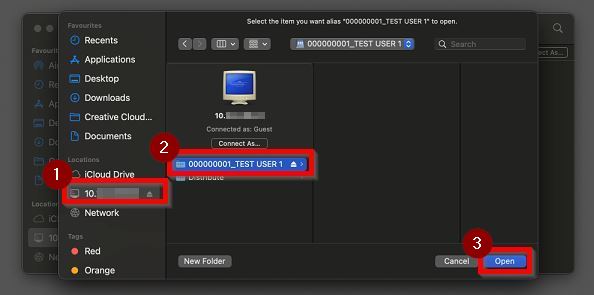
STEP 7 – Select the printer [IP Address] under location, select the [Registered User] and click on [Open].
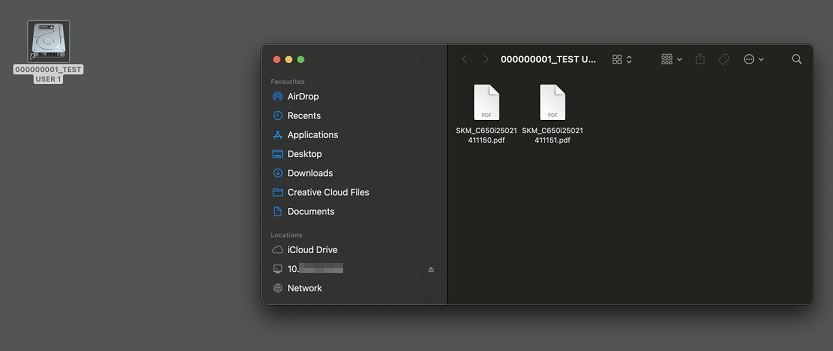
Once completed the following step, it will show a shortcut in the desktop and you will be able to check the scanned document.