

Guide on how to customizing the Main Menu of Machine
For the Older Machine series / Non I-Series Machine
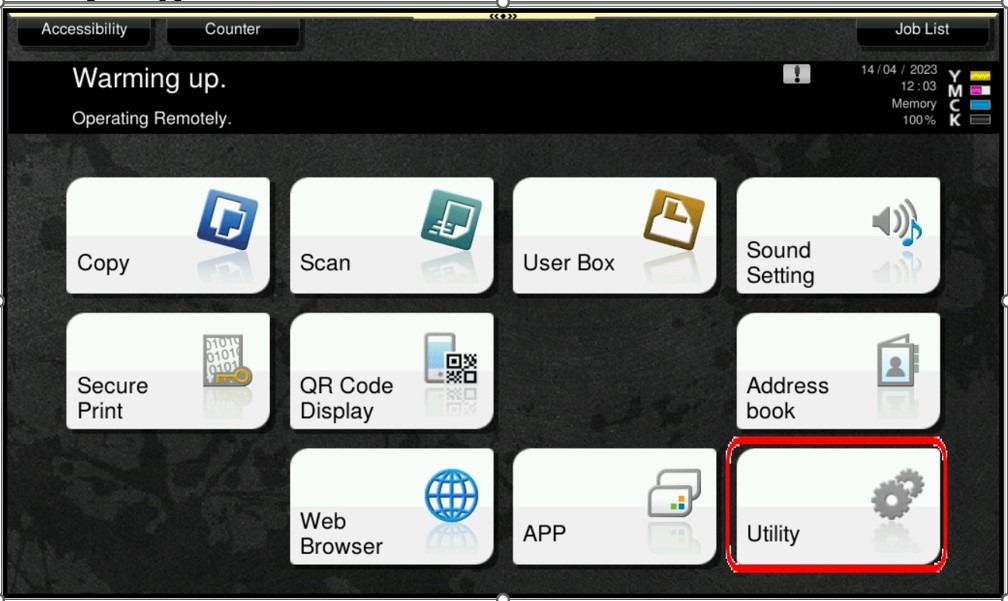
STEP 1 – On the Konica Minolta machine, we need to customizing the Main Menu on the main screen, Select [Utility].
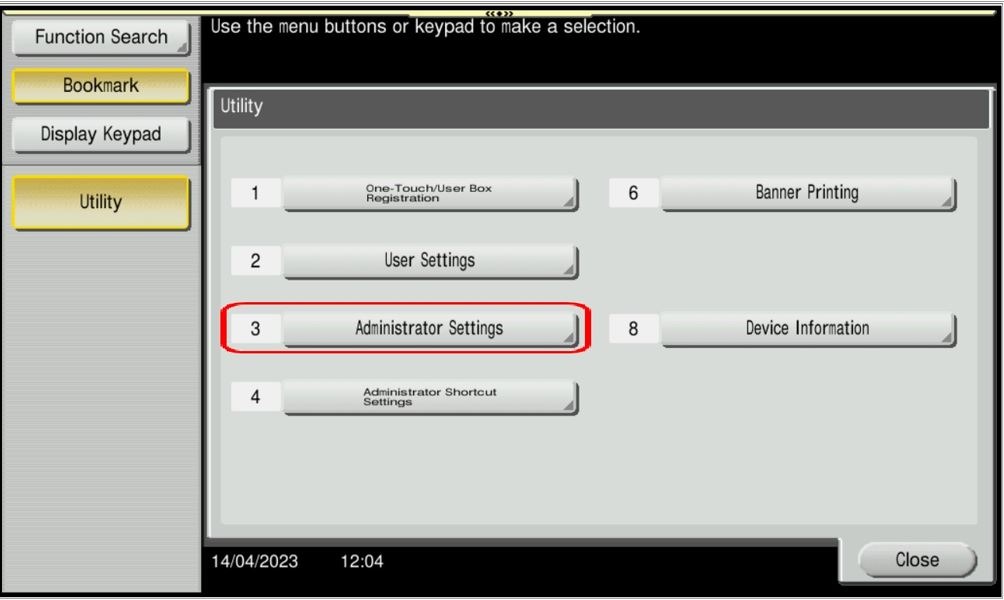
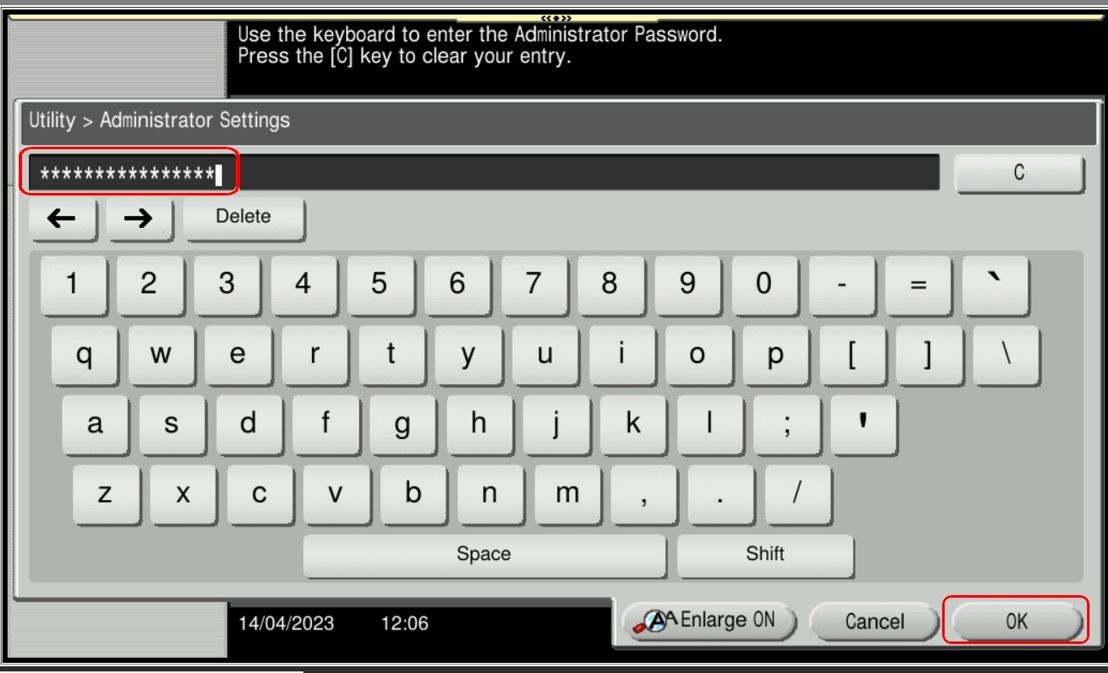
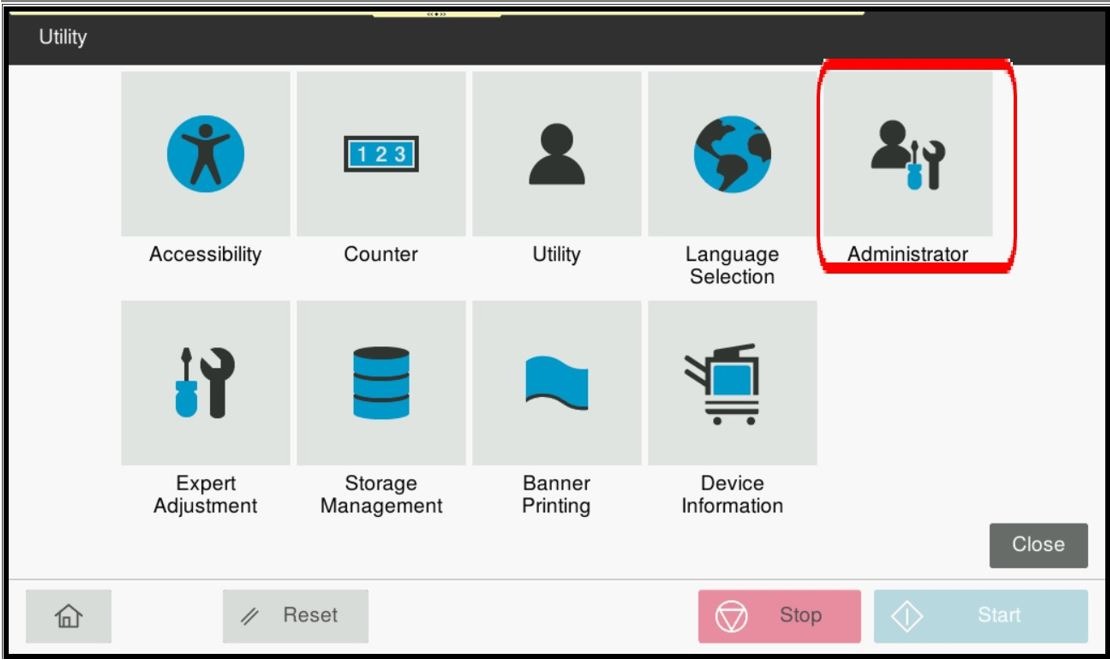
STEP 2 – Select [Administrator Settings], and key in the Administrator password accordingly.
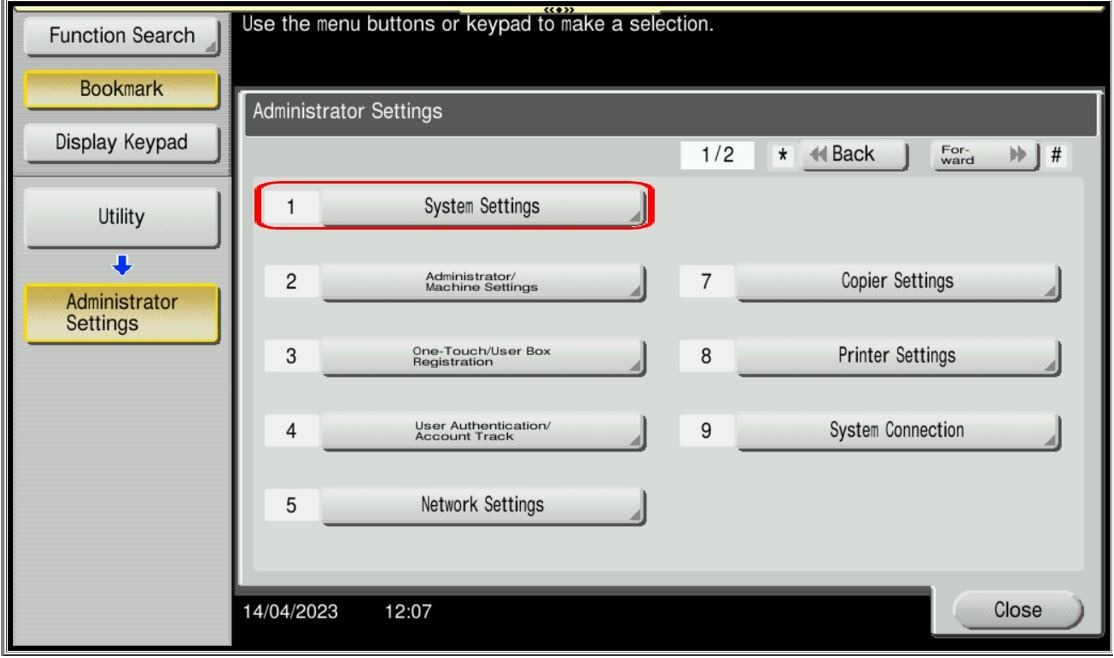
STEP 3 – Go to [System Settings].
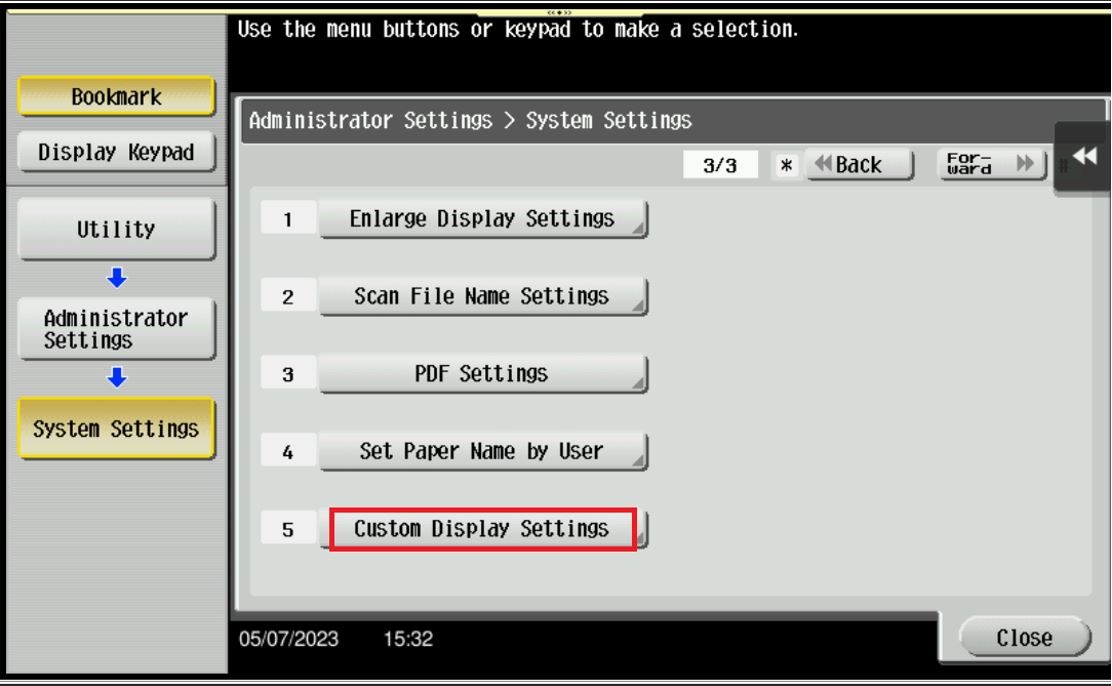
STEP 4 – Select [Custom Display Settings].
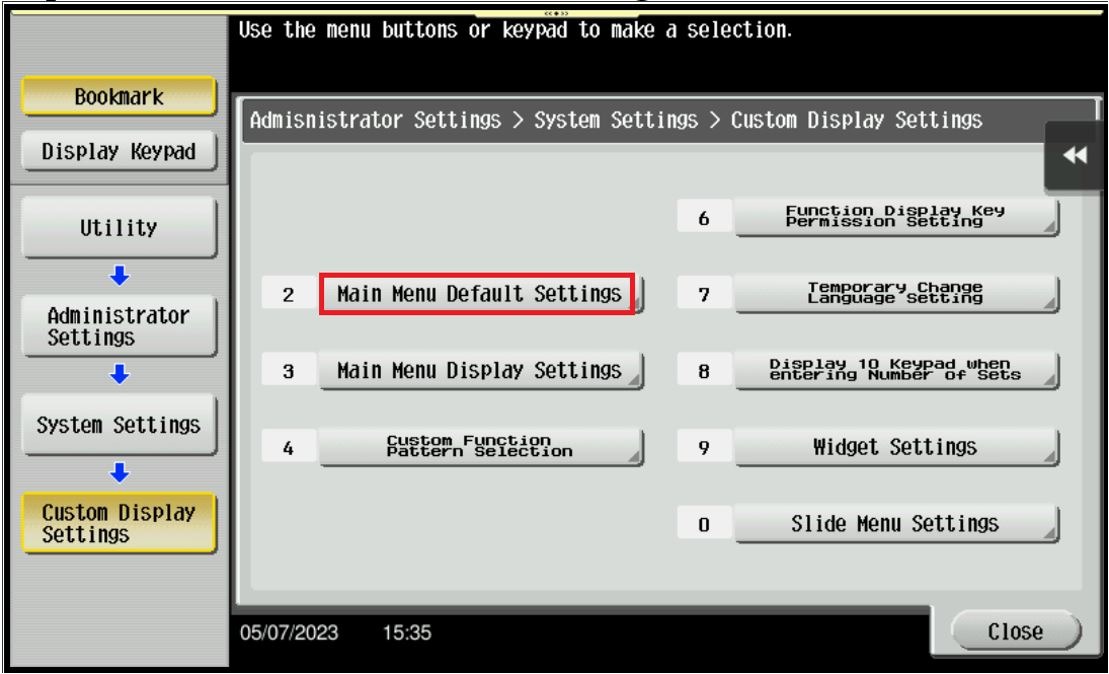
STEP 5 – Select [Main Menu Default Settings].
STEP 6 – Select the [Main Menu Key].
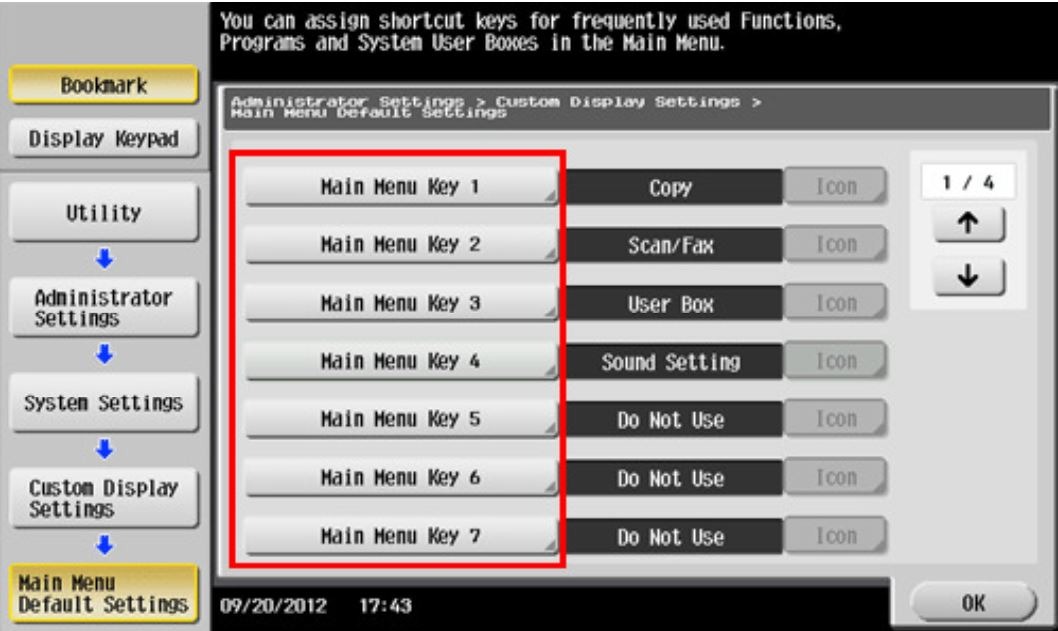
STEP 7 – Choose [ON], select the function to assign to the selected key, then tap [OK].
Note: Functions are displayed in a hierarchical structure by category. Continue to select functions to go down the hierarchy until the function to be displayed on the Main Menu is displayed.
For the Newer Machine series / I-Series Machine
STEP 1 – On the Konica Minolta machine, we need to customizing the Main Menu on the main screen, Select [Utility].

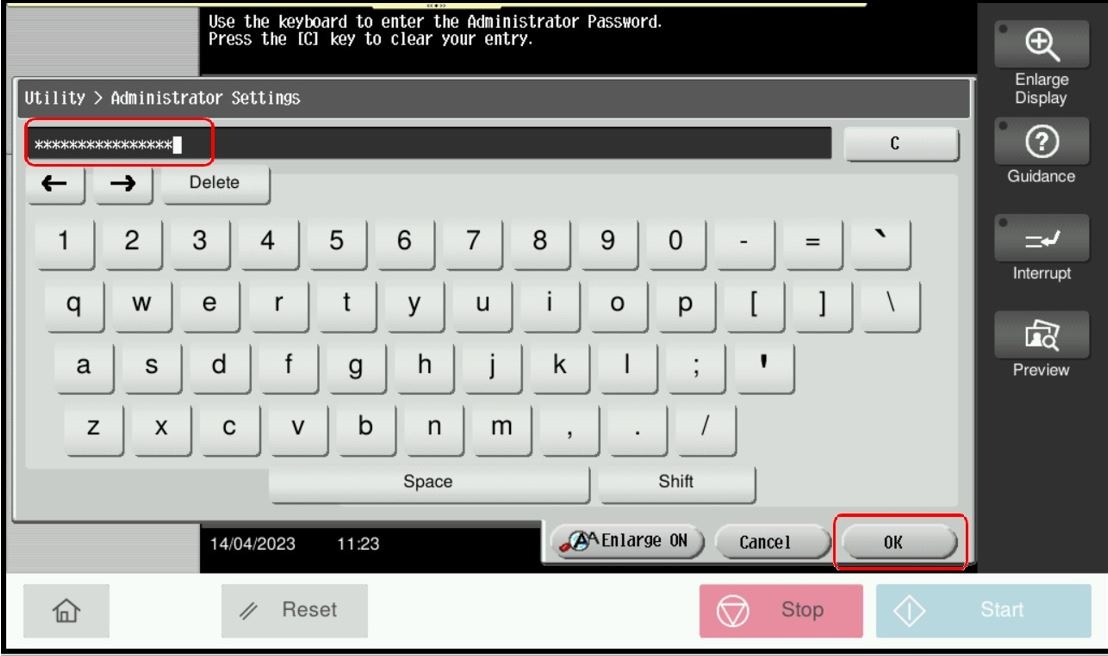
STEP 2 – Select [Administrator Settings], and key in the Administrator password accordingly.
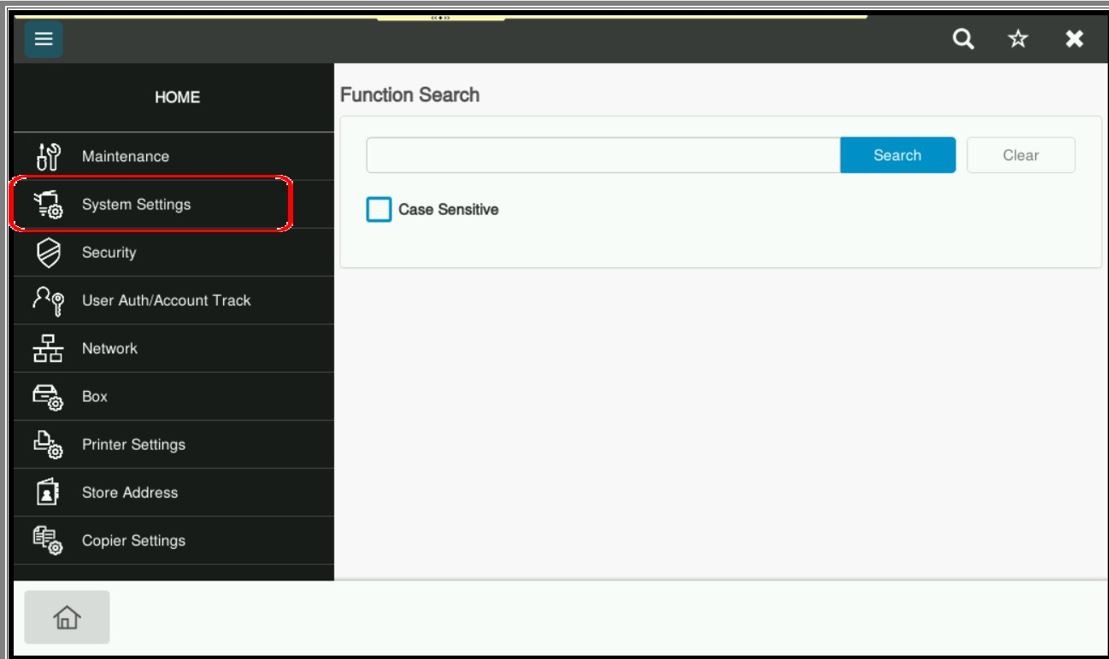
STEP 3 – Go to [System Settings].
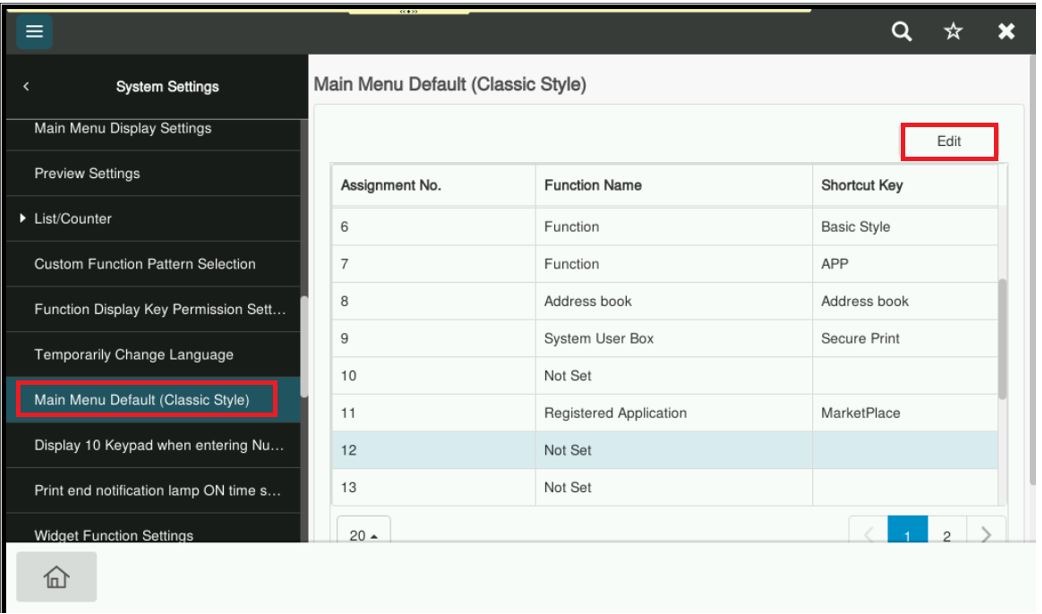
STEP 4 – Select [Main Menu Default (Classic Style)], Click on the Function Name that showing [Not Set], press Edit.
STEP 5 – Click on [Not Set], select the function to assign to the selected key, then tap [OK].
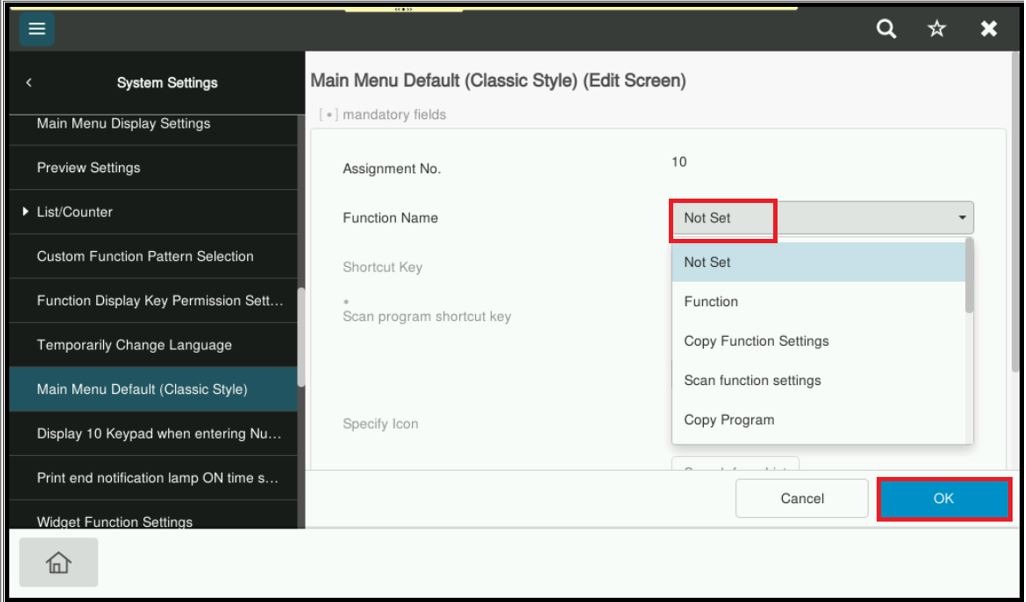
Note: Functions are displayed in a hierarchical structure by category. Continue to select functions to go down the hierarchy until the function to be displayed on the Main Menu is displayed.