

Guide on how to setup scan to SMB from the Konica Minolta printing production machine to a Windows PC.
STEP 1 – Create a folder and dummy user on the PC/Laptop.
- On the desktop of the PC or Laptop, create a new folder name as KM_SCAN.
- Create a dummy account on the Computer Management.
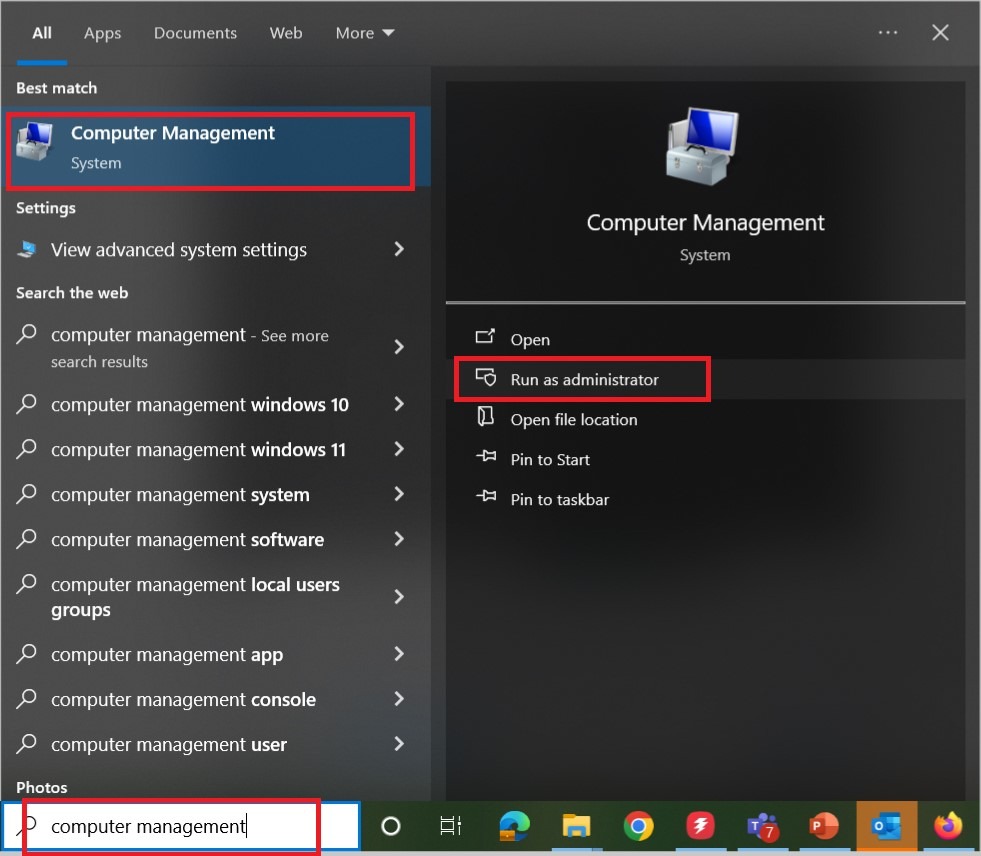
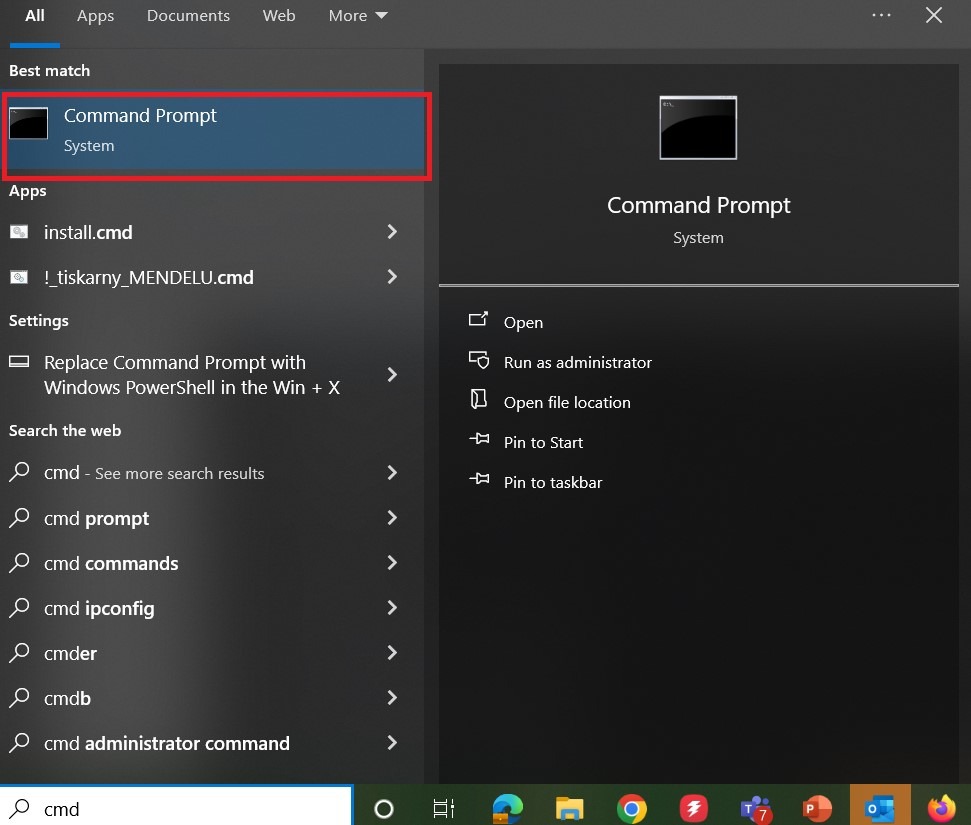
- Go to search window, type [Computer Management] and click on [Run as Administrator].
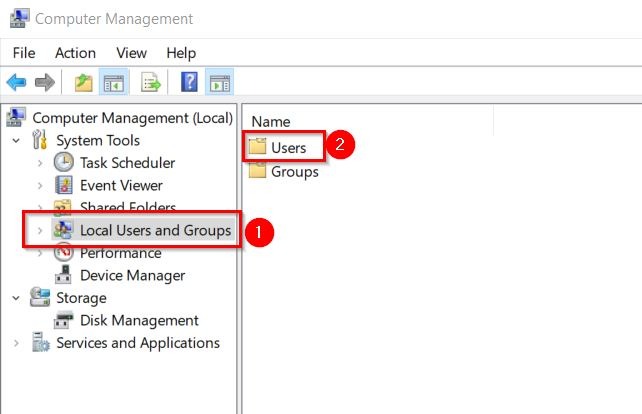
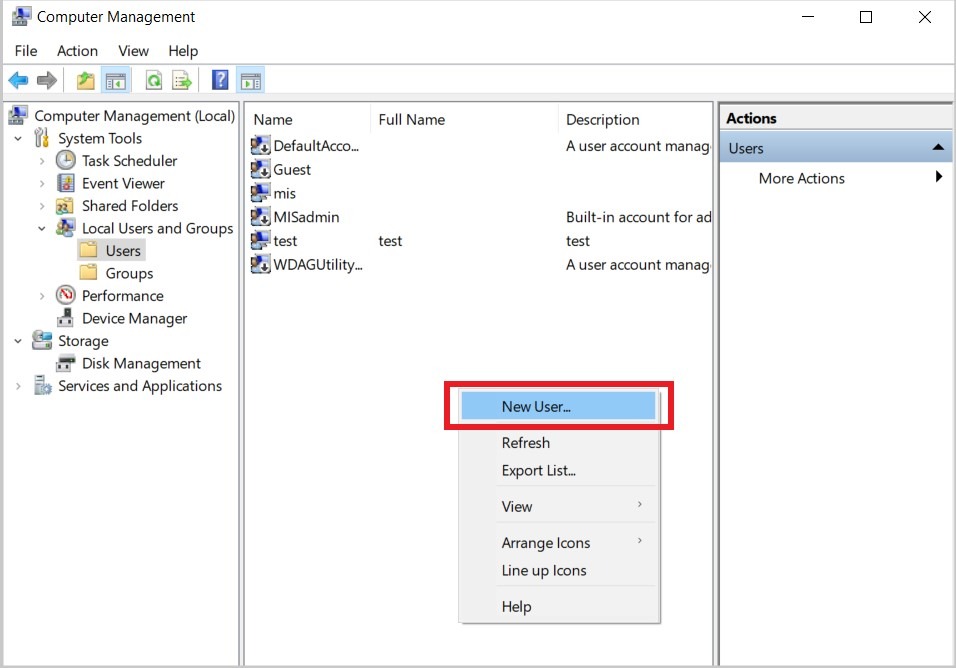
- On the left hand side, select [Local Users and Groups] – [Users]. Right click on the empty space and select [New User].
- Keyin the username and password as below and click create to create a dummy user.
- Username: kmscan
- Full name: kmscan
- Description: No need to enter anything
- Password: Minolta.123
- Confirm password: Minolta.123
- User must change password at next logon: Untick
- User cannot change password: Tick
- Password never expires: Tick

STEP 2 – Share the scan folder using the dummy account.
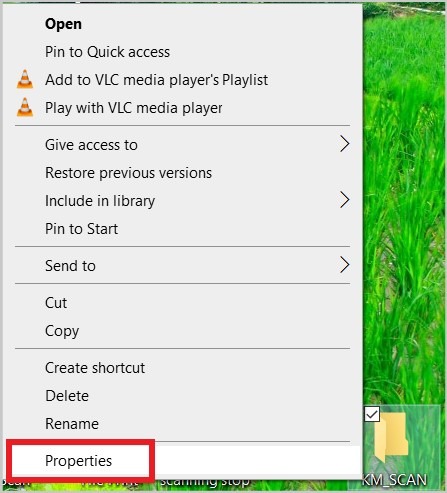
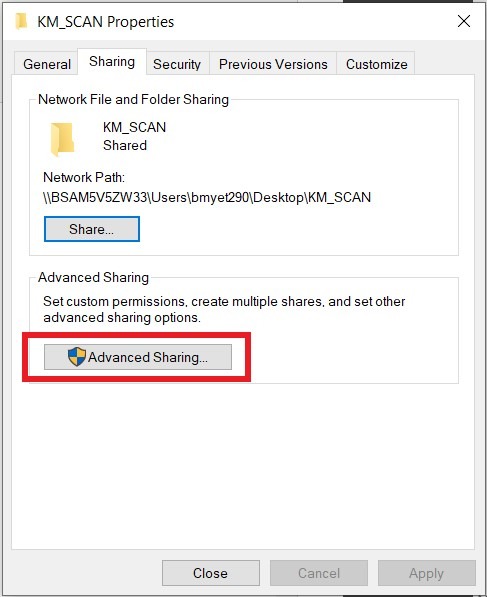
- Right click on the [KM_SCAN] folder and select [Properties].
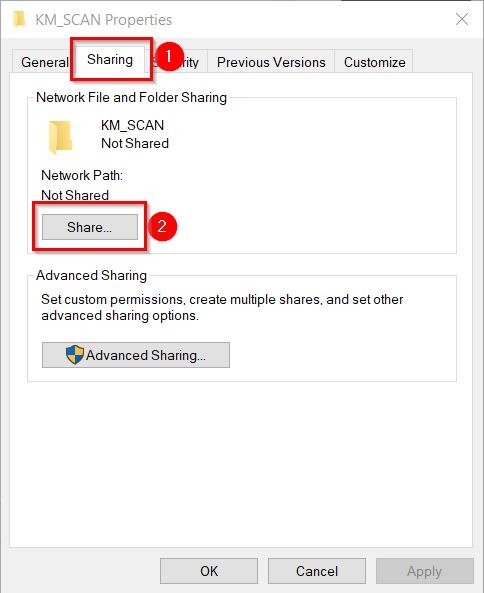
- Go to [Sharing] tab and select [Share].
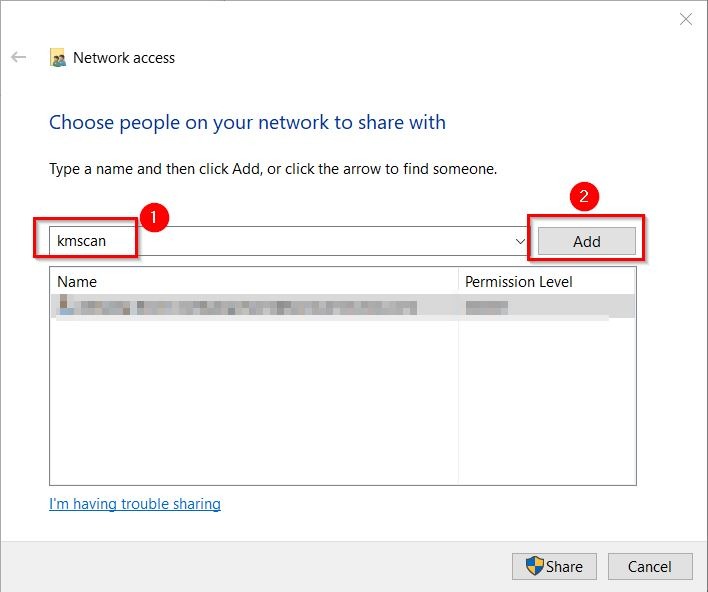
- Type [kmscan] and click on [Add].
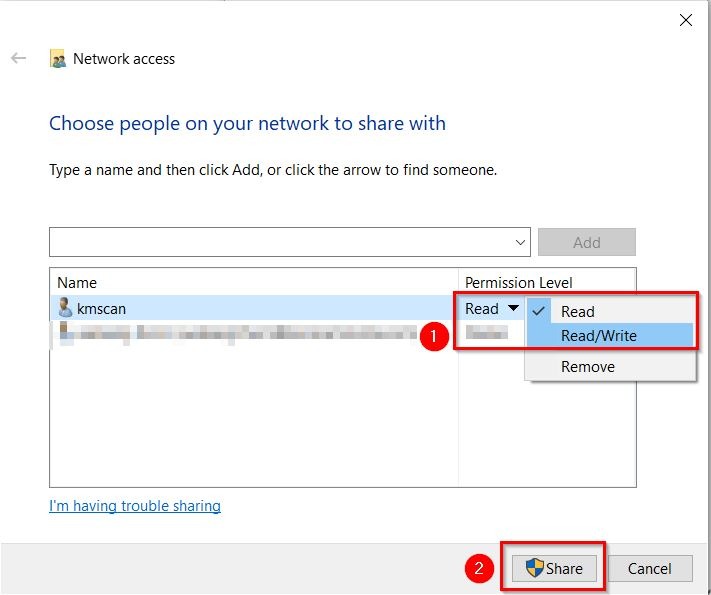
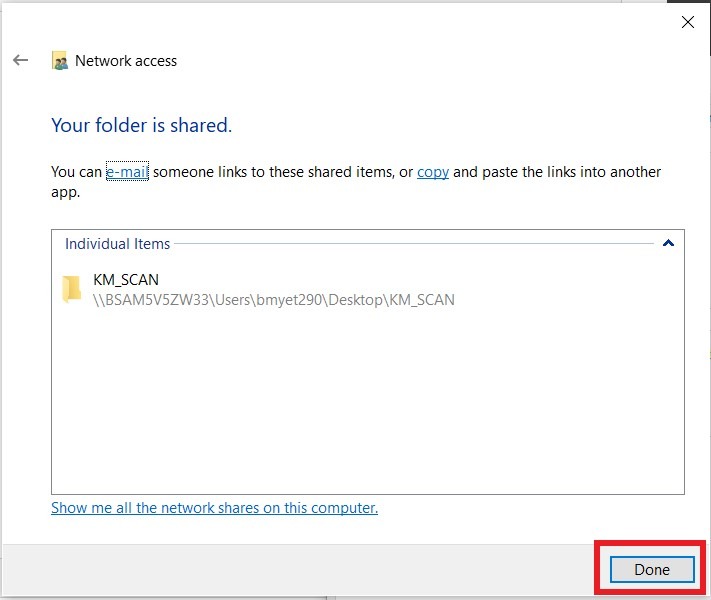
- Select [Read/Write] under permission level, click on share and click done.
- Click on [Advance Sharing].
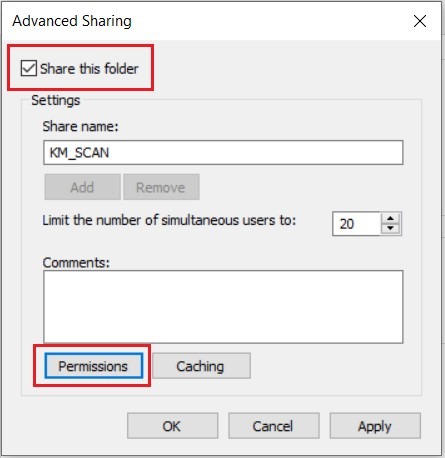
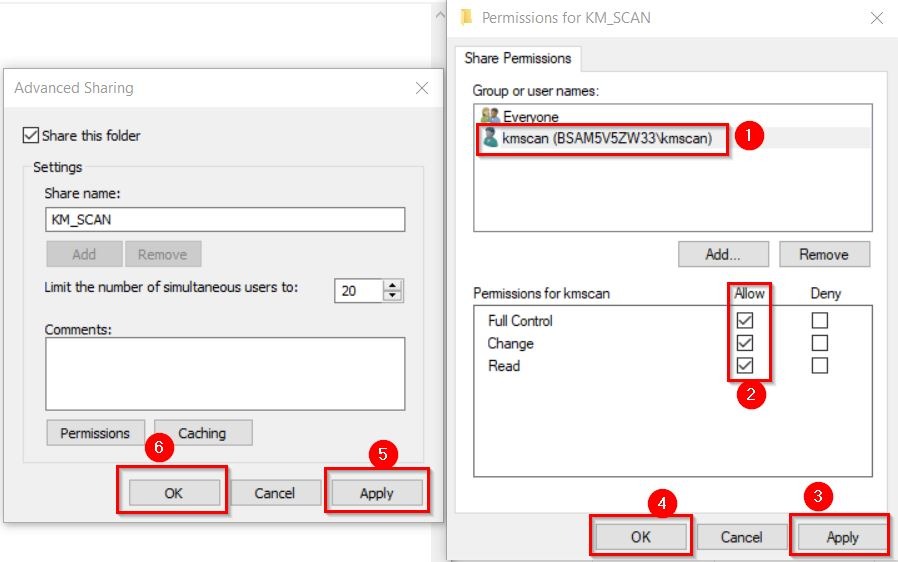
- Tick on [Share this folder] and click on the [Permission].
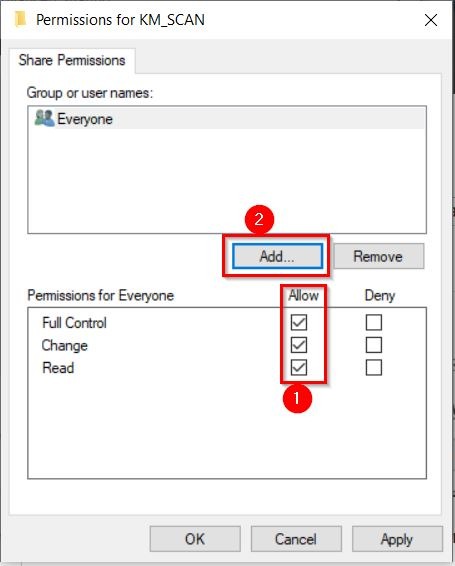
- Under the [Everyone] username, [Tick] on allow full control and click on [Add].
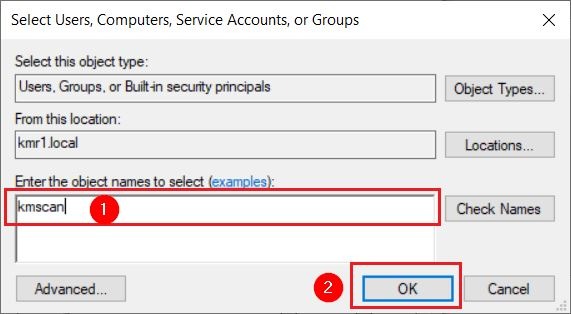
- Type [kmscan] and click [OK].
- [Tick] again on the allow full control under dummy username kmscan. Click on [Apply] and [OK] twice to save the changes.
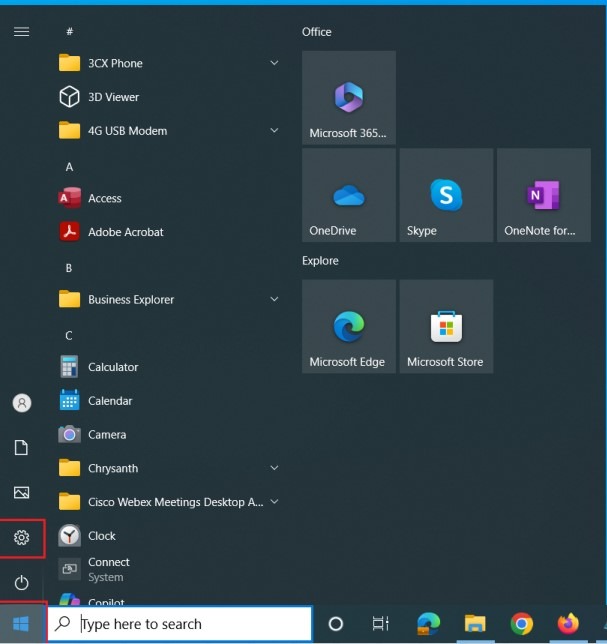
- Next we need to allow for Public Folder Sharing, click on windows [Start] button and select [Settings].
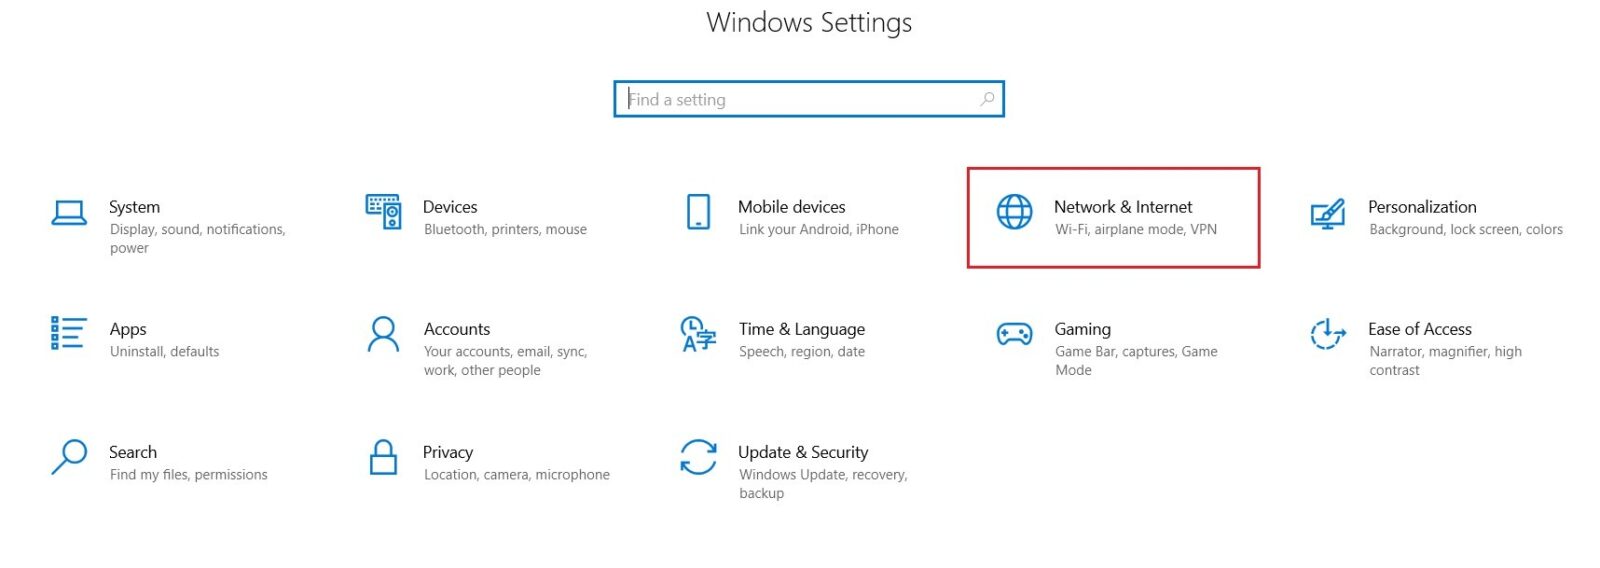
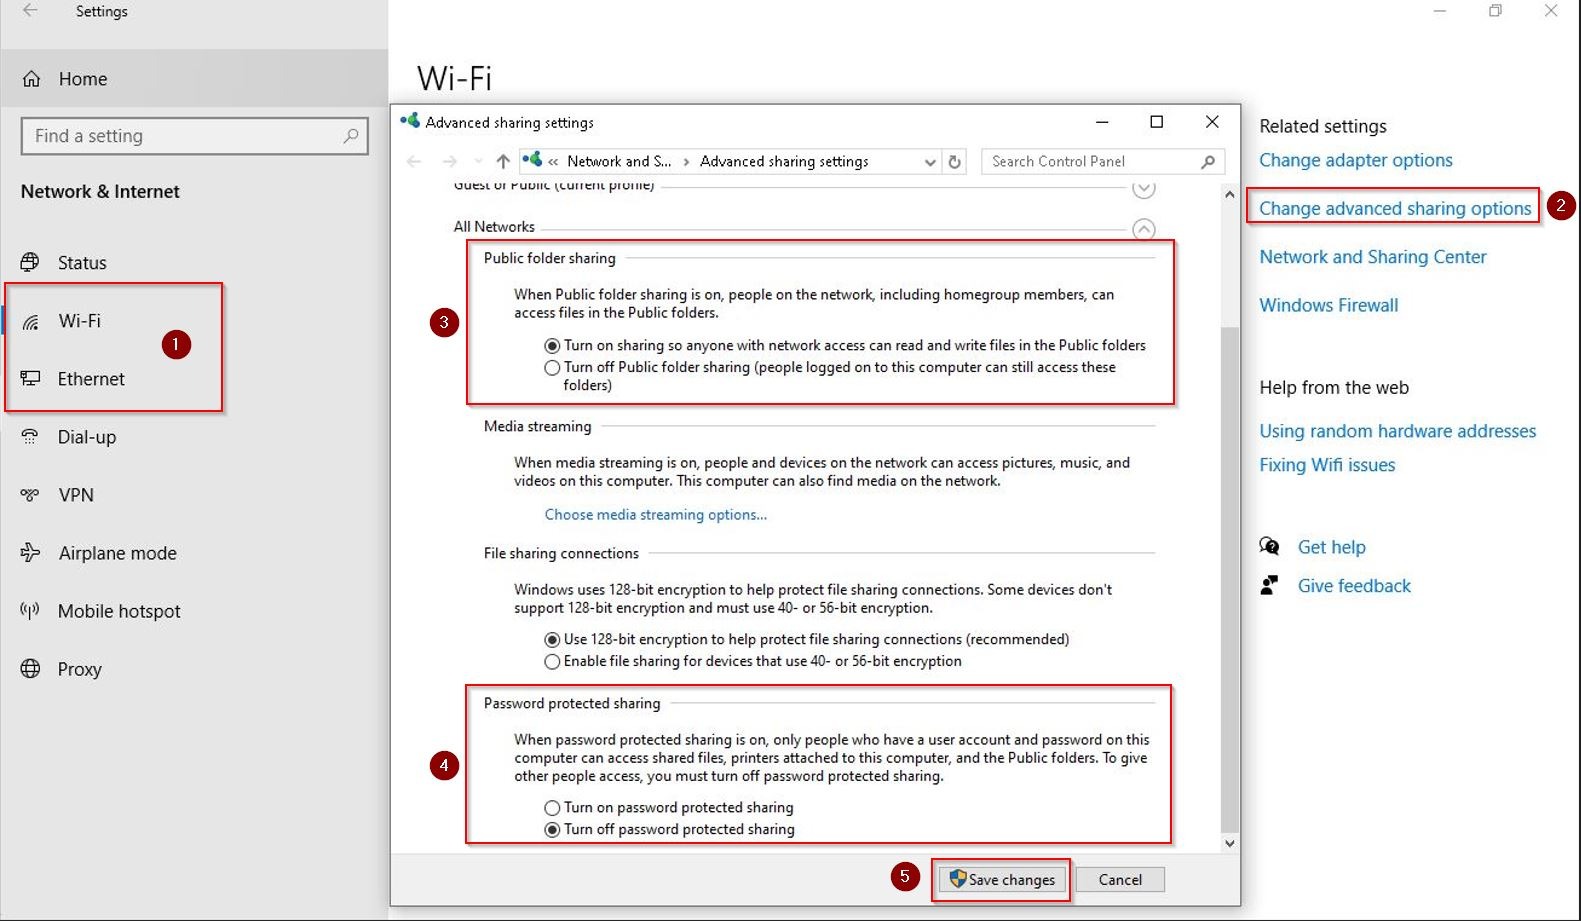
- Navigate to [Network & Internet] – [Ethernet] if connect via wired network or [Wi-Fi] if connect via wireless network – [Change Advanced sharing options].
- Expand [All Networks], under Public Folder Sharing select [Turn on sharing so anyone with network access can read and write files in the public folders]. Under Password Protected Sharing select [Turn off password protected sharing] and click [Save changes] to save the settings.
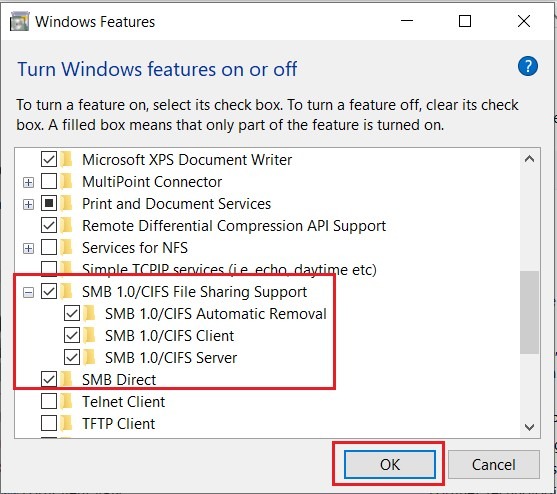
STEP 3 – Allow the SMB Version 1.0 if you’re using Window 10 or 11
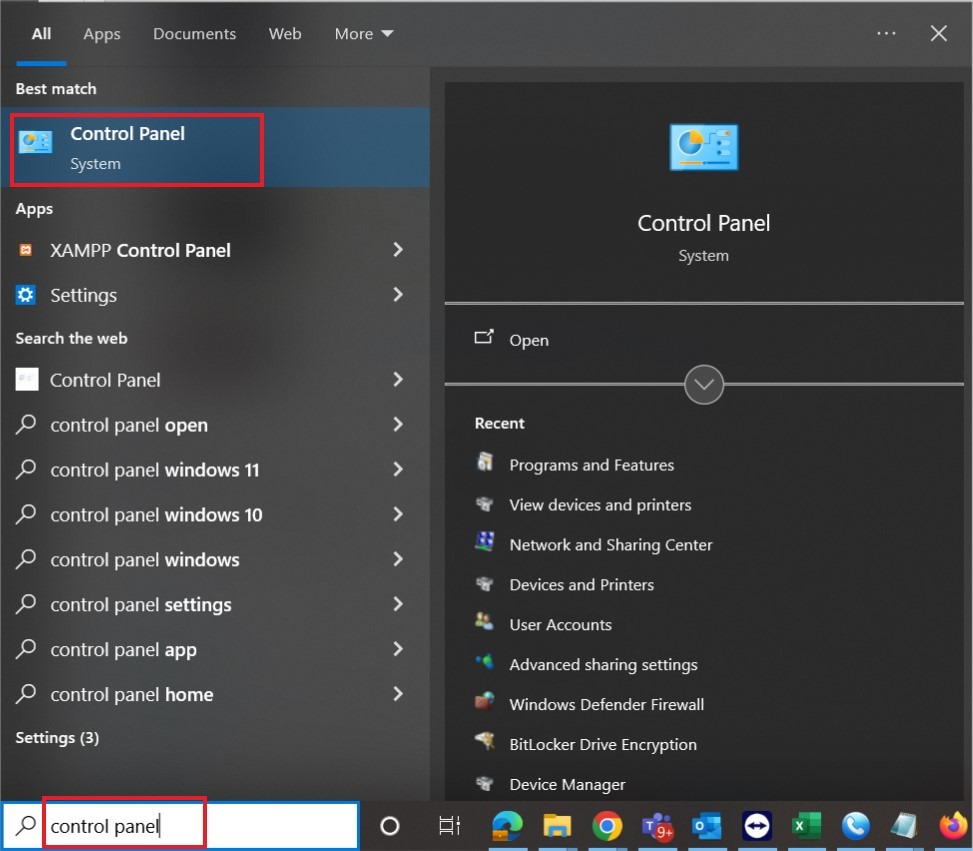
- Open [Control Panel] by typing the control panel on the window search bar.
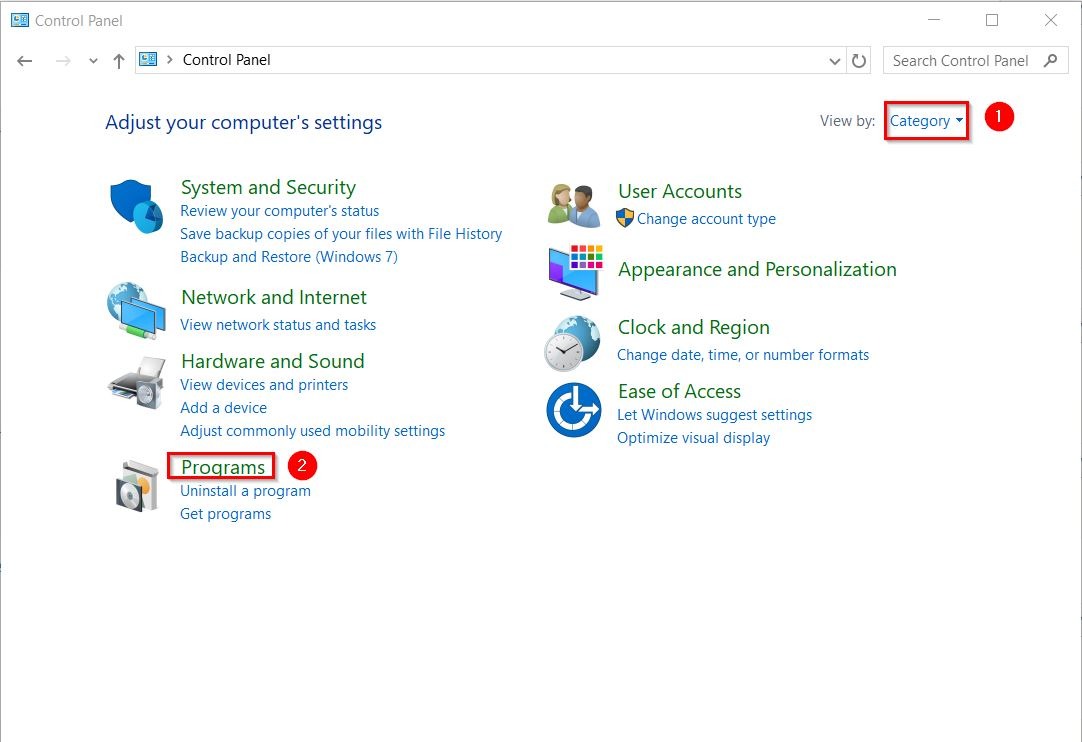
- Navigate to [Category] – [Programs] – [Turn Windows features on or off].
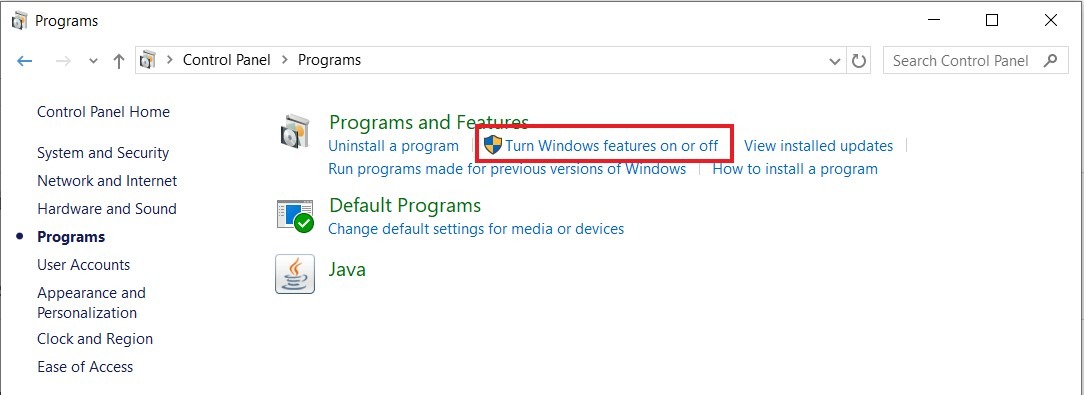
- Make sure the option for SMB 1.0/CFIS File Sharing Support are all tick and click [OK] to save the setting. A restart computer/laptop is required after apply the setting.
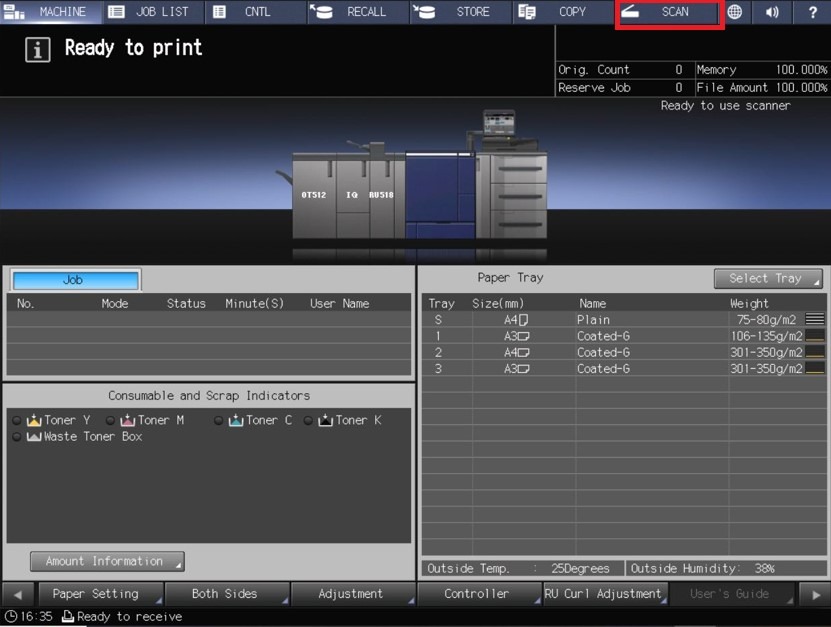
STEP 4 – Register the SMB settings on the Konica Minolta Printing Production machine.
- Proceed to the machine and select [Scan].
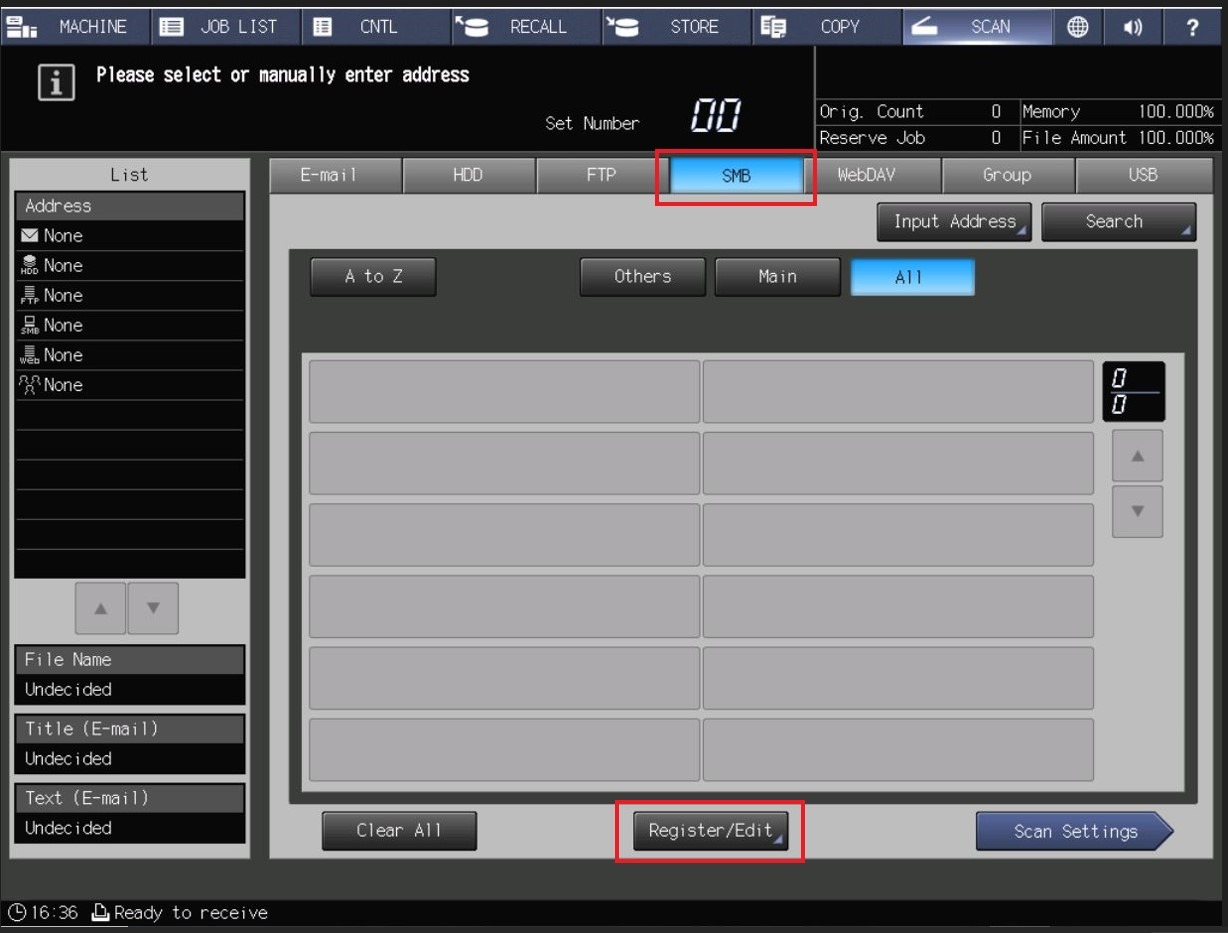
- Choose [SMB] – [Register/Edit].
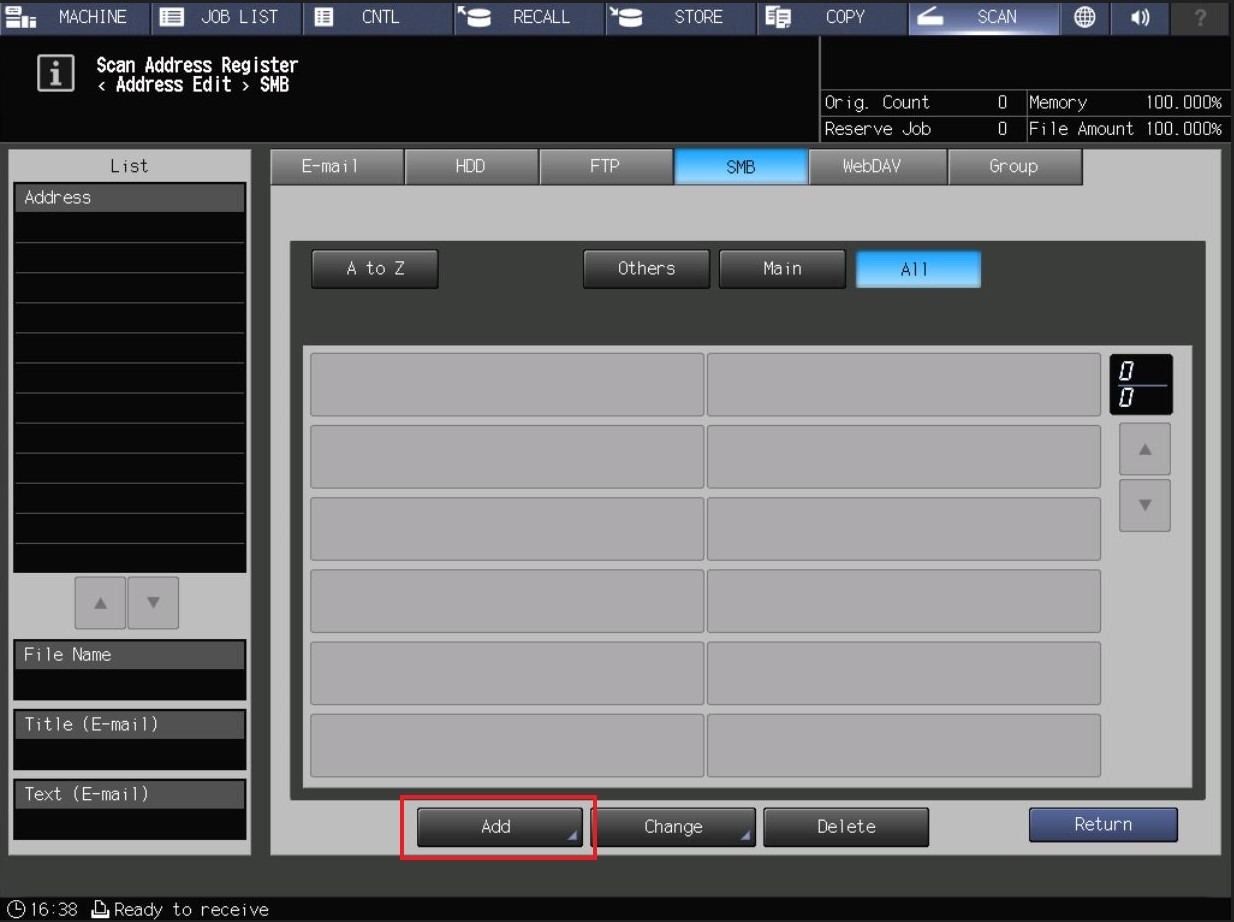
- Select [Add].
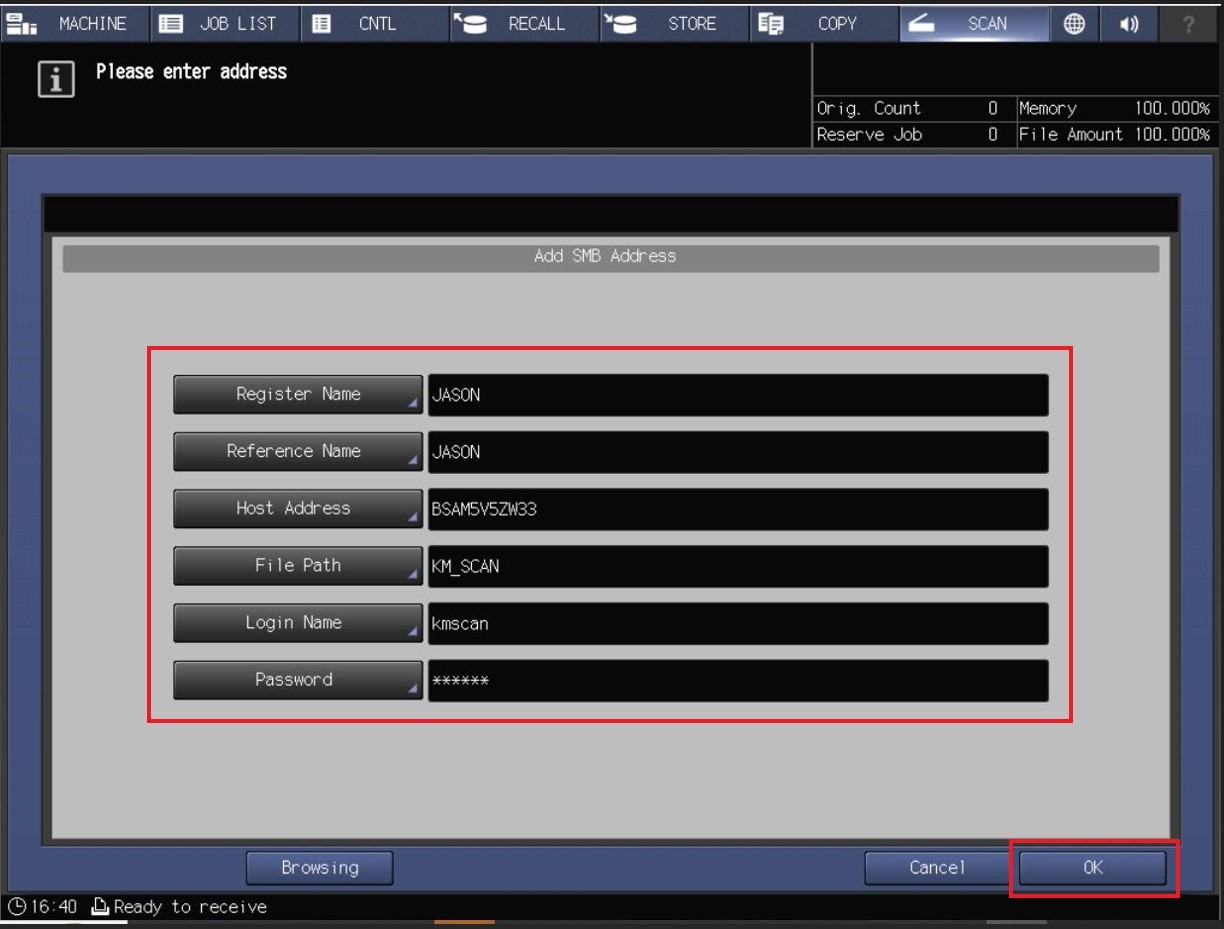
- Key in accordingly as per below. Click [OK] after finish to save the setting and you will be able to scan under SMB to PC/Laptop.
- Register Name: PC A (Name that shown on machine later when scan)
- Reference Name: Put same name as Register Name
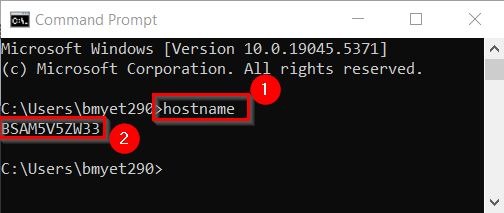
- Host Address: Computer Name (Can refer below screenshot from Command Prompt how to obtain Computer Name)
- File Path: KM_SCAN (As what we create the scan folder at the very first step)
- Logon ID: kmscan
- Password: Minolta.123
**Step below show on how to obtain Hostname in Command Prompt for PC. Open the Command Prompt, type ‘hostname’ and check for the name.
- Once Address Book is created, try to scan from the machine and check if the scanned document will be saved on the shared folder on the PC/Laptop.