Guide on how to resolve the issue unable to scan to user box, the number of documents in the box has reached the maximum limit.
By default, the machine able to store the scanned document on the user box. However in some situation, scanning to user box may failed and an error occur stating that the error the number of documents in the box has reached the maximum limit. This error indicate that the user box documents is full. In such cases, it is necessary to clear out and empty the scanned documents on the user box. Kindly follow the step below on how to clear out the scanned documents either on the machine or via the web connection.
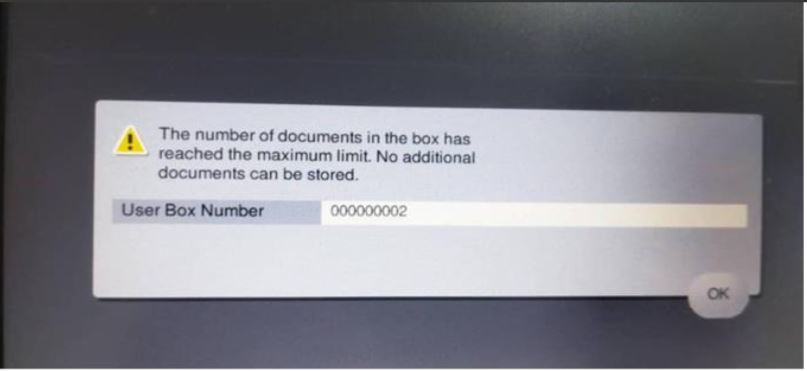
Before deleting any unused scanned files, scanning documents to the user box will be disabled and the following error code will appear.
For the Older Machine series / Non I-Series Machine
How to allow registering and changing addresses on Photostat Machine
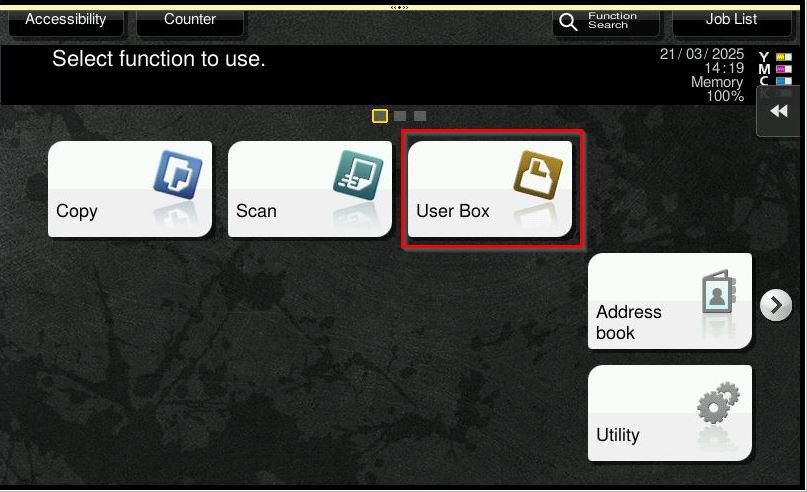
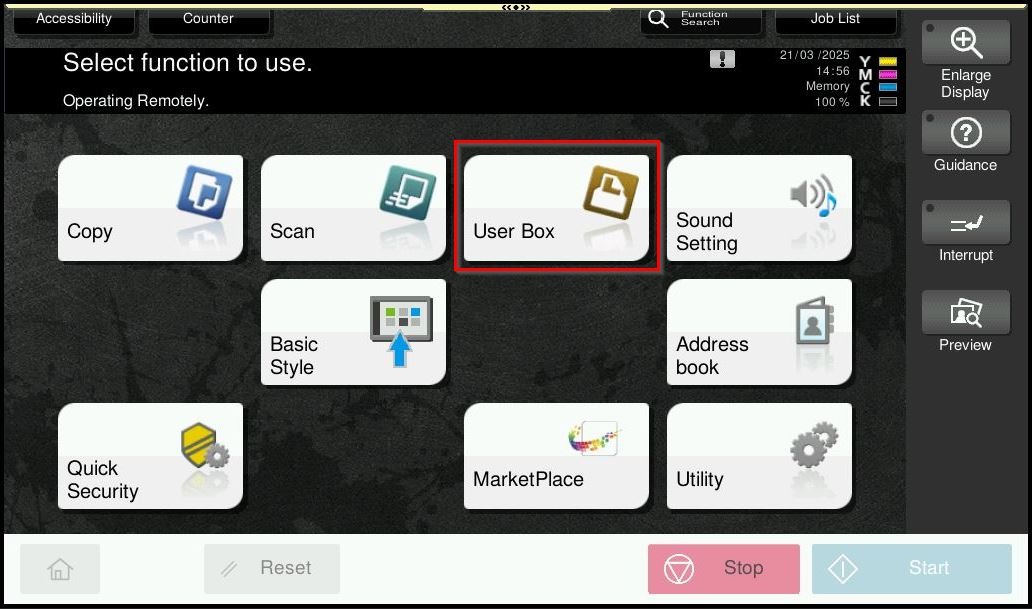
STEP 1 – On the Konica Minolta machine, select [User Box].
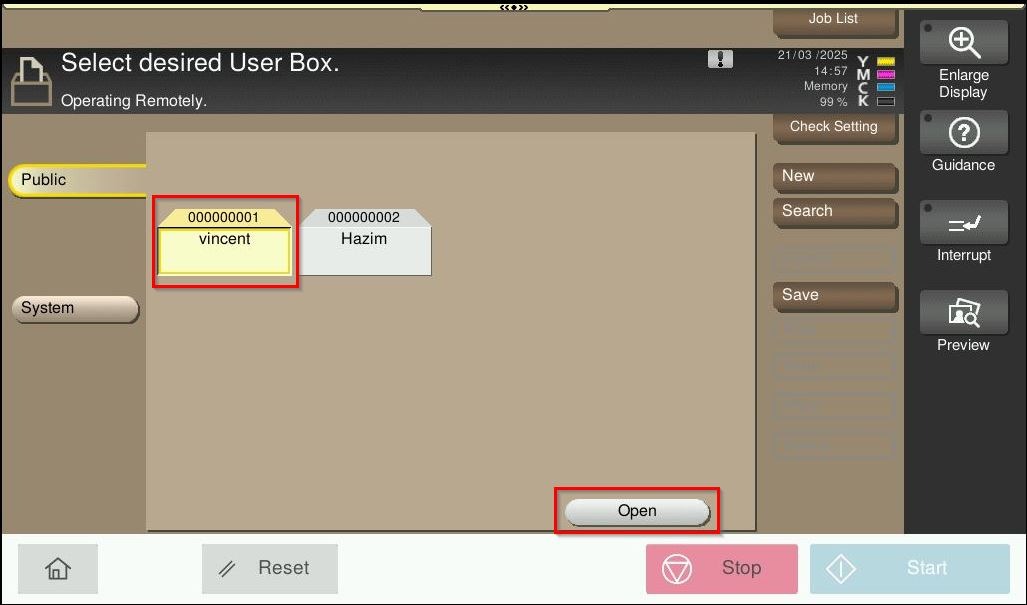
STEP 2 – Select user box that is full, the click on [Open].

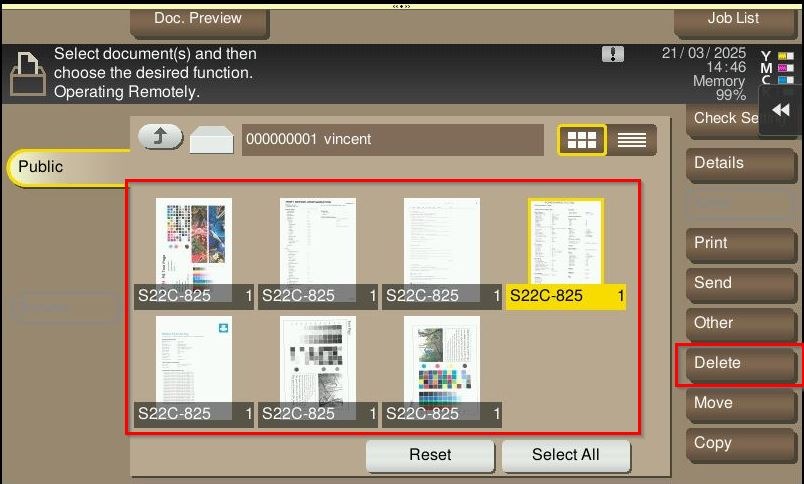
STEP 3 – Highlight the file that want to delete and select [Delete].
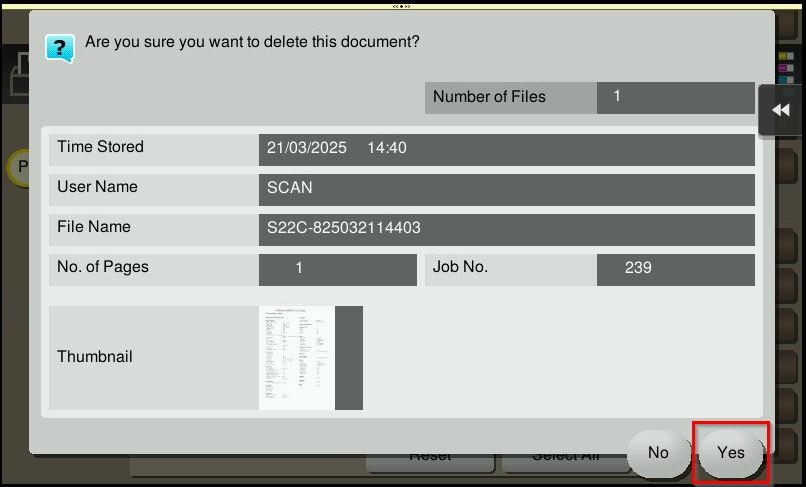
STEP 4 – Select [YES] to proceed to delete the scanned files, after that try to scan again to same user box.
How To allow registering and changing addresses on Web Connection
STEP 1 – At the web browser, enter the IP address of the Konica Minolta machine. Click here for the guide on how to get the machine IP Address.
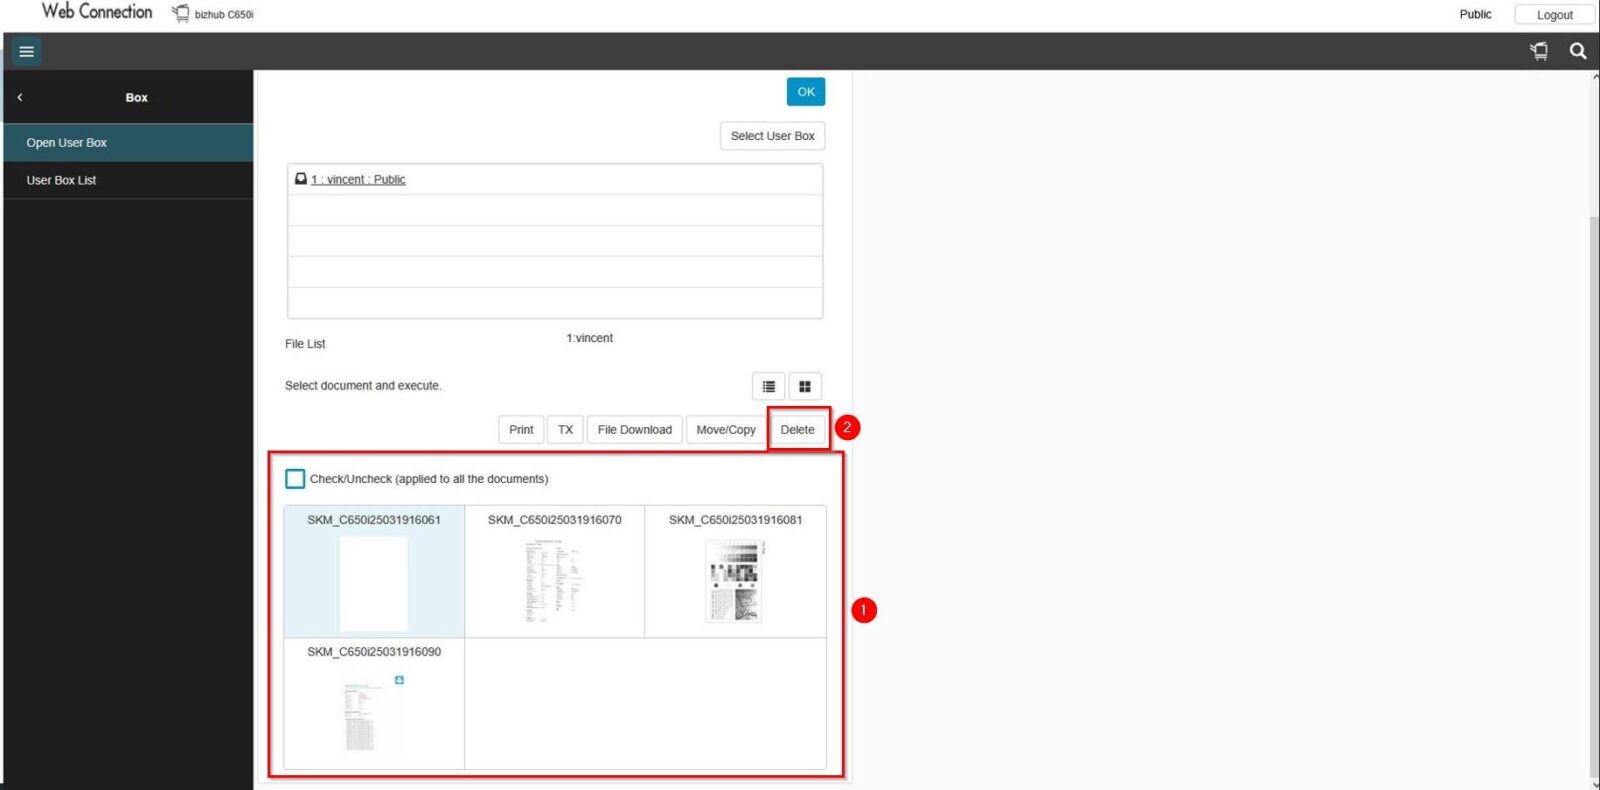
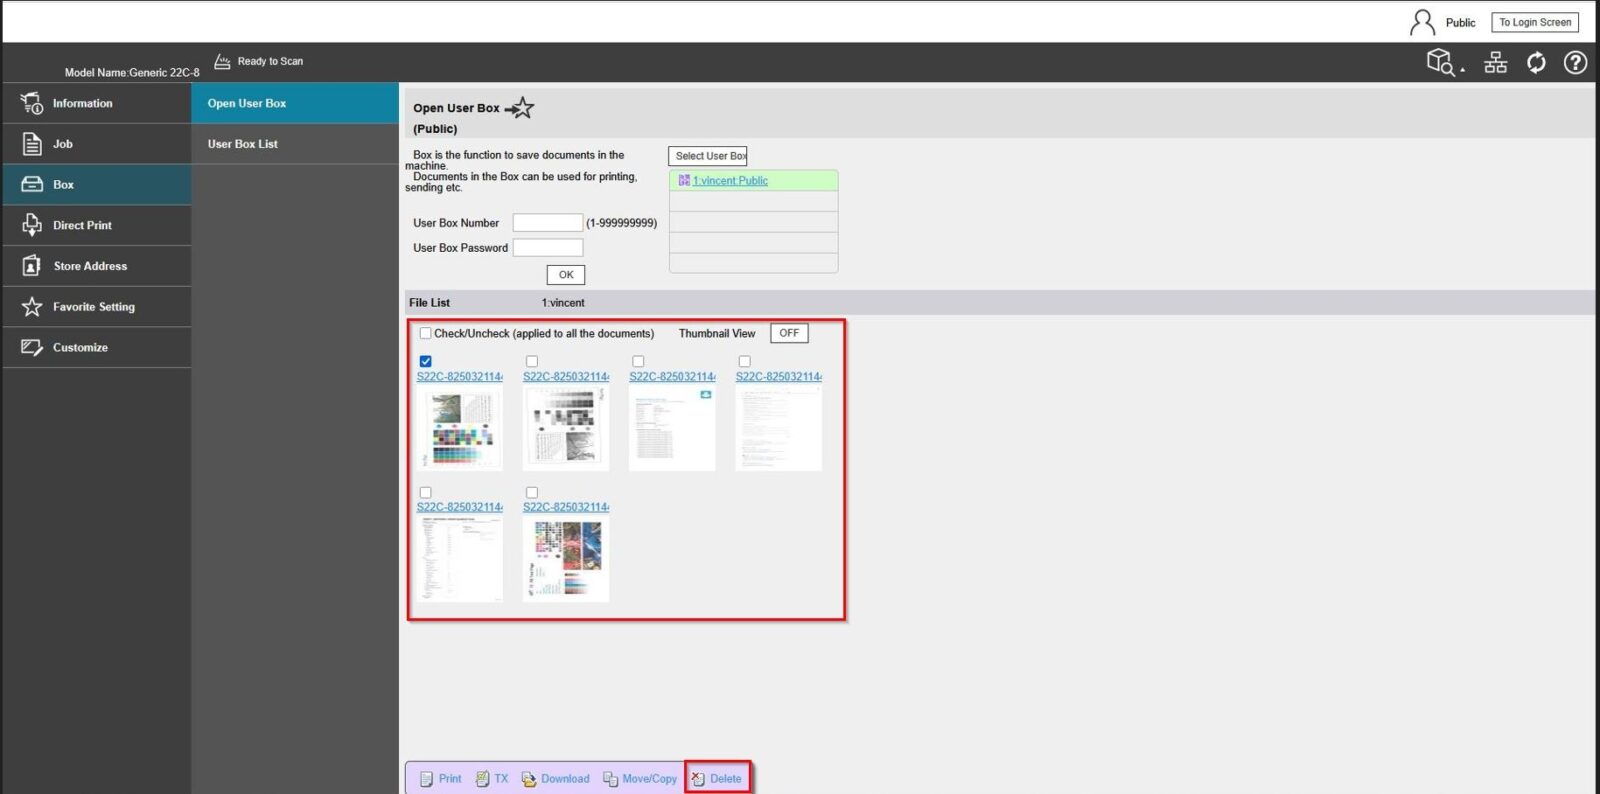
STEP 2 – Select [Box] – [Open User Box] – [Select User Box], then click on the user box name and proceed to scanned document you wish to delete to free up user box space.

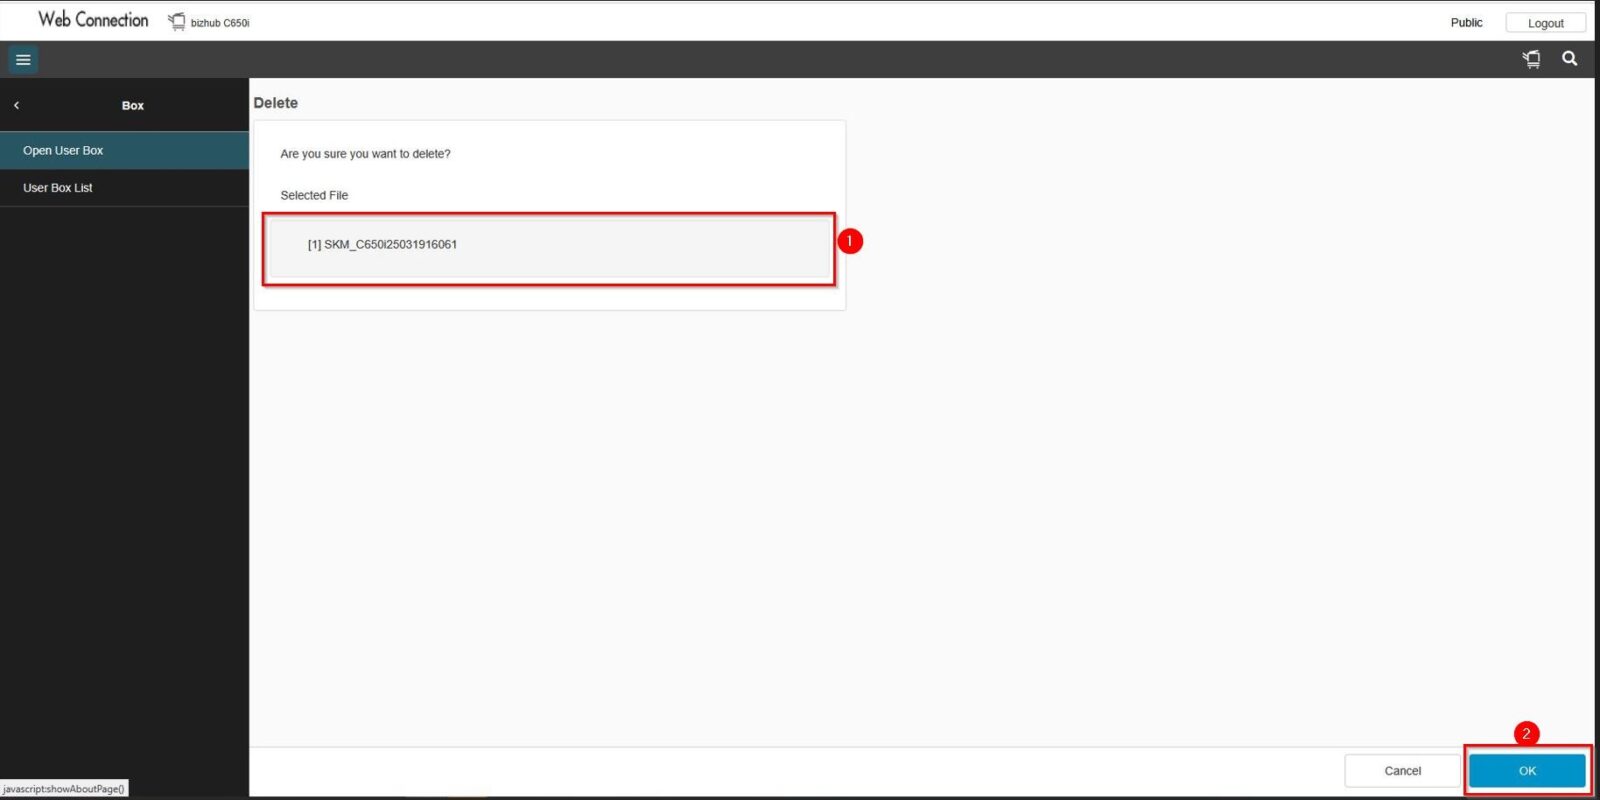
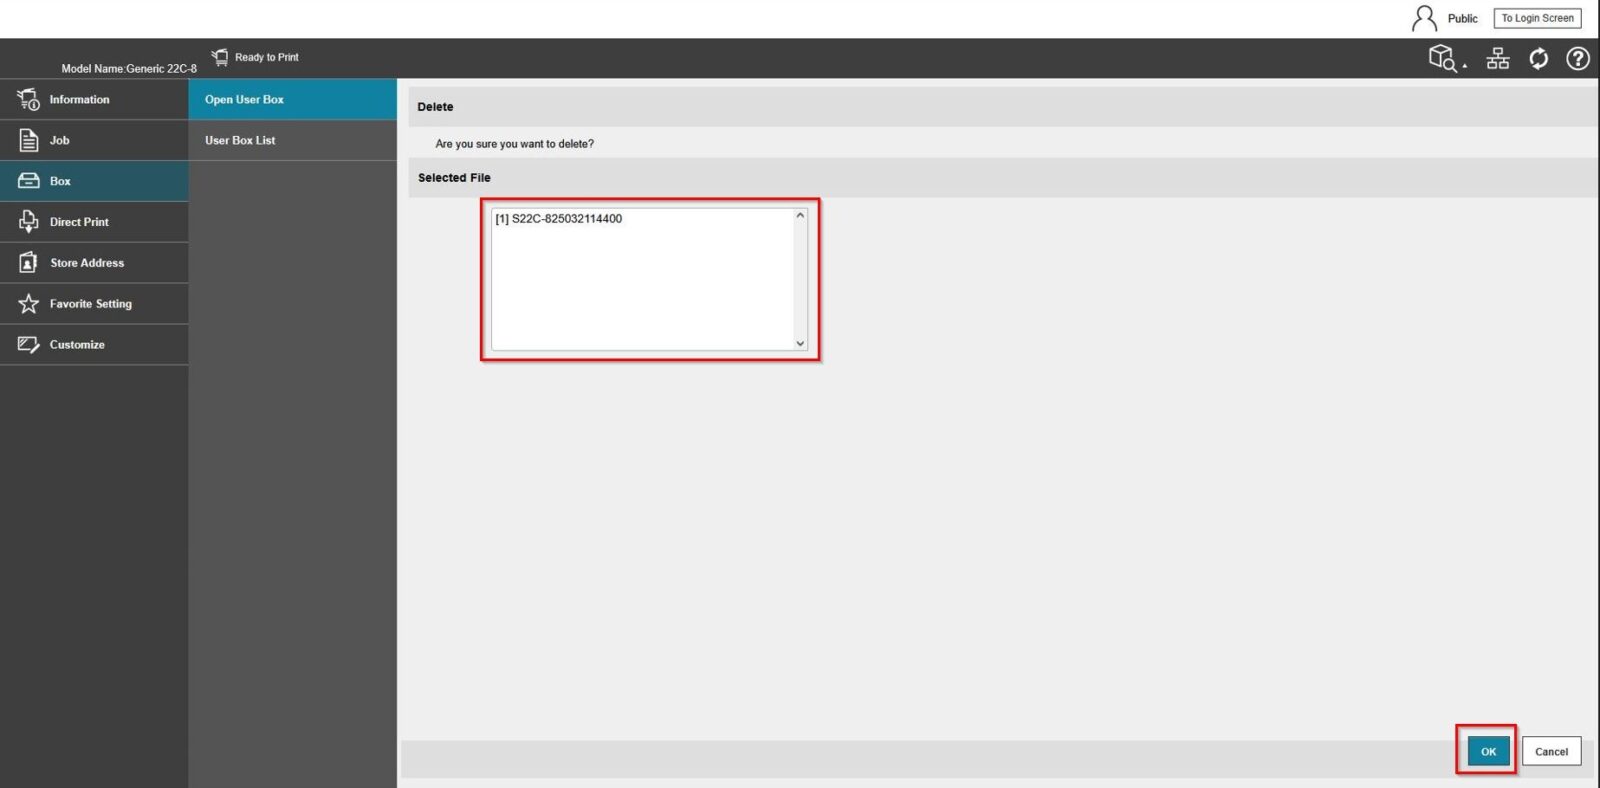
STEP 3 – Highlight the files that wish to delete, then select [Delete] and press [OK] to remove the scanned files. After that, try to scan again to the same user box.
For the Newer Machine series / I-Series Machine
How To allow registering and changing addresses on Photostat Machine
STEP 1 – On the Konica Minolta machine, select [User Box].
STEP 2 – Select user box that is full, the click on [Open].
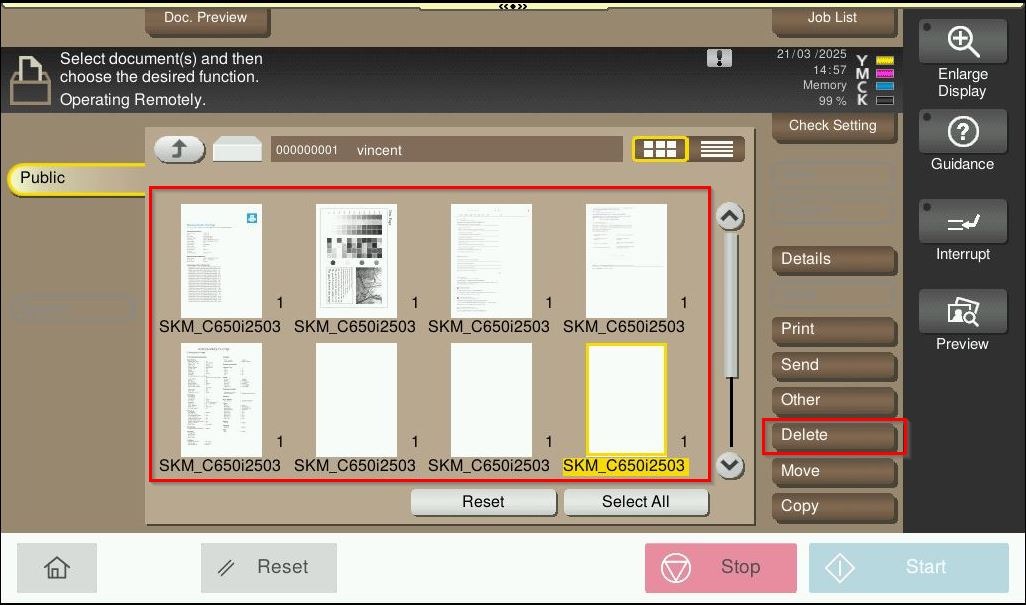
STEP 3 – Highlight the files that want to delete and select [Delete].
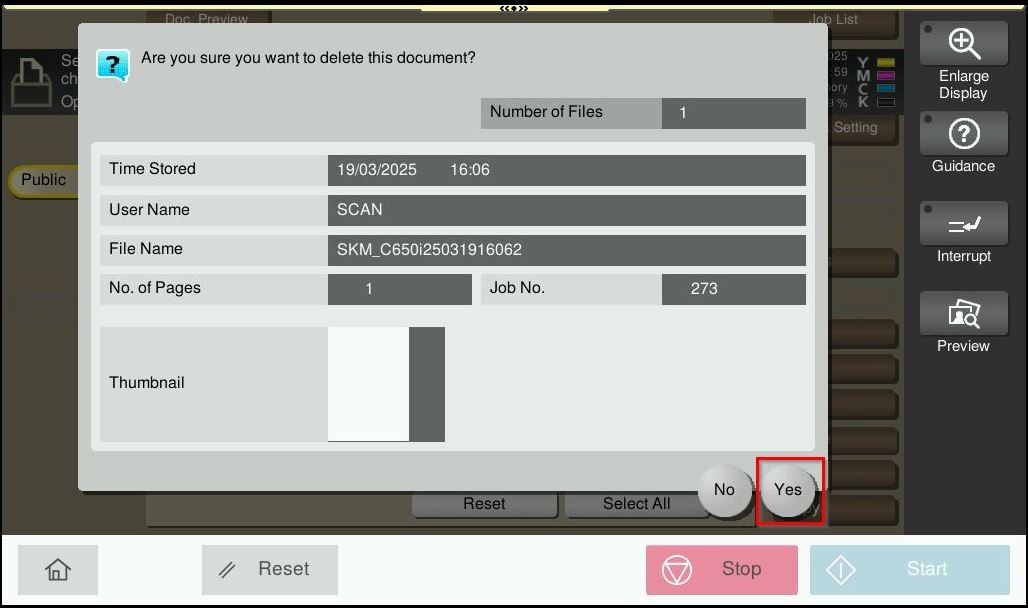
STEP 4 – Select [YES] to proceed to delete the scanned files, after that try to scan again to same user box.
How To allow registering and changing addresses on Web Connection
STEP 1 – At the web browser, enter the IP address of the Konica Minolta machine. Click here for the guide on how to get the machine IP Address.
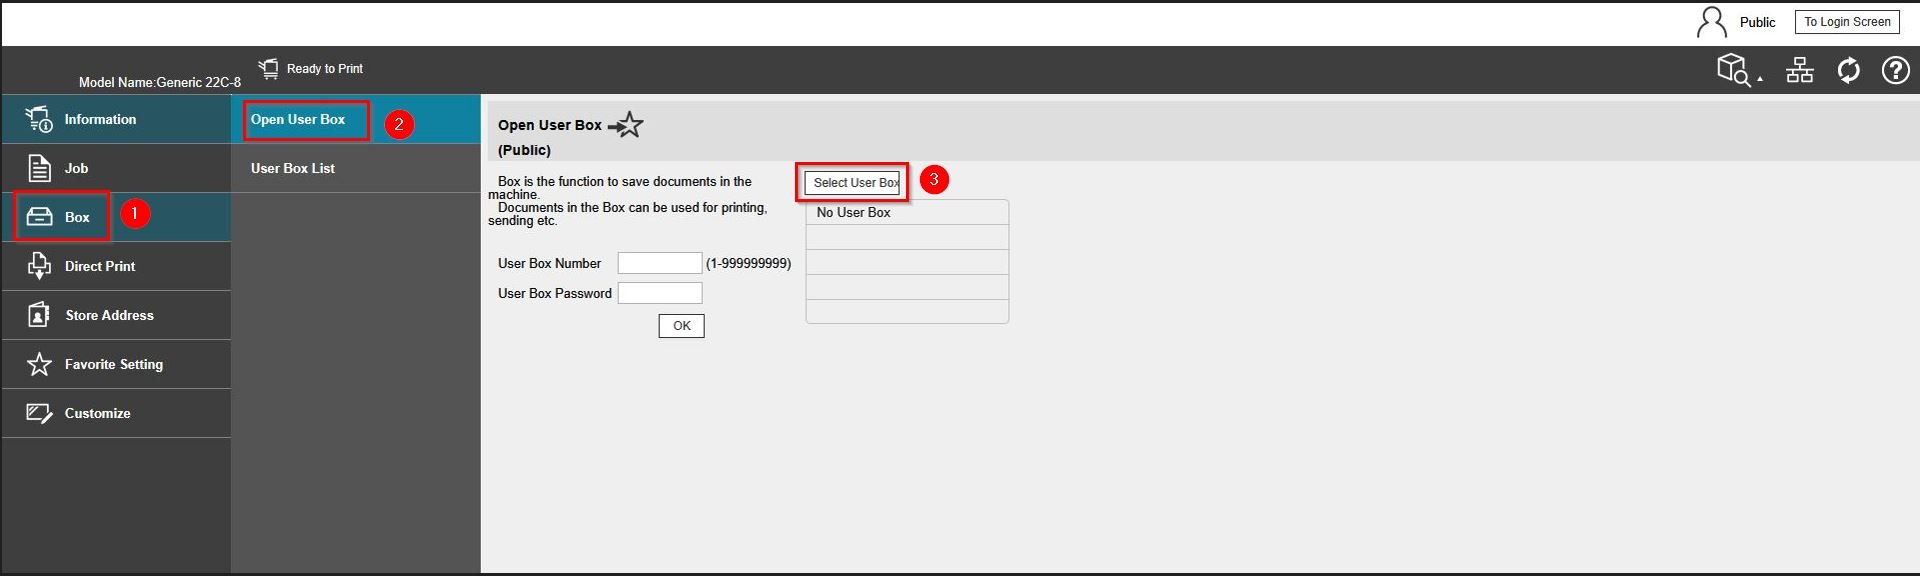
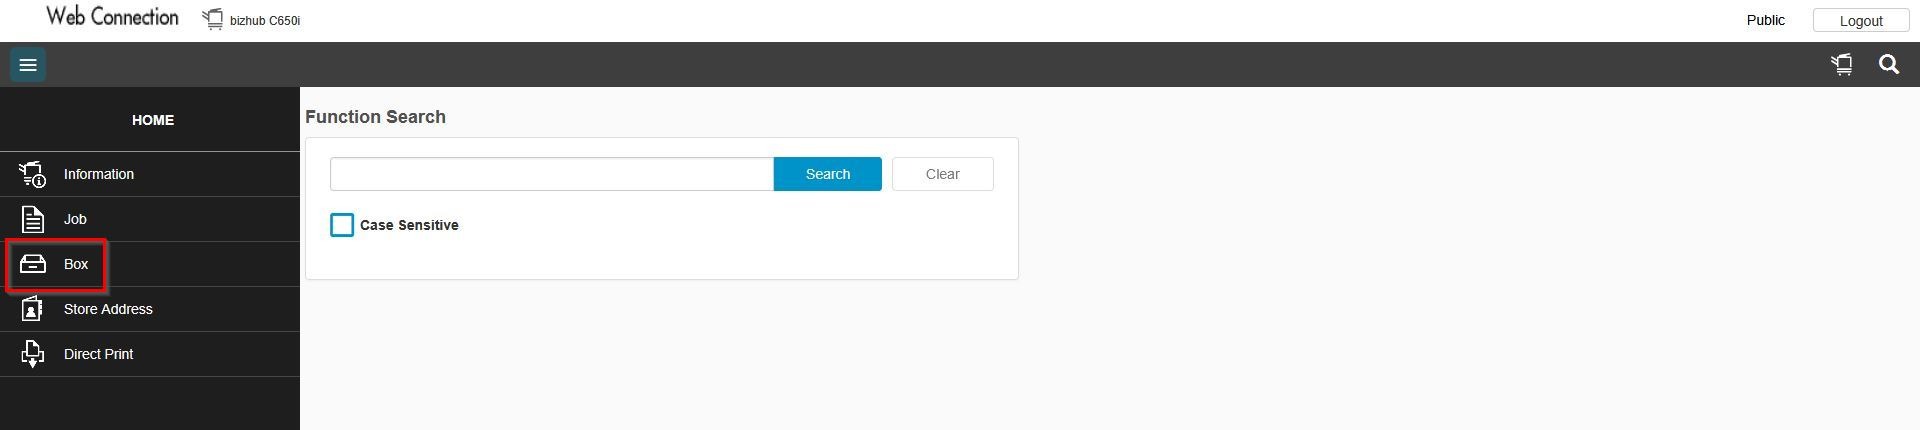
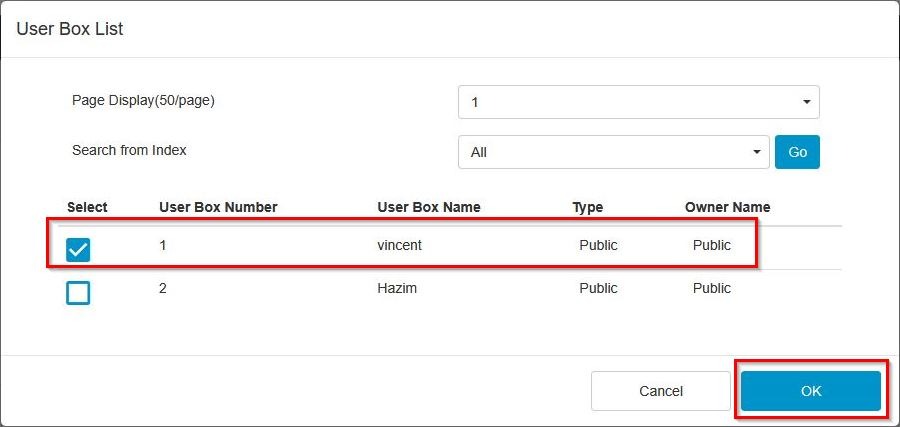
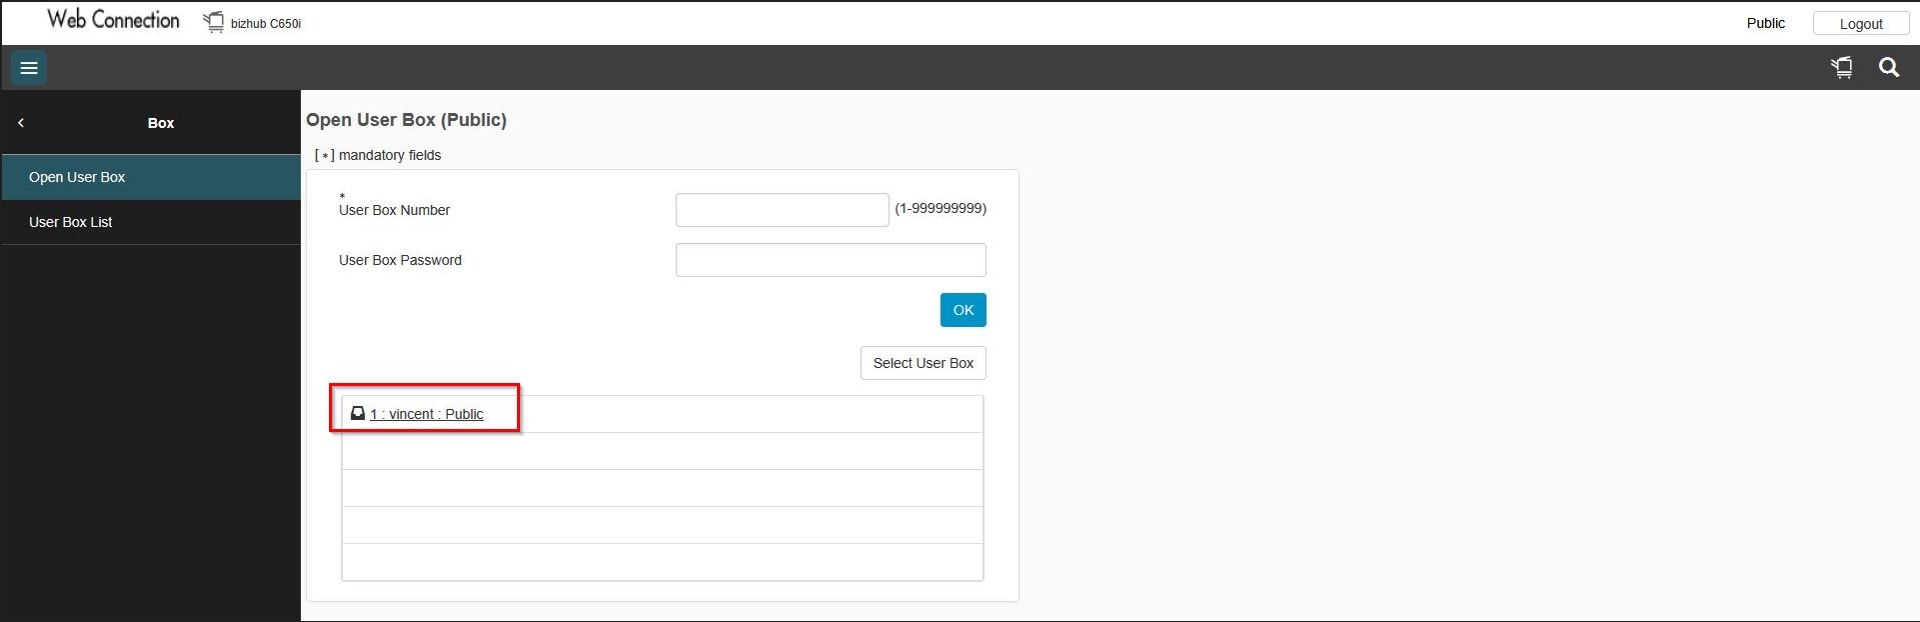
STEP 2 – Select [Box] – [Open User Box] – [Select User Box].
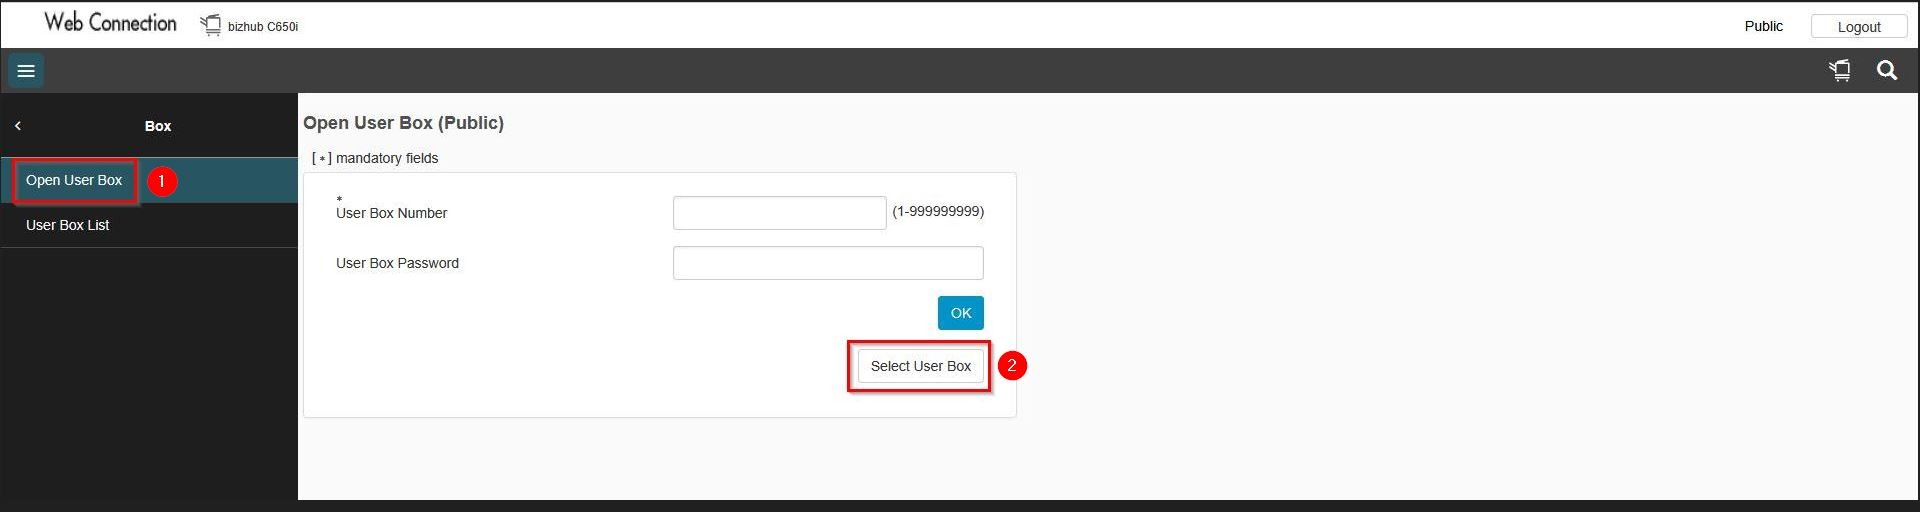
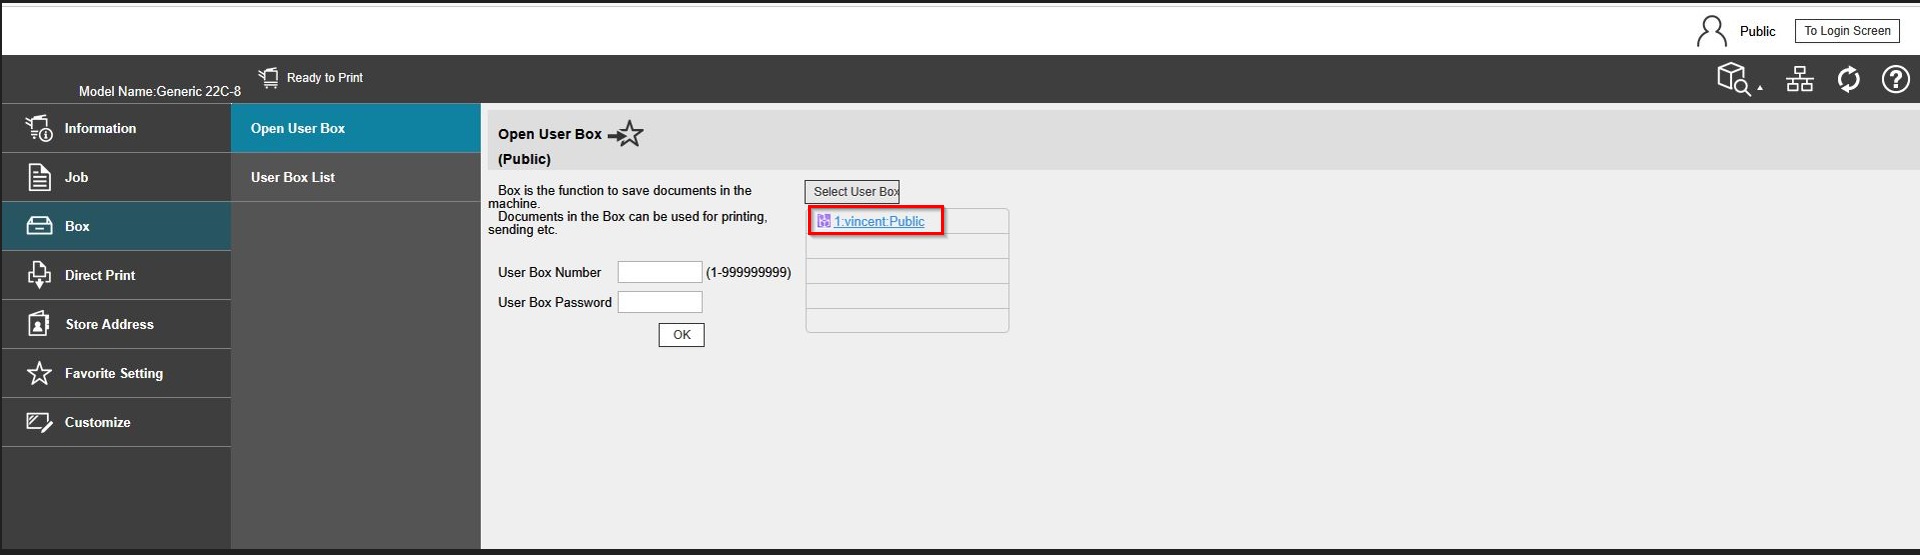
STEP 3 – Select the user box name and click [OK] to open the user box.
STEP 4 – Highlight the files that wish to delete, then select [Delete] and press [OK] to remove the scanned files. After that, try to scan again to the same user box.